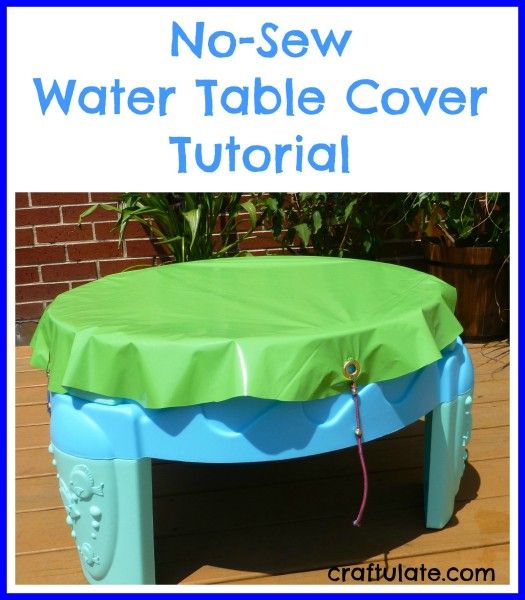
We absolutely love our new water table – but it didn’t come with a cover. I don’t mind water getting in overnight, but I do object to the bugs and dirt! Here’s how I crafted my own water table cover – and no sewing involved!
The following post contains affiliate links, which means that at no extra cost to you I can make a tiny bit of money to help support this blog. Thank you!
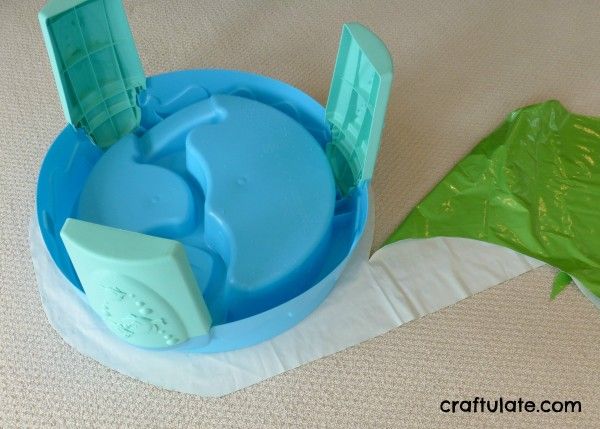
I started by cutting out a piece of PVC-style fabric large enough to cover the top and the sides. I found a spare moment in the day when my son wasn’t playing at the table (OK, he was napping), then emptying it, drying it, and inverting it on top of the fabric as a pattern.
Then I needed some involvement from my husband: a grommet tutorial! What a wild and crazy marriage we have! 😉
I bought a grommet kit which worked really well. First he showed me how to punch a hole in the fabric using the hole cutter and cutting block.
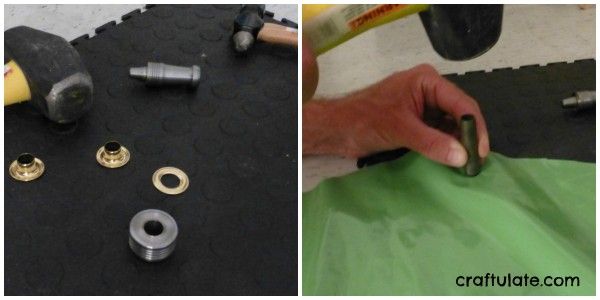
Then he placed the anvil on a solid surface, the “male” eyelet on top, then placed the fabric (right side down) over the anvil.

Then he placed the “female” part of the eyelet over the fabric, and the inserting die (or mandrel/mandril) on top of that.
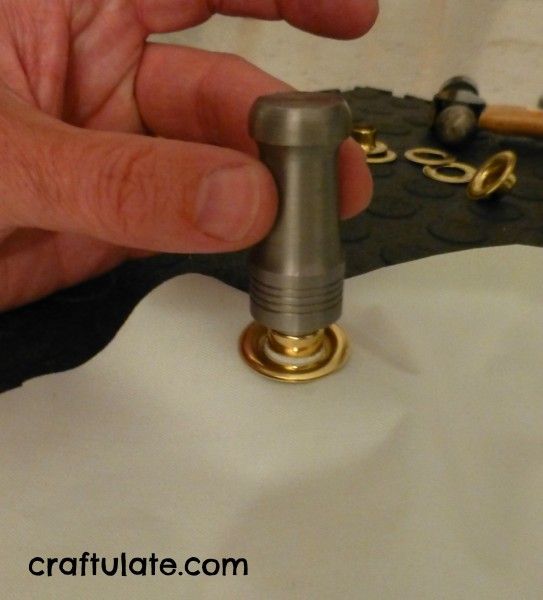
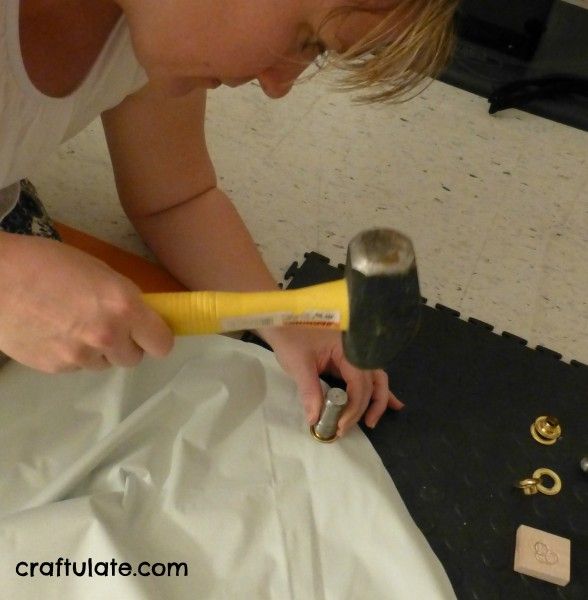
He used a hammer to fasten the two parts of the grommet together, rotating the inserting die a quarter turn between strikes.
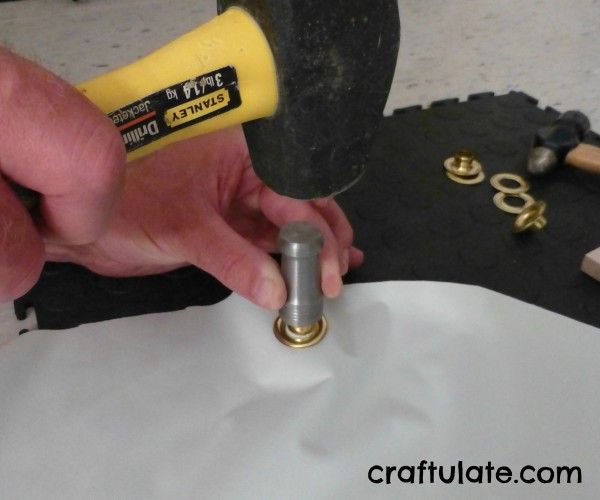
This completed my husband’s tutorial, so I attached the other three grommets.
This is how the grommets look when attached:

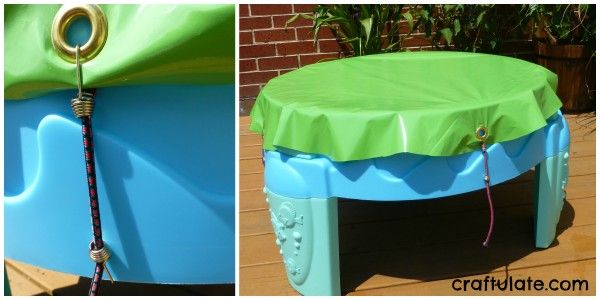
This is the cover doing great service and we’ve had some super windy days recently!
Looking for ideas for water table play? We made a magnetic fishing game and gave our table a tropical island theme!
