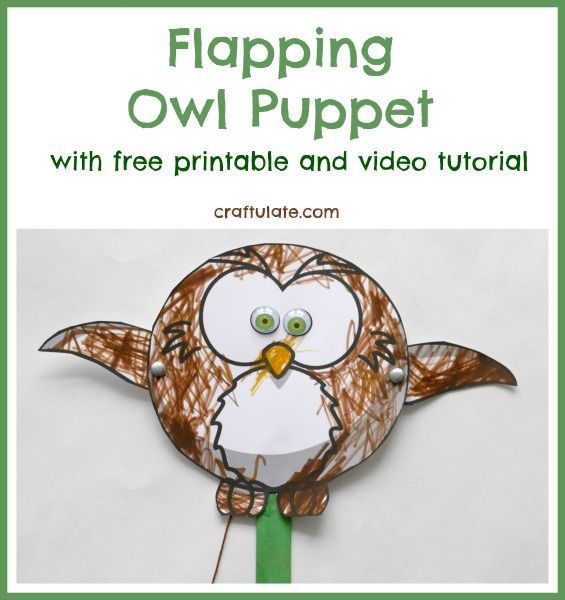
This flapping owl puppet craft is very adorable and is a lot of fun to make! Make sure you watch the video tutorial, too!
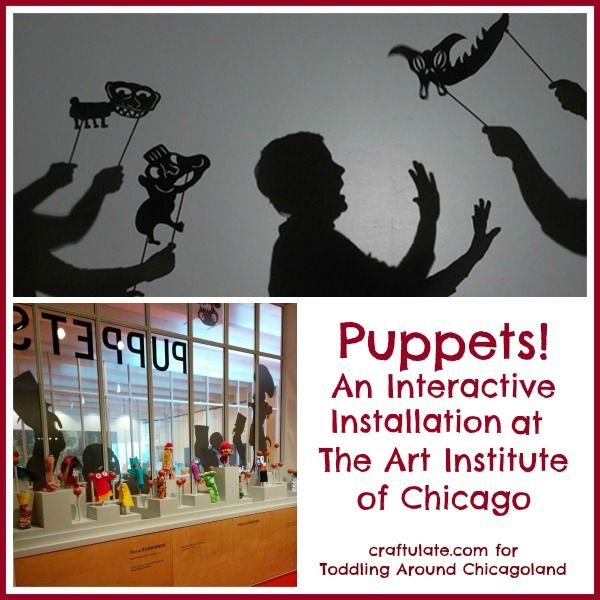
The following post contains affiliate links, which means that at no extra cost to you I can make a tiny bit of money to help support this blog. Thank you!This craft was inspired by my visit earlier this week to the Puppets! interactive installation at The Art Institute of Chicago. See my full review on Toddling Around Chicagoland.
To make this puppet you’ll need:
- Flapping owl puppet template
- White card
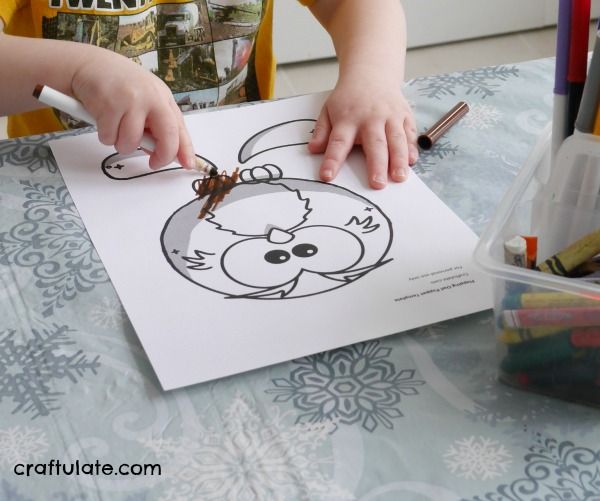
- Markers/crayons/coloured pencils
- Scissors
- Craft knife and cutting surface
- Two brads (paper fasteners)
- Thread or string (we used friendship thread that was sent to us by our friends at craftprojectideas.com)
- Craft stick (optional)
- Googly eyes (not optional)
- Glue
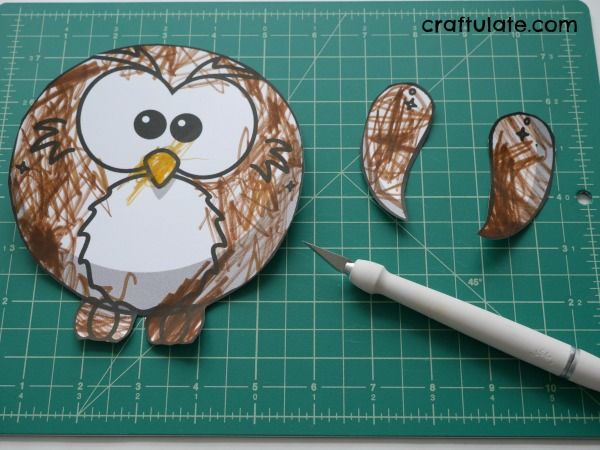
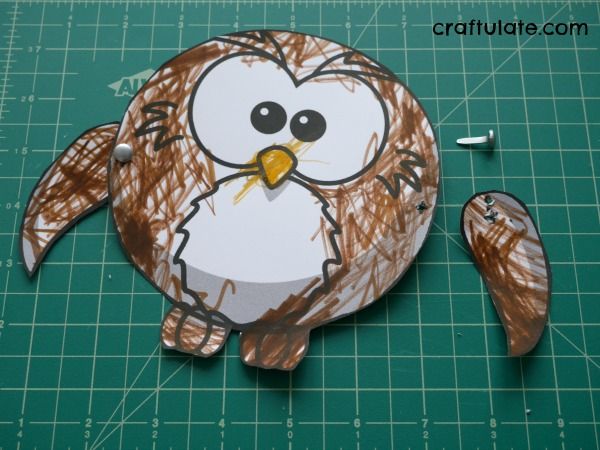
Cut out round the main body of the owl plus the two wings. Using a craft knife on a cutting mat, make two holes on each wing (marked with a cross and a circle) and one hole on each side of the body (marked with a cross). This is definitely a job for an adult!
Push a paper fastener through one of the holes on the body, then through the matching hole on the wing. Make sure that the wing is behind the body. Open out the brad and ensure that the wing moves freely – it should always drop down unless you’re holding it up. Repeat for the other wing.
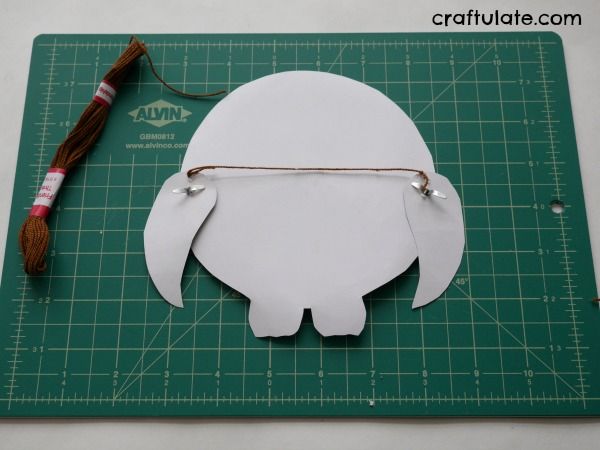
Attach some thread to the circle hole in one of the wings. Tie the other end of the thread to the opposite wing – again you want the wings to hang loose when the knots have been tied.
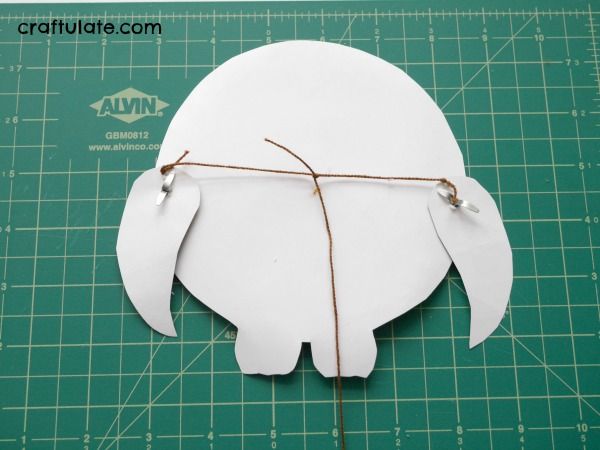
Then add a longer piece of thread by tying it to the middle of the first thread. If you pull down on the thread the wings should flap!
There are obviously lots of fiddly bits involved in finishing off this puppet. Older children can help with more of the tasks, meanwhile younger children can still assist by choosing colour of brads and/or thread.
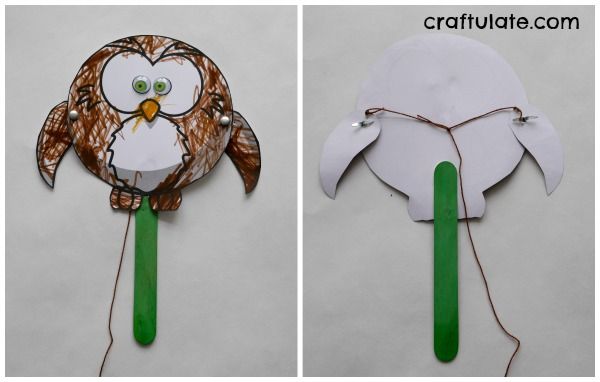
To complete the puppet you could either glue a craft stick to the back to become a hand held puppet, or add another length of thread from the top to hang it up. Then add some googly eyes and you’re finished!
Here’s the video tutorial!!

