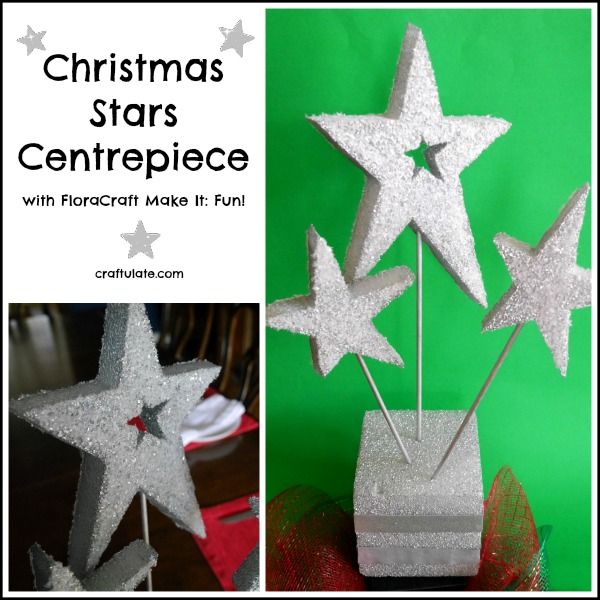
This Christmas stars table centrepiece is a really fun craft for kids and adults to make together – and it will look amazing on your Christmas table!
This is a sponsored post written by me on behalf of FloraCraft. All opinions are my own. Please see my disclosure policy. This post also contains affiliate links, which means that at no extra cost to you I can make a tiny bit of money to help support this blog. Thank you!So far my experiences with craft foam have been limited to some simple ornaments. Therefore I was delighted to get the opportunity to try out some amazing FloraCraft® Make It: Fun® Foam products recently! FloraCraft feature tons of project ideas on their Make It: Fun site – with videos, too!
I decided to make a version of the Metallic Glitter Star Decor – crossed with the base from the Gold-Dipped Cube Arrangement! The materials we used are as follows:
- FloraCraft® Make It: Fun® Foam Sheet
- Star templates from the Make It: Fun Holiday ebook
- Pins
- FloraCraft® Electric Styro Cutter
- Metallic silver spray paint (left over from making my son’s Thomas the Train costume!!)
- Wooden dowels
- FloraCraft® Make It: Fun® Foam Cube
- Glue
- FloraCraft® Diamond Dust™
- Tray
- Silver card
- Design It:® Simple Style® Decorative Mesh in red and green
This list looks pretty long – but the craft is made in various stages so it really didn’t feel this way!
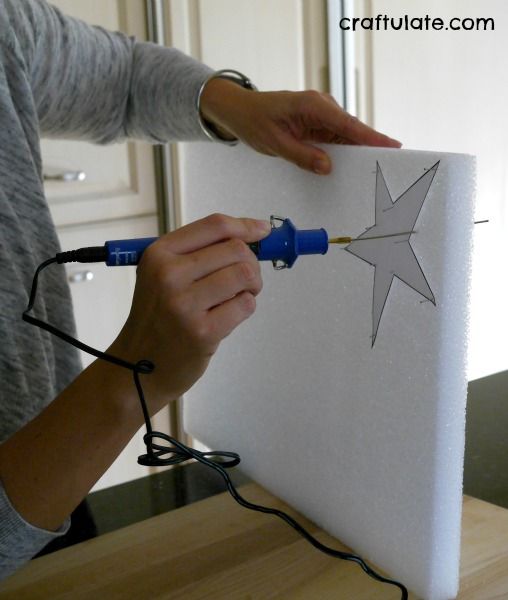
The first part was to cut out the templates and pin them to the foam sheet. There are three main ways to cut out the star: an electric cutter, a foam cutter, or a serrated knife. I tried the Floracraft® foam cutter and although it worked fine, the FloraCraft® Electric Styro Cutter was less messy and slightly sealed the edges as it cut. Plus it was kind of fun to use a new gadget! Note: This stage is for adults.
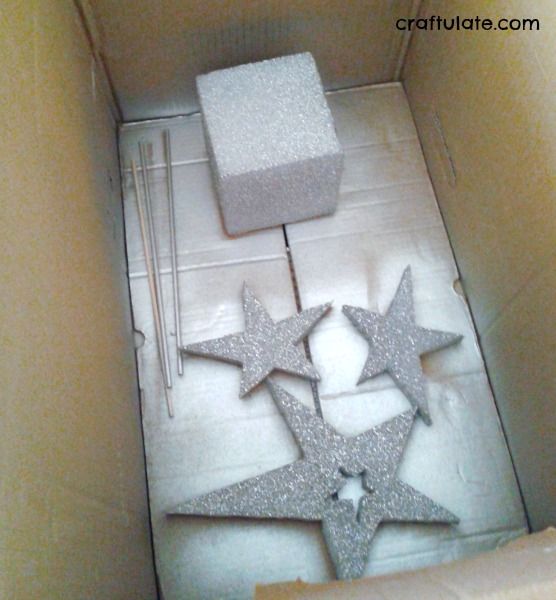
I cut out three stars, one with a star-shaped centre removed for an extra pretty effect! Next it was time to paint them. I should note that the ebook instructions suggest painting with decoupage glue then covering in glitter and then spray painting. I decided to use some metallic spray paint on everything as a base layer. So I put the stars, three wooden dowels and the foam cube in a large cardboard box, took it outside and got spraying! Once it had dried I turned it all over and sprayed the other side. Note: This stage is also for adults; don’t worry – the kids can get involved soon!
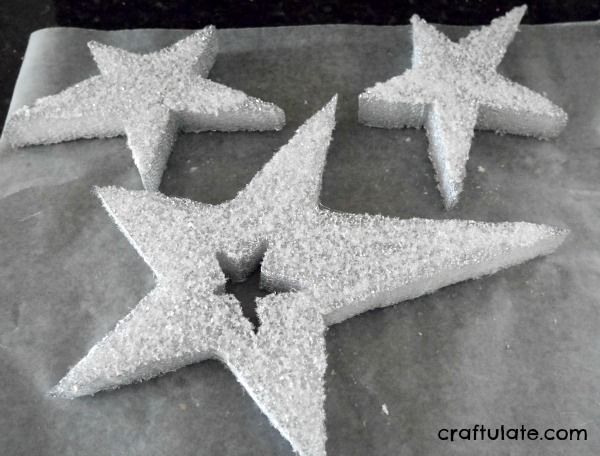
Once the paint had dried it was time to make the stars sparkly! I asked my son to cover one side of a star in glue. I placed some Diamond Dust in a tray, and invited him to place the star glue-side-down into the sparkly dust!
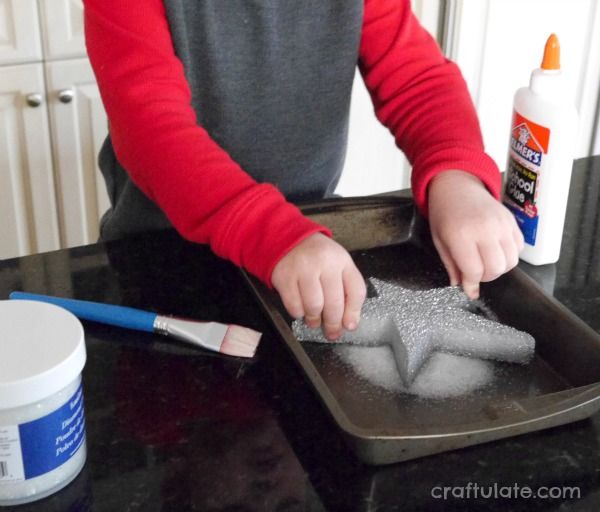
He then added glue to the other side, and flipped it over, adding more Diamond Dust to the newly glued side. I put the star to dry on some wax paper and F got to work on the other two stars.
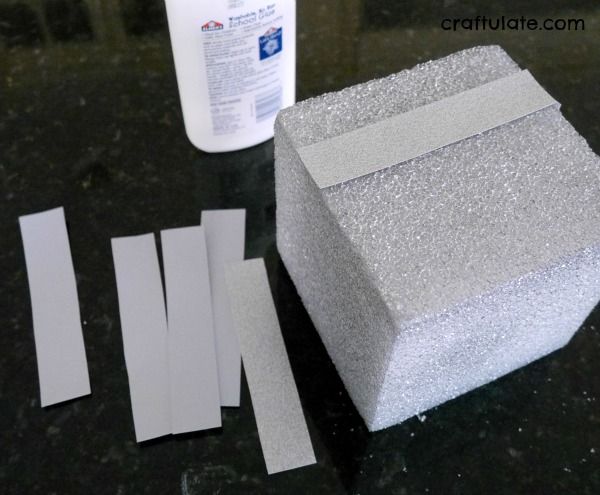
While the glue dried on the stars, I cut out some strips of silver card and my son and I added them to the sides of the cube.
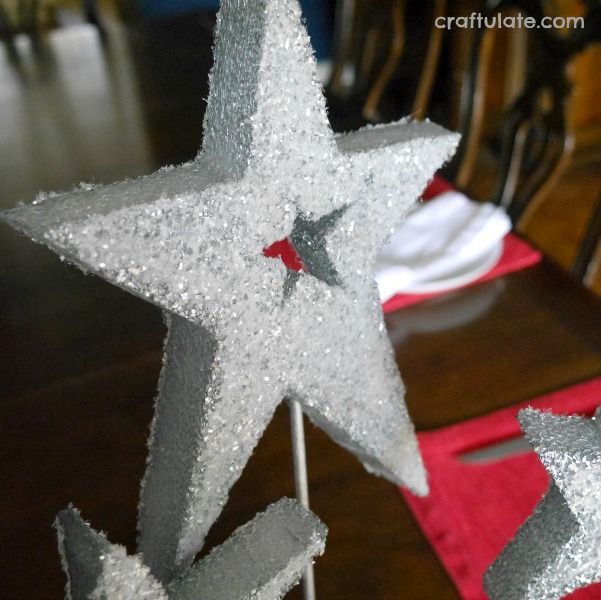
When all the glue had dried, I pushed the dowels into the stars, then into the cube. I pushed the dowels in at different lengths so that the stars appeared at different heights. Then I surrounded the base with swirls of the Decorative Mesh. Doesn’t it look beautiful?!?
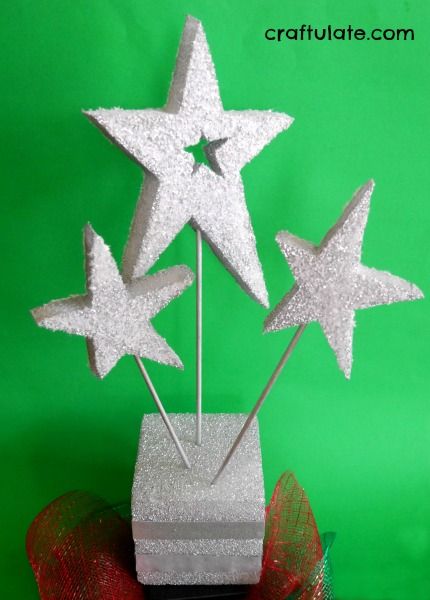
It is going to look so gorgeous at our Christmas table!
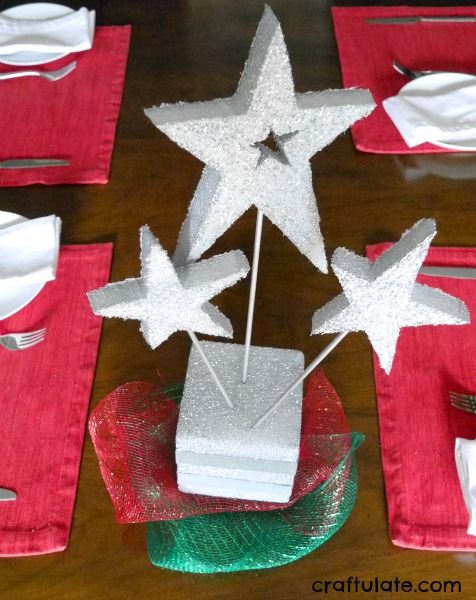
Oh and here’s a close-up!
For more information about FloraCraft products and craft ideas, check out their Make It: Fun site or follow them on Facebook, Twitter, Pinterest, Instagram and YouTube.

