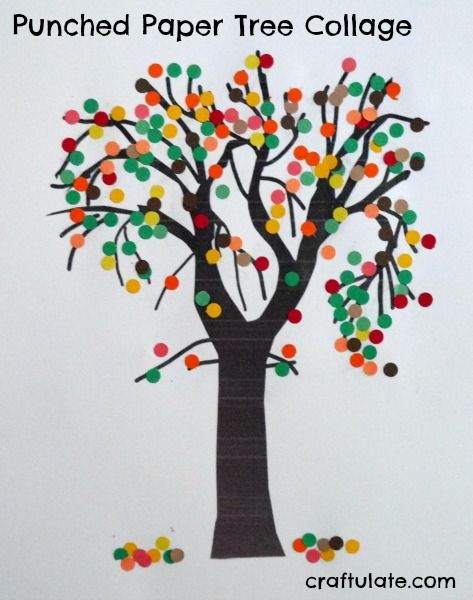
This punched paper tree is a pretty craft project for kids to make this fall.
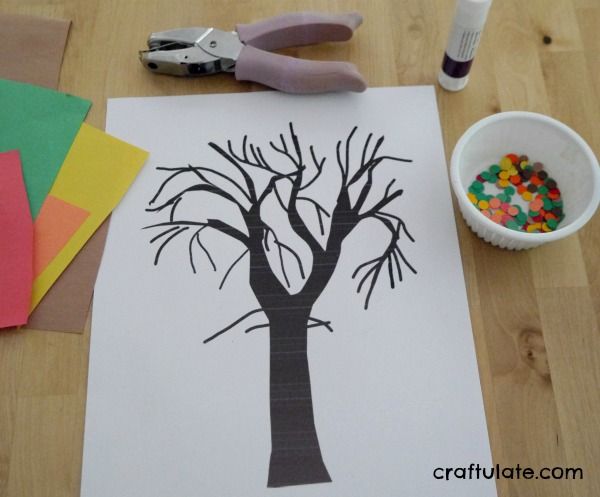
The following post contains affiliate links, which means that at no extra cost to you I can make a tiny bit of money to help support this blog. Thank you!This activity is slightly similar to two other projects we’ve made in the past: Fall Leaf Punch Collage uses a leaf-shaped paper punch and we filled in leaf shapes. Circle Punch Art uses larger hole punches and colorful paper. This variation uses just a regular single hole punch and fall-themed paper colors. It also works on a few fine motor skills – the pincer grasp for handling those tiny paper circles, and also for hand strength if using the hole punch.Prepare the activity by either drawing a tree outline onto white card or finding a silhouette online and printing it out (I used one from clker.com).Depending on the age and ability of your child, you may like to punch some circles out in advance, or let them do it! I decided on a mixture for my five-year-old son. I found pieces of scrap paper in as many fall colors as I could find, punched out some circles and set everything out with the silhouette, hole punch and a glue stick. Note: If you like the finished artwork to look “right”, don’t use paper that is colored on one side and white on the other – because no doubt some of those will be glued on white-side-up!
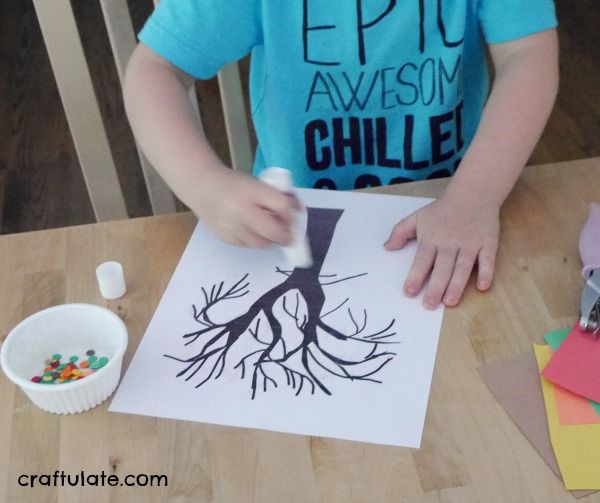
My son generously applied the glue stick!
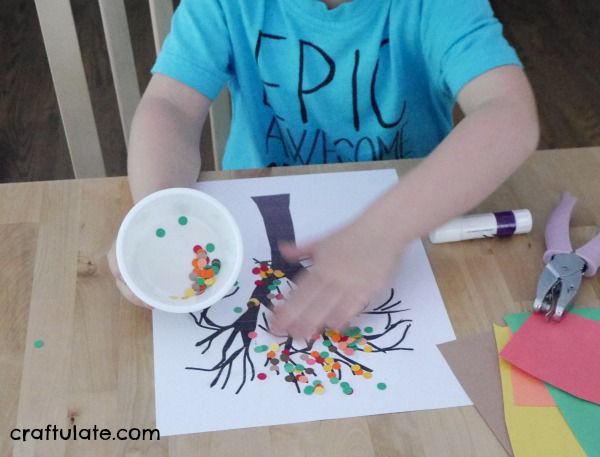
Then he sprinkled over the colored circles and pressed them onto the glue.
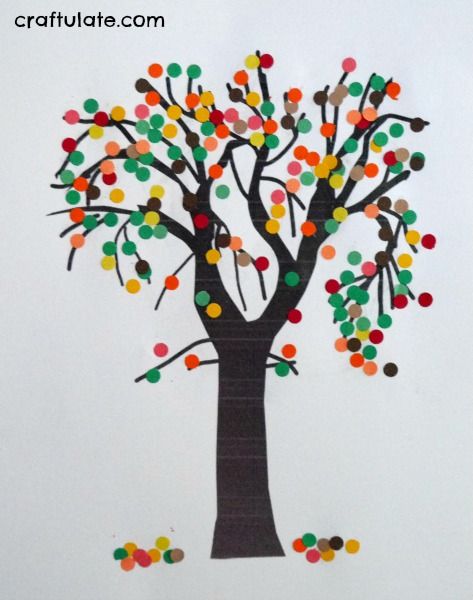
He did start cutting some more holes out with the punch (great for strengthening hands!) but after a few he decided that we had enough! This is the finished tree:
[bctt tweet=”Punched Paper Tree Collage – a fall art activity for kids #kidsart” username=”craftulate”]

This art project was inspired by this post.

