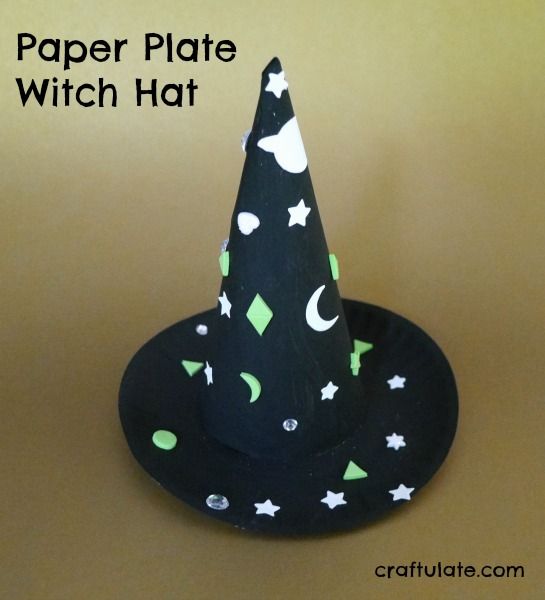
This paper plate witch hat is a fun craft to make with the kids this Halloween!
The following post contains affiliate links, which means that at no extra cost to you I can make a tiny bit of money to help support this blog. Thank you!
I think this is our first ever craft featuring witches! As we get ready for Halloween, this witch hat craft is clearly long overdue! 🙂
Cut and roll some white card into a cone shape, and tape it closed. If you’re uncertain how to do this, take a quick look at my DIY party hat – the theory is the same! Make a hole in the center of a small paper plate and cut slits into it, reaching out to the edges of the plate the same diameter as the base of the cone. This might take a little while to get right, so I suggest you do this in advance of giving this craft project to your child.
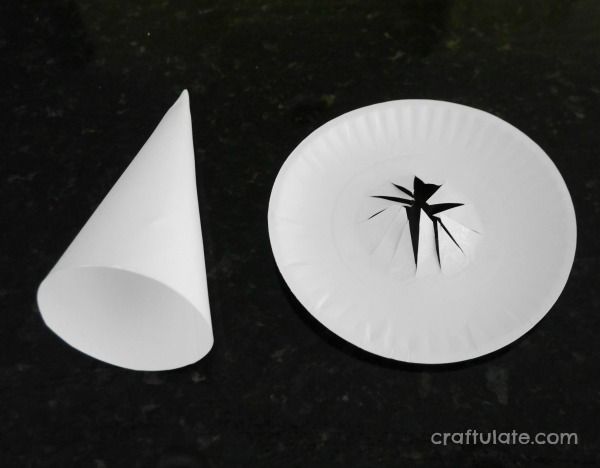
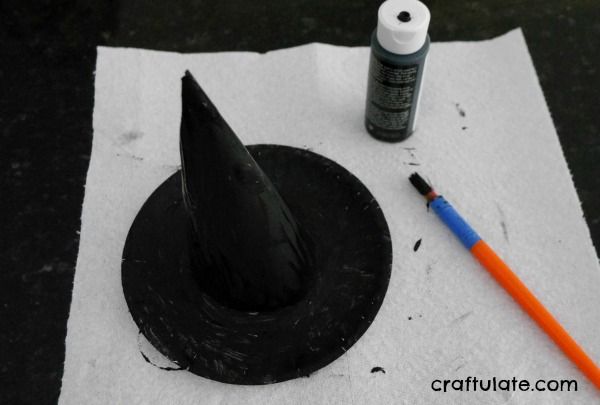
Place the cone over the hole in the plate, and tape up the flaps inside the cone. You could glue them but tape is much quicker! Invite your child to paint the hat with black acrylic paint. Depending on the card and paper plate used it may need two coats.
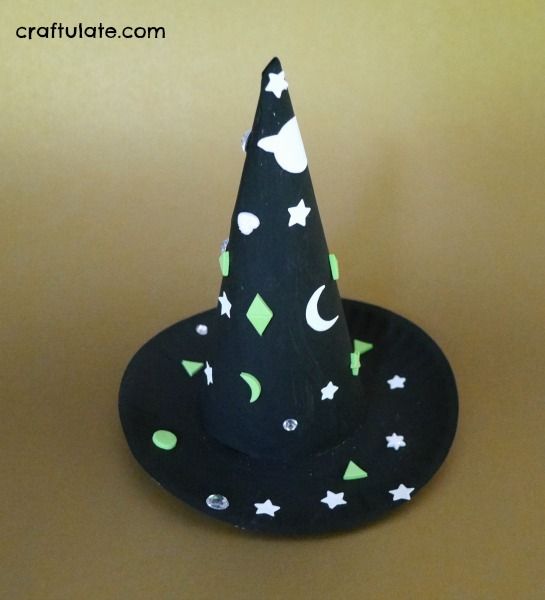
When the paint has dried, your child can decorate their hat! Stars, moons, gems, glow-in-the-dark stickers – all work well!The hat can become part of your Halloween decor, or you could attach elastic to it and your child can wear it!
[bctt tweet=”Paper Plate Witch Hat – a fun Halloween craft for kids!” username=”craftulate”]


