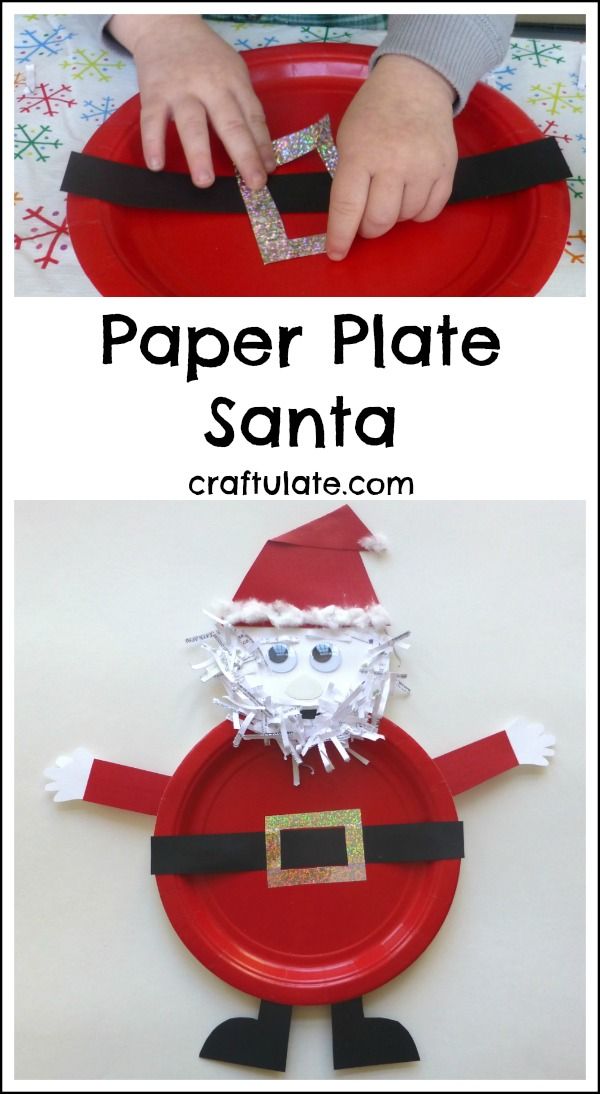
It feels like we haven’t made any paper plate crafts for ages, so with Christmas coming I thought we should make a paper plate Santa!
The following post contains affiliate links, which means that at no extra cost to you I can make a tiny bit of money to help support this blog. Thank you!
My son loves to do things for himself which I obviously want to encourage. When it comes to crafts I’ve found that the best way to incorporate this is to make a version of the craft in advance, where possible. He can then see what we’re aiming for and I can point to the positioning of items for him to copy.
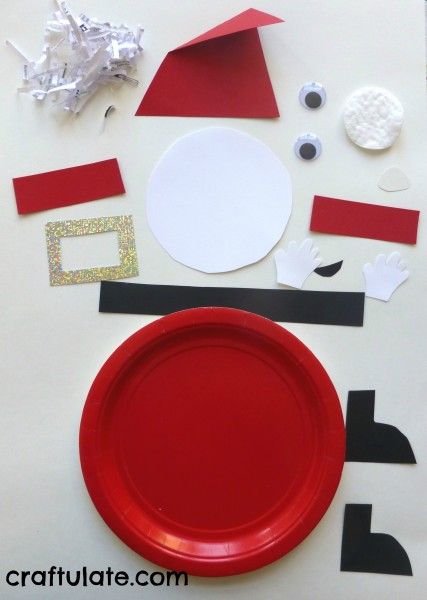
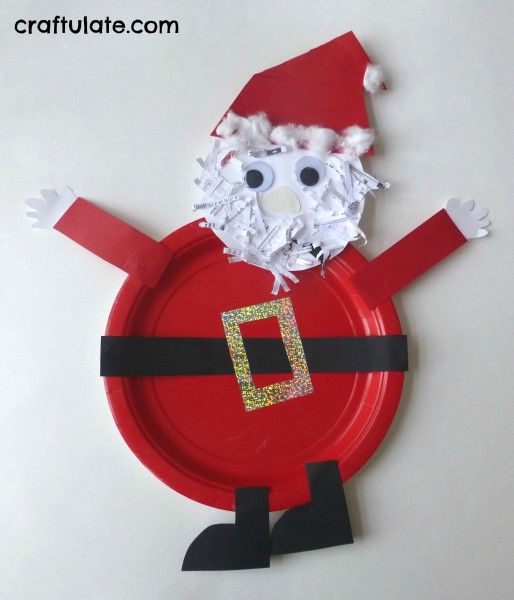
So I cut out two of everything and made one paper plate santa in advance. I used red, white and black cardstock, a red paper plate, adhesive hologram paper, shredded paper, googly eyes and cotton wool pads.
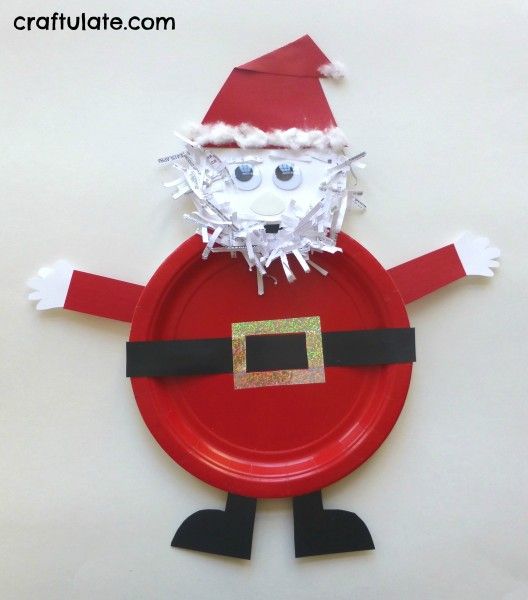
Here’s my finished version:
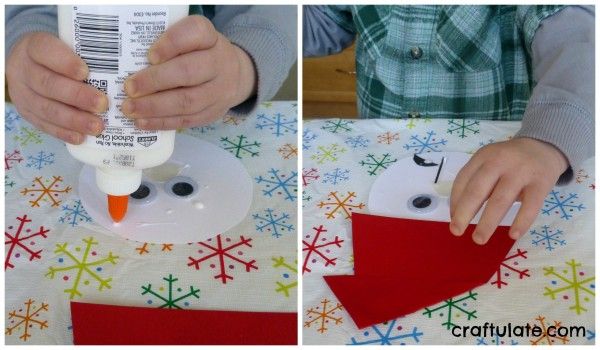
The only thing I did in advance for F was to glue the hands to the arms. Then I put out all the face components and some glue for him to assemble. He got a funny position for the mouth but otherwise did OK.
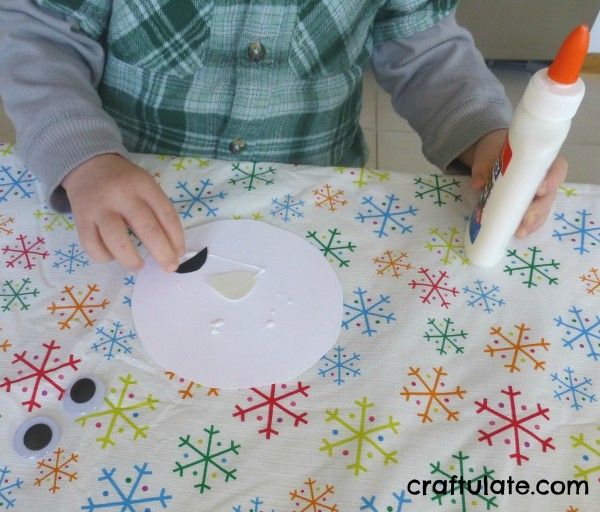
He did everything apart from the cotton wool trim on the hat, then wanted to move on to the body.
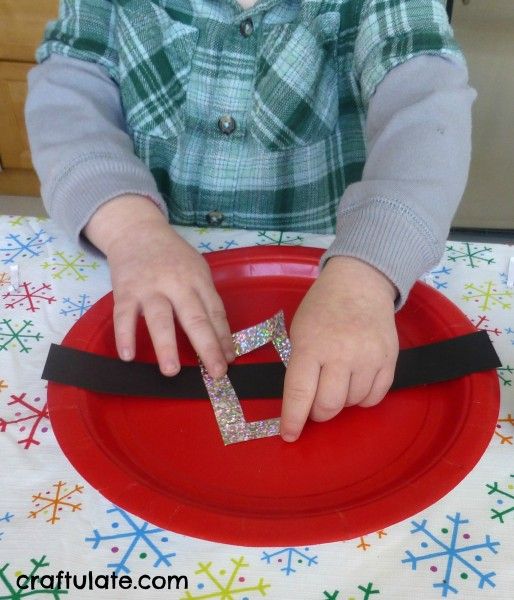
He SO carefully applied glue to the black belt! After he’d attached the shiny buckle he was finished with the craft, and that was fine. Of course I was tempted to finish it for him but I wanted to give him the opportunity to complete it himself.
The next day he was happy to go back to it. First he attached the hat trim.
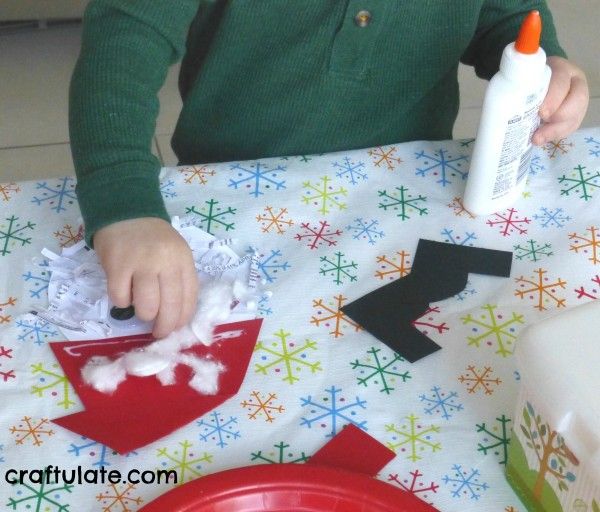
Then the legs, arms and face. Ta-daaa!
[bctt tweet=”Kids will love making this #paperplate #santa #craft !”]
I was really pleased with how this turned out but also the process – I think I managed not to interfere TOO much!
This activity is featured in my book 50 Christmas Crafts for Little Kids – get your copy today for more festive inspiration!

