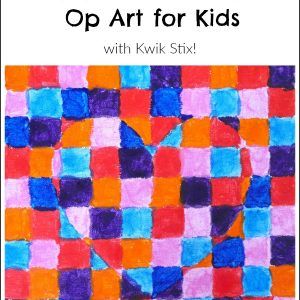
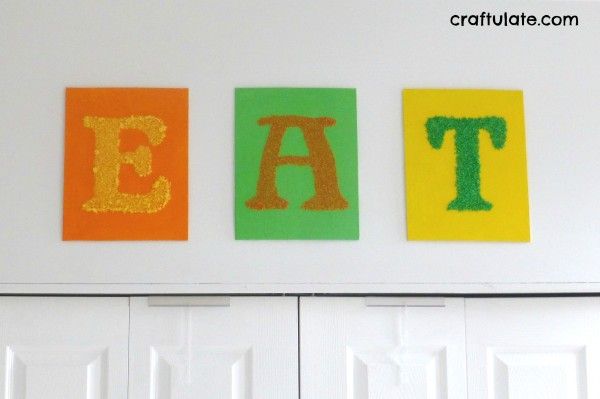
This kitchen wall art uses canvas panels, citrus-colored paint and dyed rice, couscous and salt! It really brightens up the room!
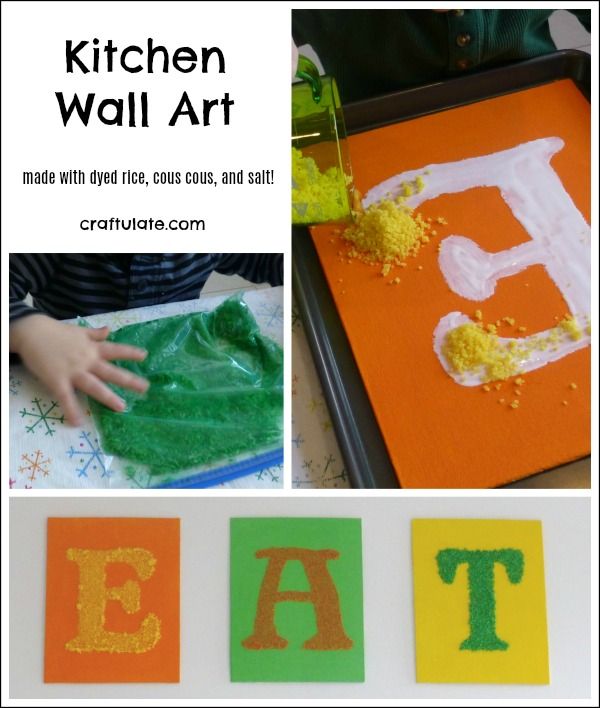
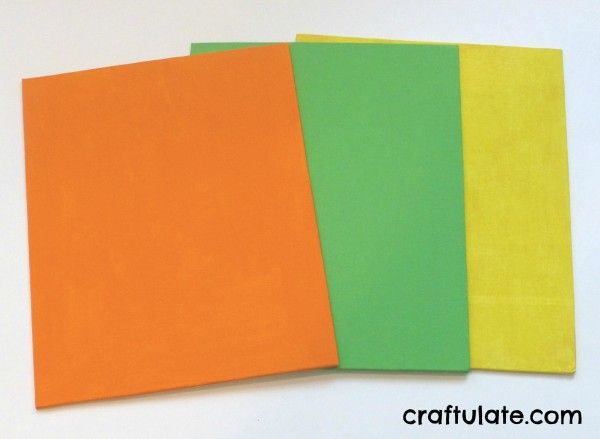
The following post contains affiliate links, which means that at no extra cost to you I can make a tiny bit of money to help support this blog. Thank you!For this artwork I used three 11×14″ canvas panels. I used the panels for two reasons – one they are much cheaper than stretched canvases, and two – I like to give my husband a challenge as they will be tricky to put up on the wall.I decided on a bright citrus theme, and painted each canvas with two coats of acrylic paint: yellow, orange and green. I wanted to get my son to help me with this stage, but painting a big flat board with one color didn’t appeal to him for some reason.
I printed out the EAT letters in a huge size (I used Shrewsbury font), then cut them out.
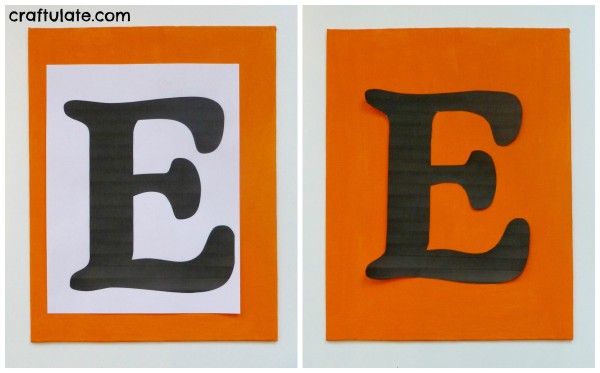
Once the paint had dried, I traced around the letter templates with very light pencil marks.
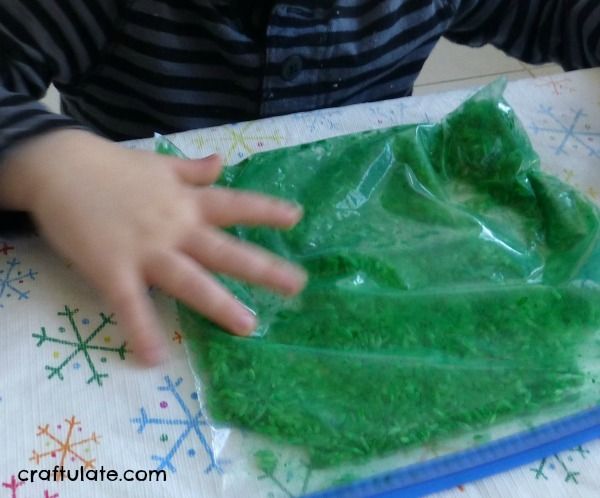
We colored some rice, couscous and salt to use as the fillers for the letters. For the green rice, I added a large handful to a resealable bag, then several drops of green food dye and a little splash of vinegar. I have made colored rice before without using vinegar, but my colored-rice guru (Nicolette from Powerful Mothering) tells me that it is essential for even color distribution. I sealed the bag and F helped me smush the color around. Then I tipped the rice out onto some wax paper and left it to dry.
We repeated this technique for the couscous, using a combination of red and yellow food dyes to colour it orange. The last filler to be coloured was some coarse salt, but the yellow food dye I used turned it too orange. So I hastily added some bright yellow acrylic paint to the bag, coated the salt, and it came out a great colour! It did initially dry all clumped up, but it was easy to break apart and then it dried fine.
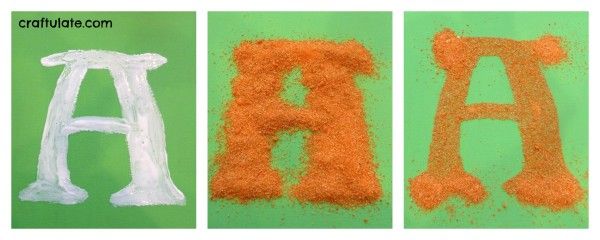
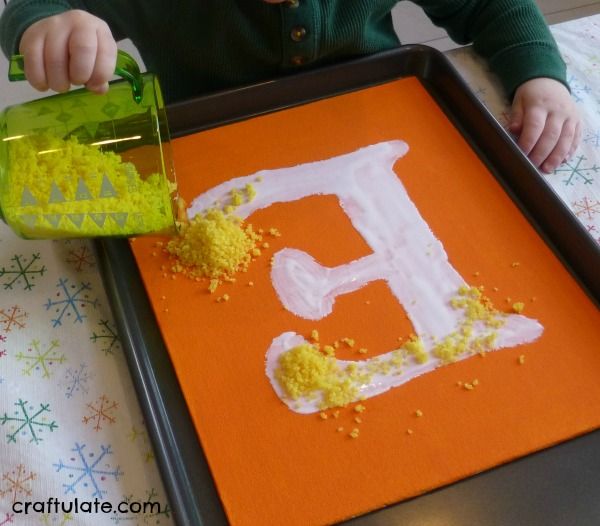
Once all the fillers were dry, it was time to glue them to the canvas panels! I placed the panel in a baking tray and applied generous amounts of glue to each letter. I worked quickly on only one letter at a time, using a brush to make sure that the glue line was just outside the pencil marks. Then I poured the filler onto the glued letter and left it to dry – I didn’t shake off the excess immediately. After a few hours I carefully tipped off the excess. A few areas needed minor repairs, so I got them fixed.
I even managed to get F to help me with one of the letters!
Once I was happy with the coverage I sprayed some clear acrylic sealer over the entire panel. When applying the sealer please make sure that you are in a well ventilated area with no children present.
And here they are all finished!
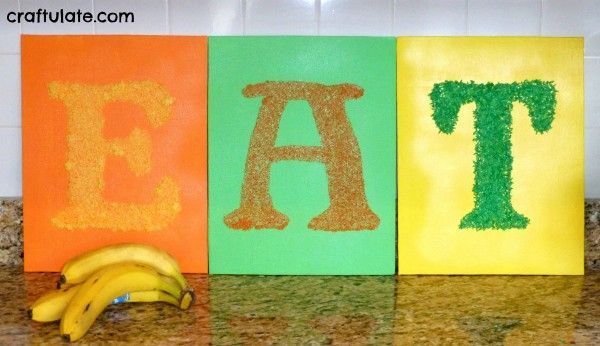
My genius husband had the great idea of using sticky velcro squares to attach them to the wall. Even with the decoration the panels aren’t that heavy, so one square at the top and one at the bottom held them fine, and it also makes them easier to position.
[bctt tweet=”Kitchen Wall Art that kids can help make! Uses dyed salt, couscous and rice on canvas panels.” username=”craftulate”]
