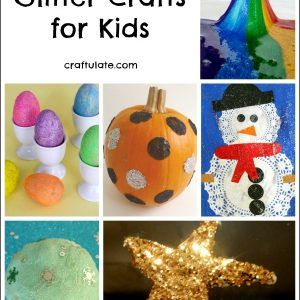
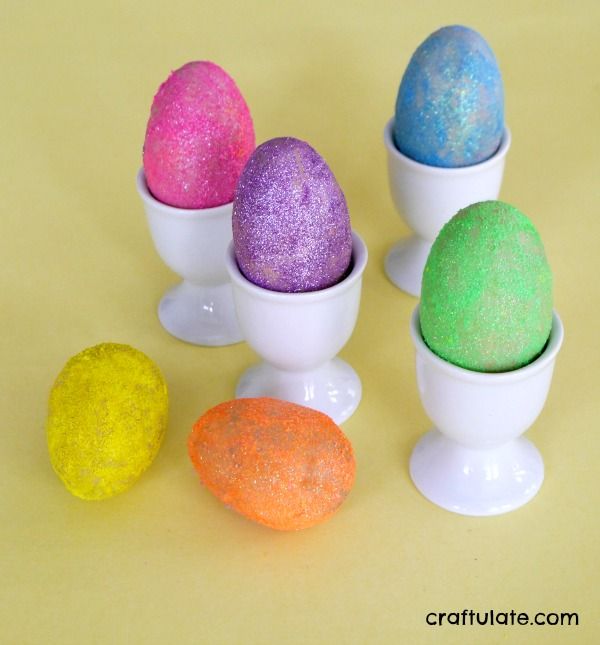
This glitter egg craft is a fun activity for kids to make this Easter!
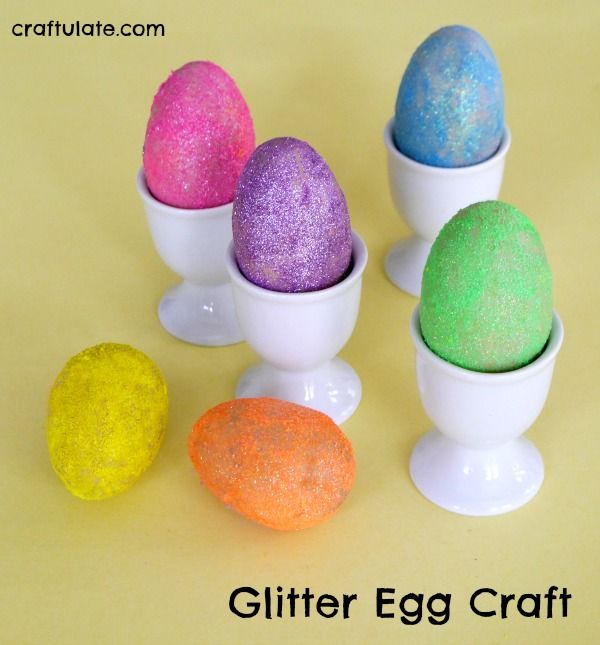
This post contains affiliate links, which means that at no extra cost to you I can make a tiny bit of money to help support this blog. Thank you!I was in the dollar spot of Target the other day (oh who am I kidding, I’m there most days), and found some adorable wooden eggs. I knew I just had to decorate them somehow! We recently decorated plastic eggs to look like monsters, but I thought we’d change it up a bit. This neon glitter that craftprojectsideas.com sent to us caught my eye – and I had a plan!Now, I *had* intended for this to be a relatively mess-free craft – all that glitter and glue – alarm bells! But I didn’t test it before my son asked if I had a craft project for him, so we just dove straight in. The idea was to roll the egg in glue, then drop it into a bag of loose glitter so that it could be coated. We prepared the craft by tipping each color of glitter into a different bag.
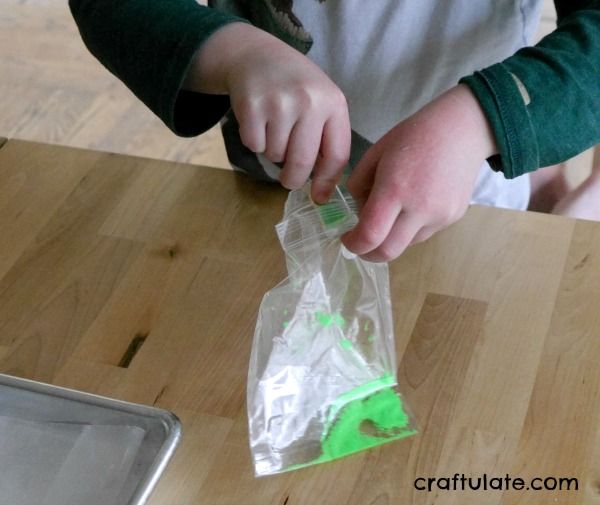
But once the egg was dunked in the glue and then in the glitter bag, it became impossible to roll the egg around in the glitter without the coating getting all lumpy. So we washed that egg off and started again.
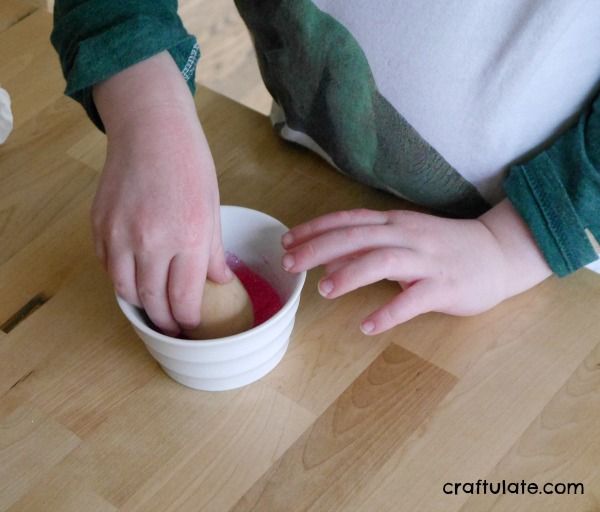
I decided to do each egg in two stages. We brushed glue onto one half of the egg, then rolled it in a small bowl of glitter (we had emptied it out of the bags in advance).
Then we set it on a tray lined with wax paper, and let it dry.
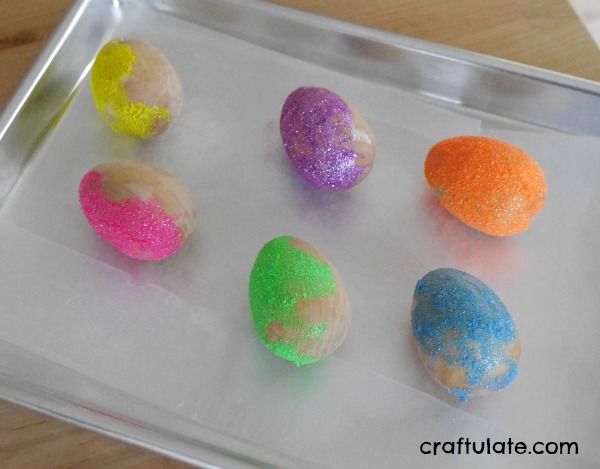
We repeated the same process on the other side. The eggs weren’t perfect, but they looked very pretty and sparkly!
To try and make sure that the glitter didn’t end up everywhere, the next day I sprayed the eggs with Mod Podge Sealer. When that was dry, the eggs were ready to be displayed!
[bctt tweet=”Glitter Egg Craft – a fun activity for kids this Easter! #eastercrafts #glitter #kidscrafts” username=”craftulate”]

