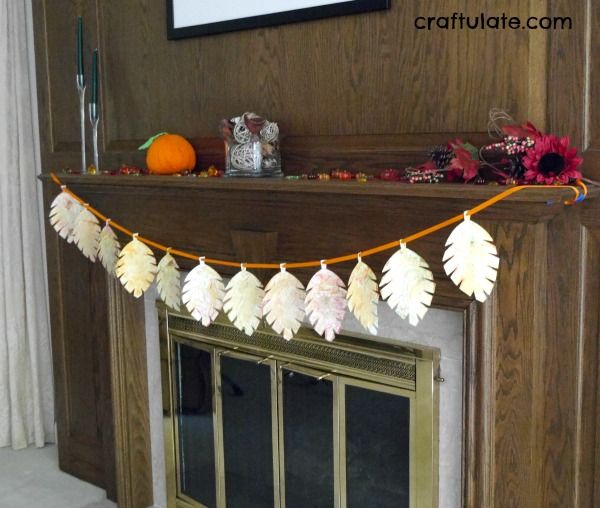
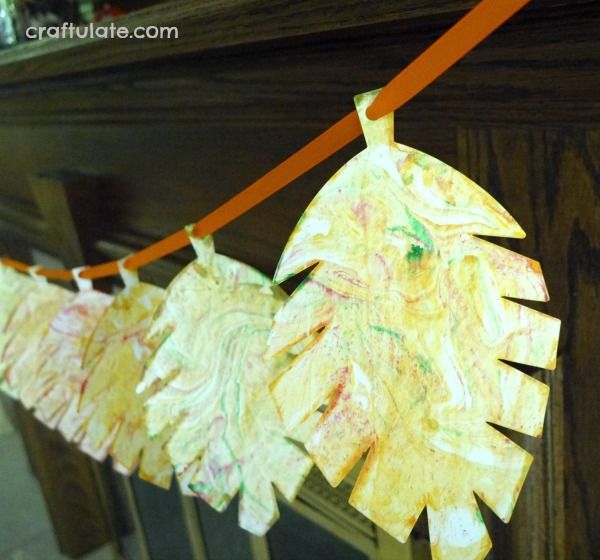
This kid-made marbled leaf garland is perfect for decorating the house this fall!
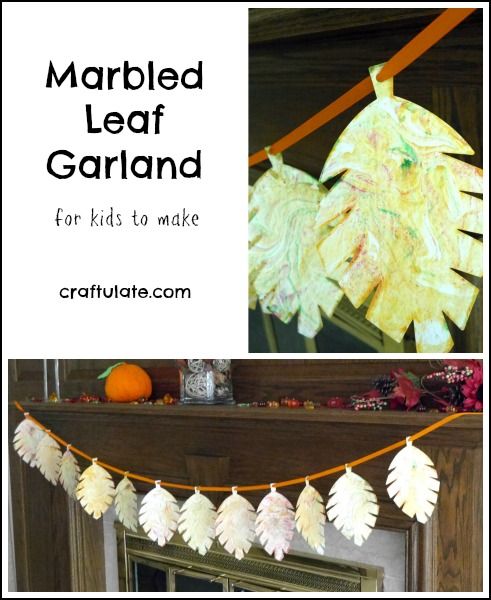
The following post contains affiliate links, which means that at no extra cost to you I can make a tiny bit of money to help support this blog. Thank you!OK so I confess I am a *tiny* bit obsessed with marbled art at the moment! We have recently completed Marbled Art Pumpkins but previously we’ve also made Marbled Animal Art! Previously we have used the marbling technique on a whole piece of card, then cut out shapes afterwards. However when I saw these pre-cut leaf shapes in the teacher section of my local craft store – I thought they would be perfect for marbling! We made so many that I decided to string them into a garland – and it makes such a wonderful piece of homemade decor for fall!
To make this project we used:
- Pre-cut leaf outlines (I got mine from JoAnn but check your local craft store or just make your own!!)
- Small foil tray
- Shaving cream
- Acrylic paints in fall colors
- Stick (like a dowel or chopstick)
- Plastic scraper tool (you can find this at a hardware store)
- Paper towels
- Single hole punch
- Orange ribbon
Use the stick to swirl the paint into the cream, but don’t overmix.
Place a leaf outline blank side down onto the paint mixture and gently push down. Remove it and use the scraper to remove the excess paint and cream.
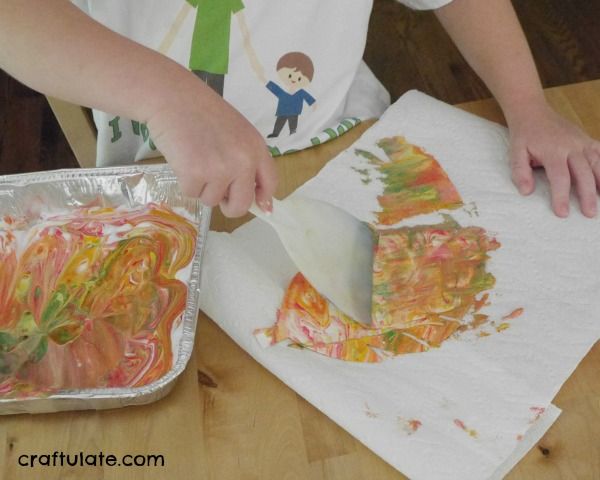
Add more paint and/or shaving cream and make as many leaves as you like!
Leave them to dry, then use a paper punch to make a hole at the top of each leaf.
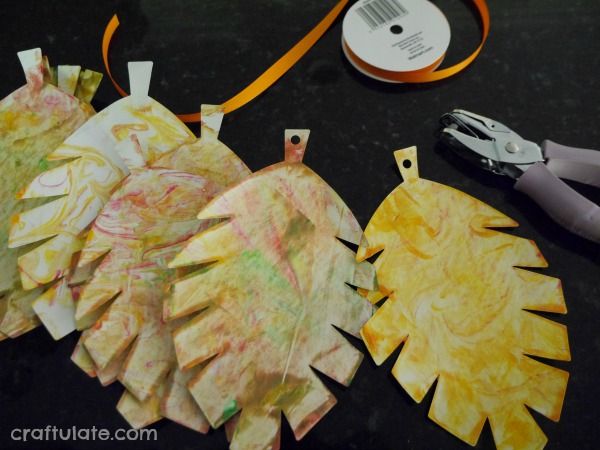
Thread them onto a ribbon and hang them up!
[bctt tweet=”Marbled Leaf Garland – a pretty decoration for kids to make this fall! #kidscrafts #craftforkids” username=”craftulate”]


