This coffee filter paper art is a fun process art activity that kids will want to try over and over again!
The following post contains affiliate links, which means that at no extra cost to you I can make a tiny bit of money to help support this blog. Thank you!We have only created art with coffee filter papers once before – over 2.5 years ago! So I thought it was about time we revisited this technique. Previously we turned the artwork into flowers and butterflies, but this time I deliberately wanted to just focus on the chromatography angle!
To experiment with making art on coffee filter papers, you will need:
- Coffee filter papers
- Washable marker pens
- Wax paper or tray
- Water spray bottle
- Tape (optional)
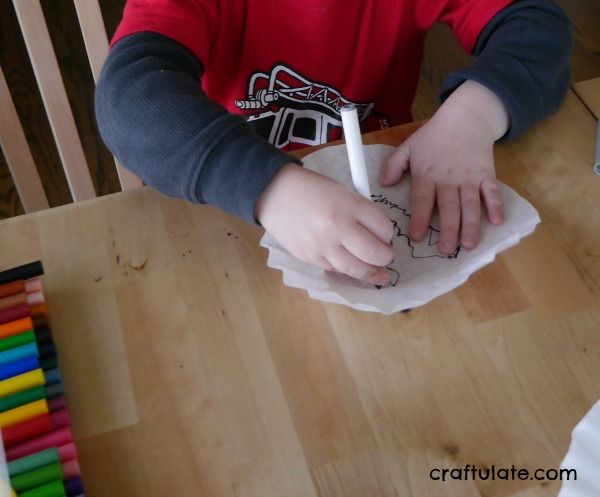
Set out the paper and pens – I found that we had two different shapes of filter paper in our stock! The round ones were convenient in that they didn’t need cutting, but actually the conical ones were better as once cut they were easier to draw on. If you use the round ones, you might like to tape them to the table, especially for little ones.
Invite your child to create whatever pattern, picture or design they choose on the filter paper. I love that this process is suitable for a wide range of ages! If you feel that they want to create a very intricate design you *may* want to dissuade them as it will only be “ruined” when the water is added! Try rings, squiggles, zig zags or anything random. Mix up the colors or choose just one. It’s hard to go wrong – luckily! My son started off with a black and grey design. Actually black is one of the most fascinating colors when mixed with water so I didn’t discourage him.
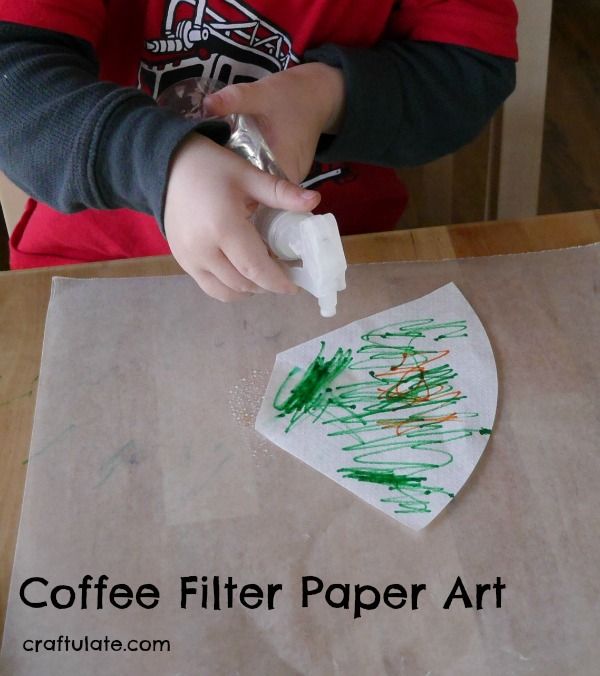
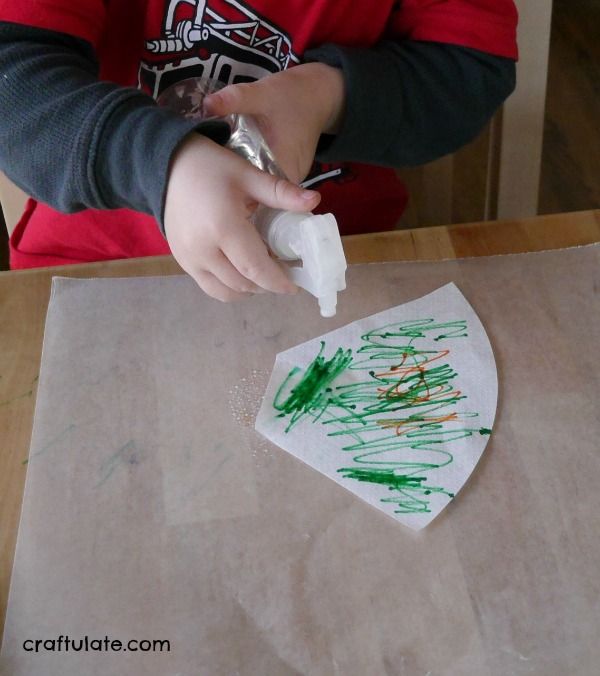
Once the designs are finished, place the wax paper or tray under the filter paper and ask your child to spray the water over the paper and watch the effect. F actually loved this more than the scribbling!
I did have to try and limit him to a certain number of sprays so that the paper didn’t get too soggy.
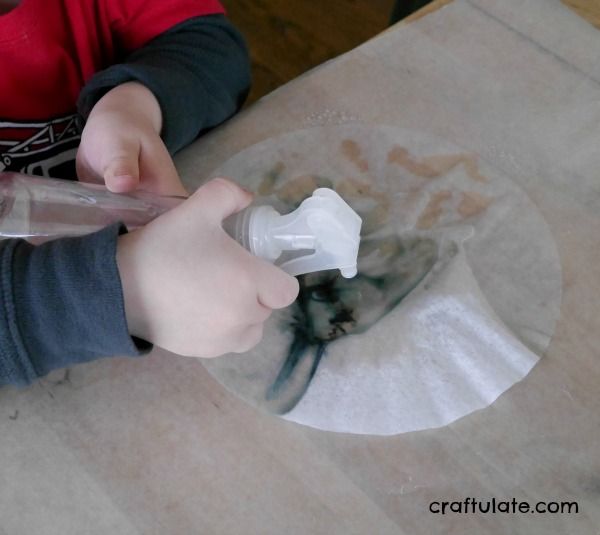
After the colors have run into each other, move the filter paper on the wax paper (or tray) to somewhere safe to dry. We made lots more designs between us. It was fun for both of us to try different color combinations!
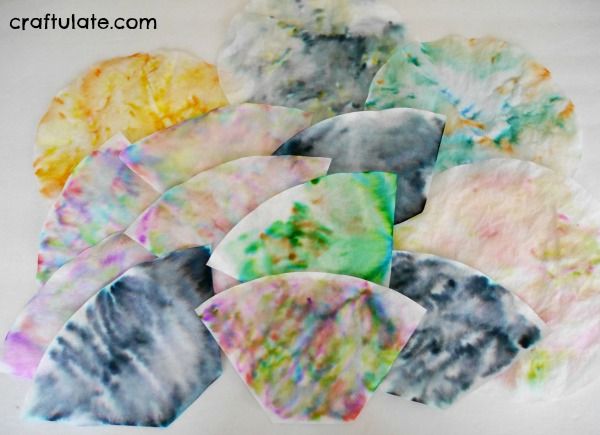
It takes about an hour for the filter papers to dry. Here is a small sample of what we created!
Here’s a short video showing the black marker pen “in action”!
