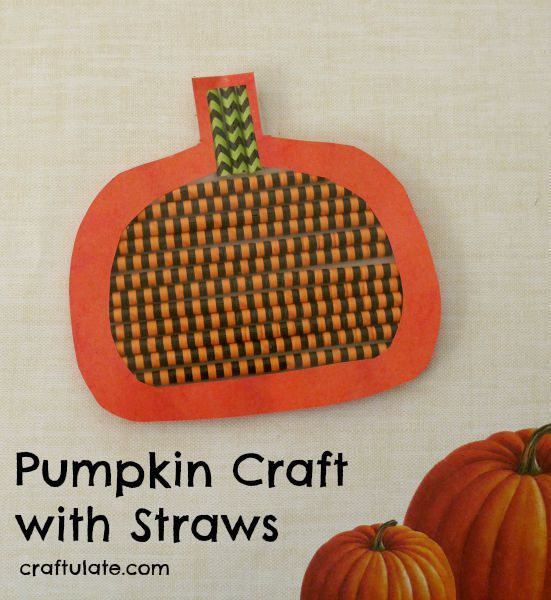
This pumpkin craft uses paper straws, construction paper and contact paper to make a wonderful picture!
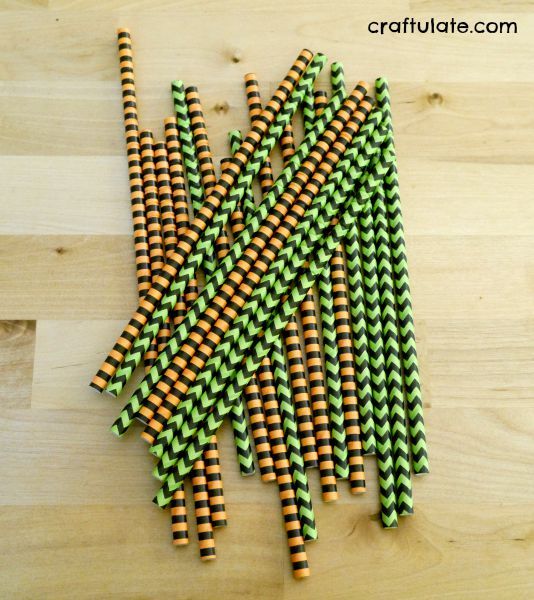
Disclosure: I was provided with these straws from Aardvark free of charge in exchange for my fair and honest review. Please see my disclosure policy. The post also contains affiliate links, which means that at no extra cost to you I can make a tiny bit of money to help support this blog. Thank you!I love it when a craft material inspires a new activity! These paper straws from Aardvark are wonderful! They are super strong, perfect for crafting and come in SO many different designs! They have all kinds of stripes, dots and chevron prints, plus cow print, bamboo, camouflage and many more! For this project we used the orange and black rings and the green and black chevrons.
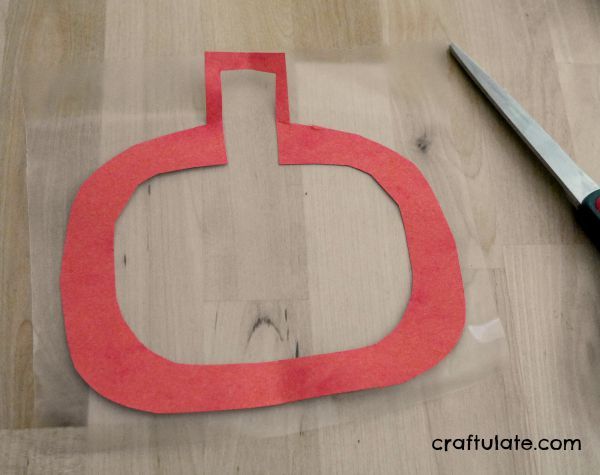
To prepare the craft I cut a pumpkin shape from orange construction paper, and then cut the center out to form an outline. I cut a piece of clear contact paper just larger than the pumpkin, attached it to one side of the pumpkin, then trimmed the edges.
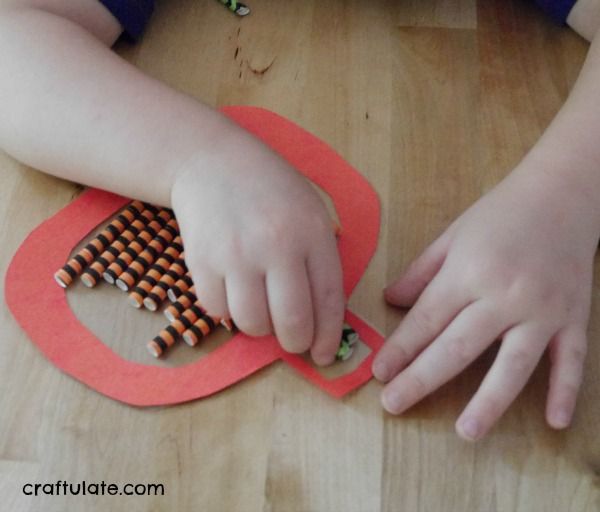
Then I laid out the pumpkin (sticky side up), the straws, and some scissors for my son. He found the straws very easy to cut.
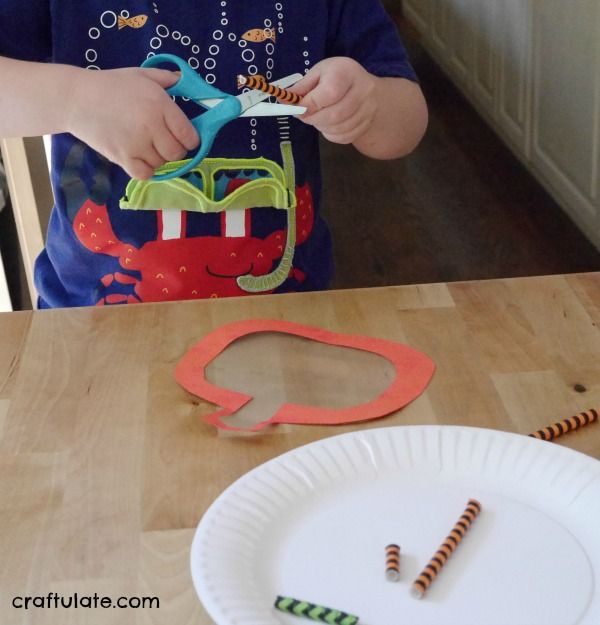
He filled up the pumpkin with the orange straws, then added green at the top for the stalk.
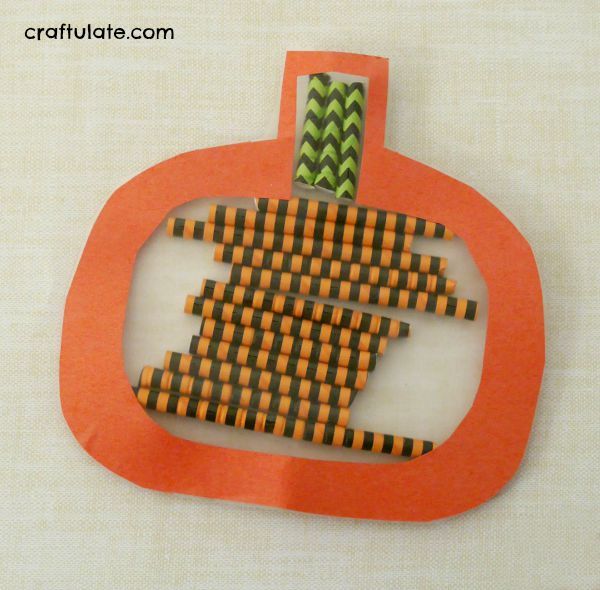
This was his finished design (I turned it over to display the flat side of the pumpkin):
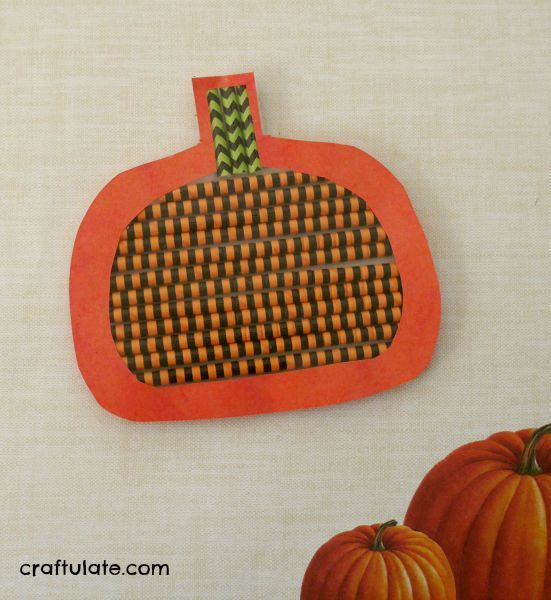
I made one at the same time (I love working at the same project while sat opposite him – which works especially well if he doesn’t want me interfering with how he’s doing!). This was my version!
[bctt tweet=”Make a super cute #pumpkin #craft with the kids this Halloween using @AardvarkStraws !”]
Please head on over to Aardvark Straws and check out all their amazing designs! You can also follow them on Instagram, Facebook, Twitter and Pinterest!


