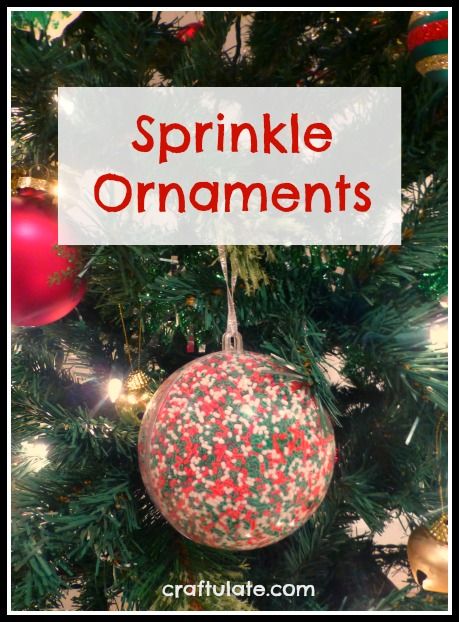
These kid-made sprinkle ornaments are a fun and crafty way to decorate the tree!
The following post contains affiliate links, which means that at no extra cost to you I can make a tiny bit of money to help support this blog. Thank you!
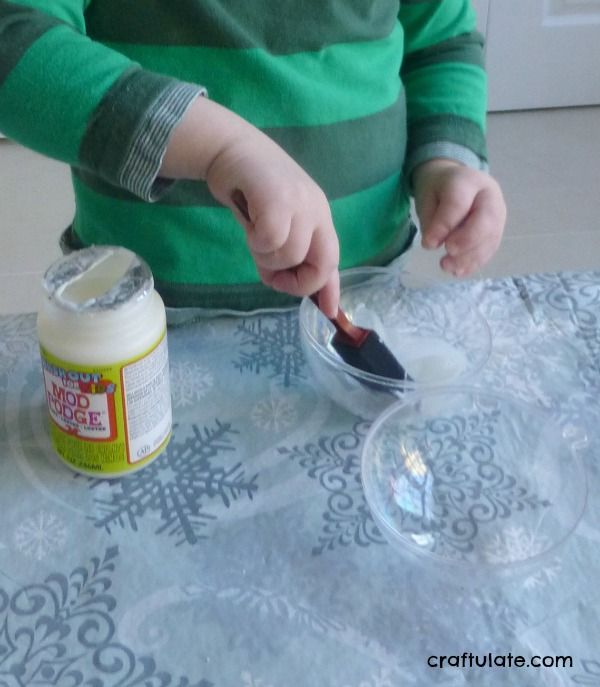
To make these ornaments we used:
- Fillable clear plastic ornaments, the type that splits in half
- Sprinkles in holiday colors
- Sugar crystals (we used red and green)
- Mod Podge or white craft glue
- Foam brush
- Ribbon
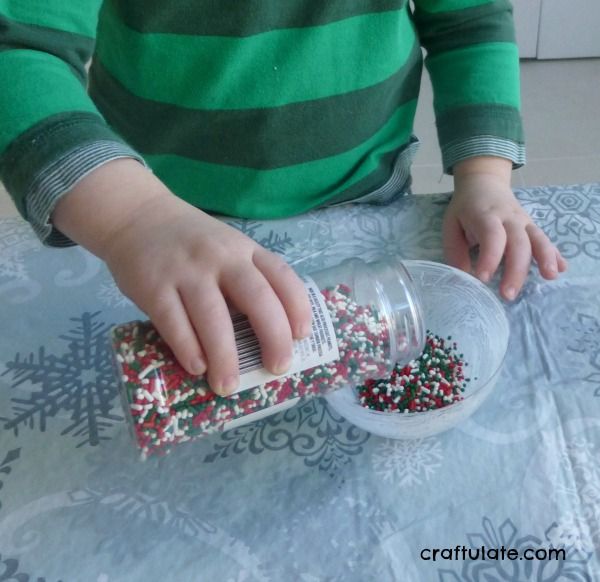
Then he poured sprinkles into ONE side of the ornament.
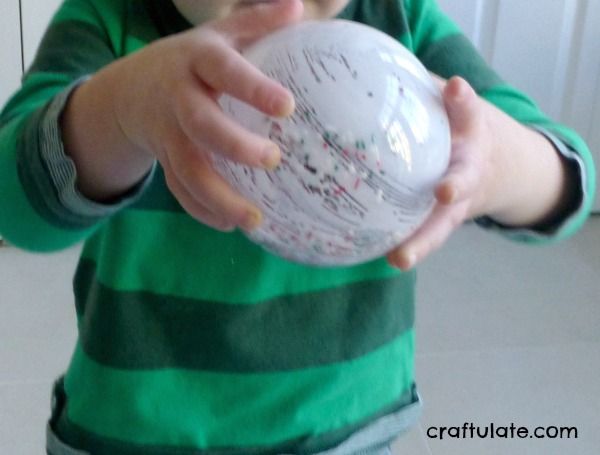
Then we closed up the ornament, and he got to shake, shake, shake!
Open it up and check if there are any gaps. Add more sprinkles and shake again until the gaps are covered and there are loose ones inside the ornament. Discard the loose sprinkles. Actually I should mention at this point that kids definitely shouldn’t eat any of the sprinkles that may have come into contact with the glue. If they really have to eat some, maybe reward them some after they have finished making the ornament and have clean hands.
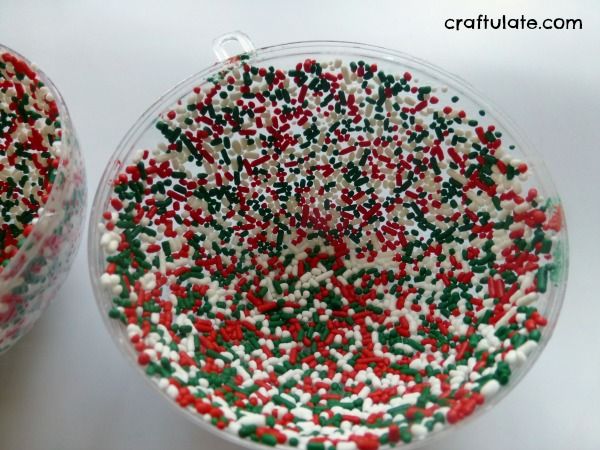
Leave the ornament to dry in the open position. Once dry, close it up. You may need to remove a few sprinkles that have settled near to the join first. Then thread a ribbon through it and hang on your tree!
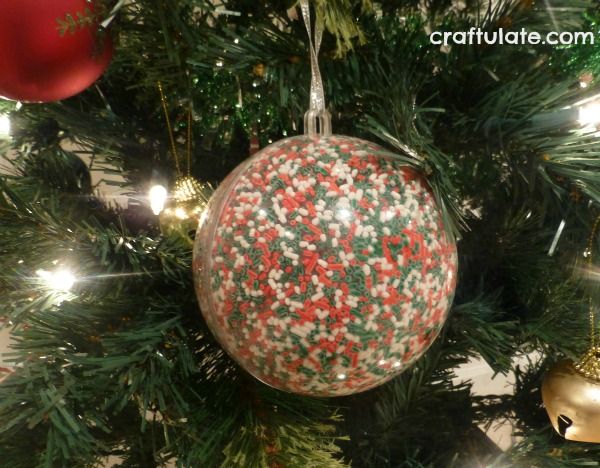
[bctt tweet=”Use sprinkles to make Christmas tree ornaments! Fun!”]
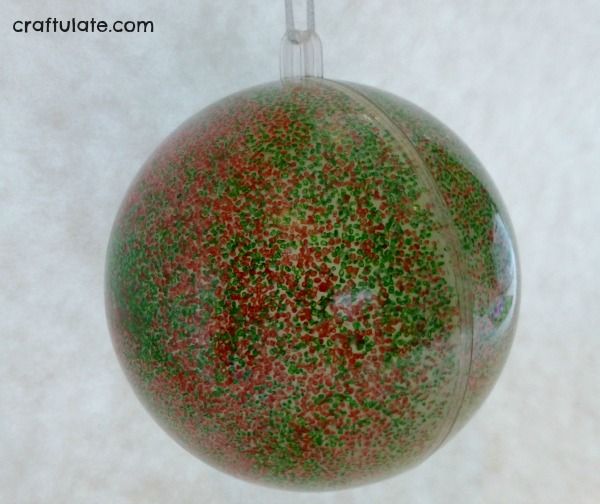
We also made a version with sugar crystals using the same technique!
This activity is featured in my book 50 Christmas Crafts for Little Kids – get your copy today for more festive inspiration!

