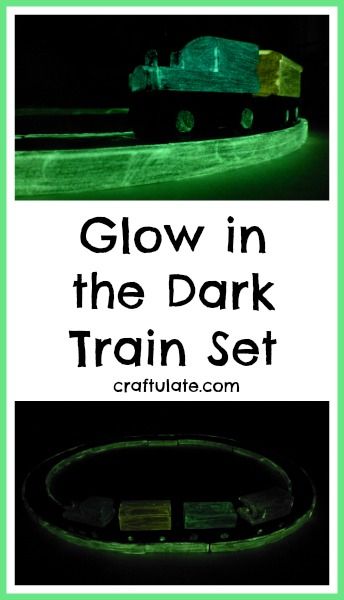
I won’t deny it, I had a LOT of fun with this glow in the dark train set craft! Luckily my son quite liked it too…
The following post contains affiliate links, which means that at no extra cost to you I can make a tiny bit of money to help support this blog. Thank you!
To make this fun train set I used the following:
- Unpainted wooden trains*
- Acrylic paints (non-washable works best)
- Mod Podge Gloss
- Glow in the dark paint (I tried both Americana/DecoArt brand and Glo-It – they both worked fine!
- Wooden train tracks
- Blacklight
* I bought these ones from Amazon and although they are basic they have the magnetic connectors so are completely compatible with my son’s other trains. I found some beautifully crafted options on Etsy but they didn’t fit our standard-sized track – so please check before buying!
I painted the wooden trains in two coats of acrylic paint. The set came with an engine, caboose, coach and hopper/cargo car and I painted them all different colours. I decided not to add any additional details and leave them plain – but that’s probably a reflection on my painting abilities! After the paint had dried I sealed the paint with a layer of Mod Podge. This gave the trains a more finished look and will hopefully protect the corners from paint chips.
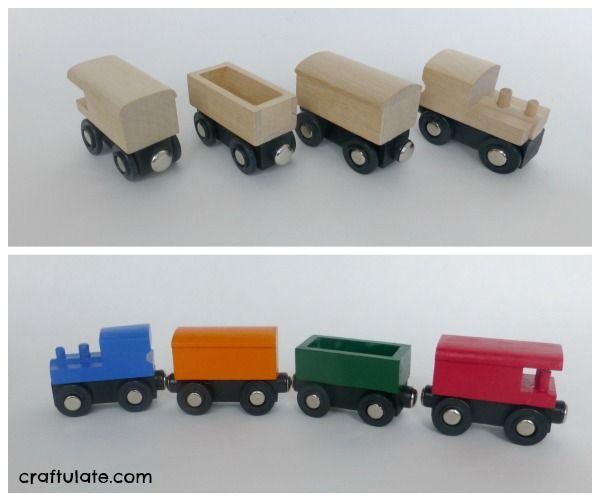
Finally it was time to add the glow in the dark paint. I added several layers to the trains to get the glow even and added a dot of the paint to the wheel axle. I also painted some train tracks – the ones I selected make an oval track and are marked differently from our other track (I think they are Chuggington brand). This way I would always know which ones were the “glow tracks” when they inevitably get mixed in with the rest at a later stage. I painted the outer and inner edges of track on both sides.
In the daylight, this train set looks pretty normal. If you look closely it appears that the train cars have a slightly yellowy varnish.
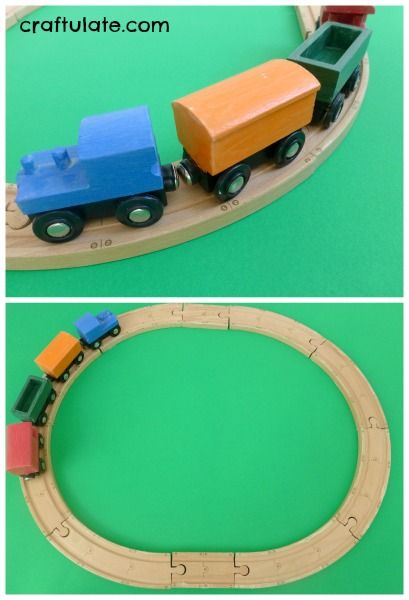
However – after I had “charged” the train and track in light for a few hours then switched all the lights off – it looked amazing!
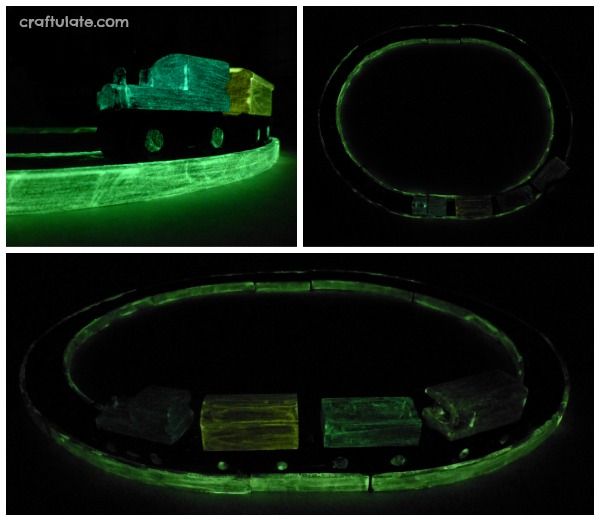
Oh – a quick note about the look of these trains and the glow effect. In my experience, glow-in-the-dark paint usually glows in yellow-green tones, regardless of the main colour. So by painting the trains first I got the daytime colour that I wanted, but when they glowed it would all be in the same yellow-green tone. Also, I used a blacklight to enhance the glowing effects.
I couldn’t wait to show it to F! I was quite thankful for the days getting shorter so that it would get darker sooner. He was delighted to see the new trains and it was a great surprise to him when I “charged” them with the blacklight and then switched the lights off! I don’t have the best camera in the world to take these tricky-lighting shots, but here’s one of F racing the train around the track!
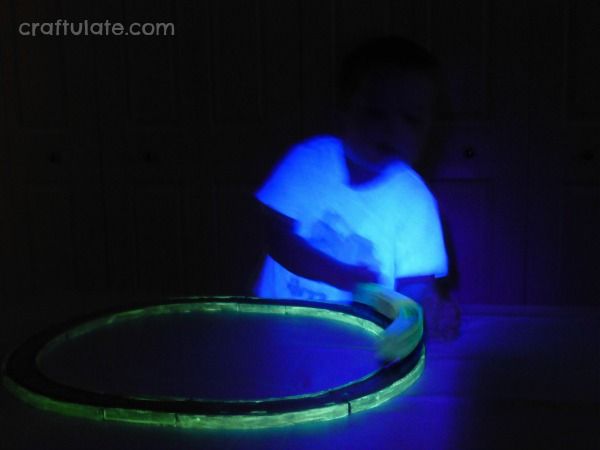
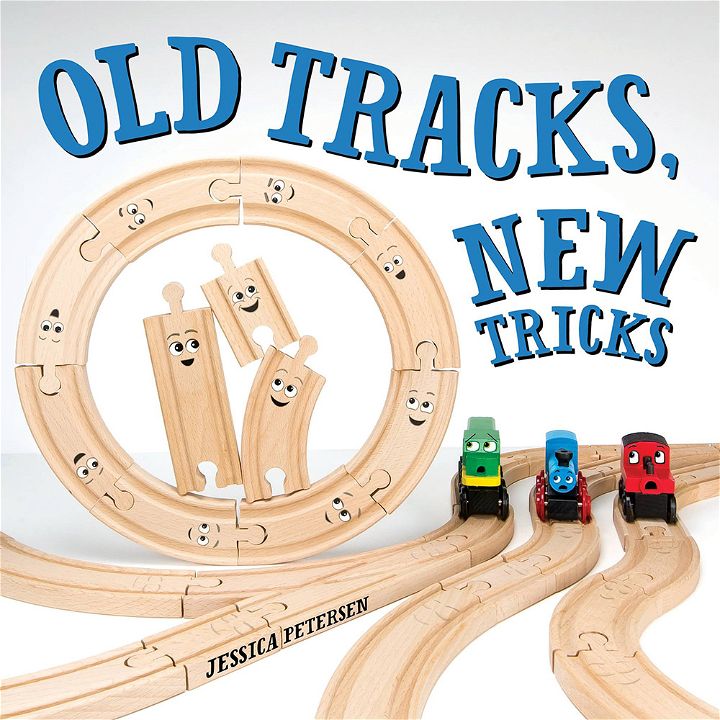
Note: I want to be honest for a moment about my experience with glow in the dark projects. Firstly, if you don’t have a blacklight, you may be underwhelmed by the results. Secondly, the glow doesn’t last for long. And thirdly (and most importantly), the effect is SUPER cool, and still worth trying!I’d also like to take this opportunity to give a quick shout out to my friend Jessica over at the blog Play Trains who has published her first book! “Old Track New Tricks” is a super cute story about wooden tracks that do tricks to show kids what they can do! A wonderful story and lots of great activity ideas, too.
