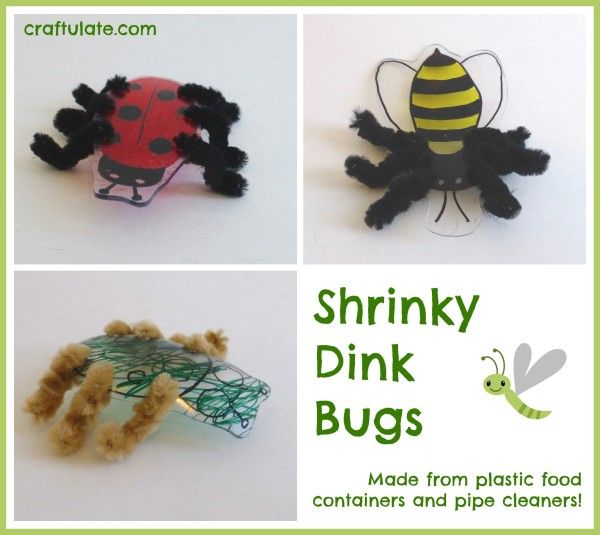
This was our first experiment with shrinky dinks crafts – and I’m rather addicted! Here’s how we made some super cute shrinky dink bugs from upcycled plastic food containers and pipe cleaners.
The following post contains affiliate links, which means that at no extra cost to you I can make a tiny bit of money to help support this blog. Thank you!Over a month ago I read Lalymom’s excellent guide to using shrinky dinks, and how you could use #6 plastic instead of buying special paper. So I diligently rushed to my computer and ordered some food to be delivered for dinner so that I would get some food containers using that particular plastic. Since then, well, I confess I haven’t actually MADE the shrinky dinks, but I did keep the plastic!F received this Hexbug Zipline set for Christmas and he loves it – so making some little shrinky dink bugs seemed like the way to go! So I drew two bugs outlines onto my plastic (each piece was about 4×6″), one ladybug shape and one – well – let’s just say generic bug shape.
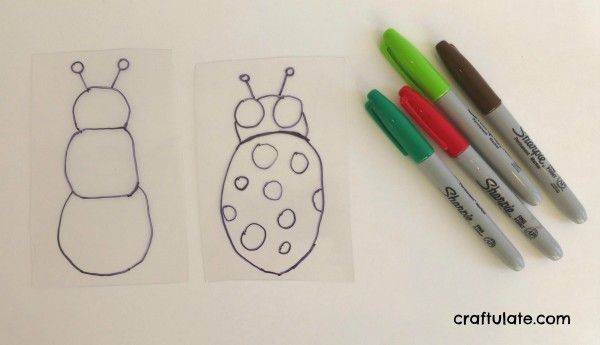
I set out some permanent markers for F to either colour-in the bugs or just scribble over them. And yes, these are permanent markers so be careful which surface you use – I taped ours to the back of an old plastic placemat.
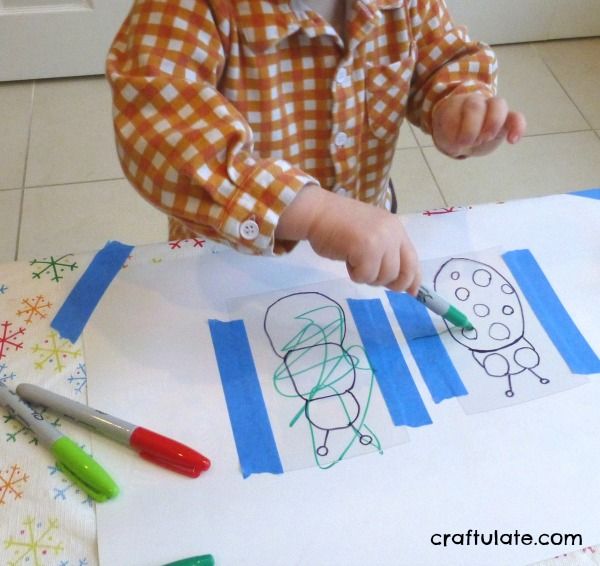
Despite giving him a red pen he decided that the ladybug should be green!
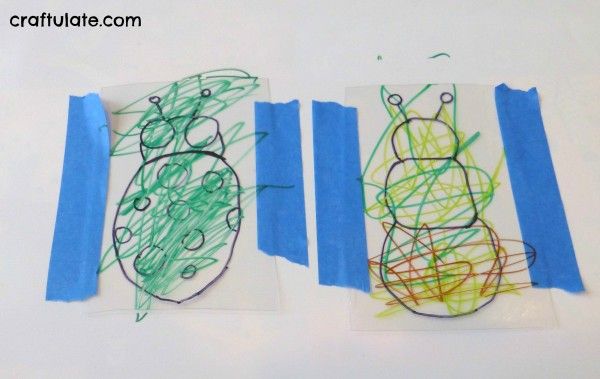
I cut the bugs out and using a single hole punch made six holes in each bug for legs to be added later.
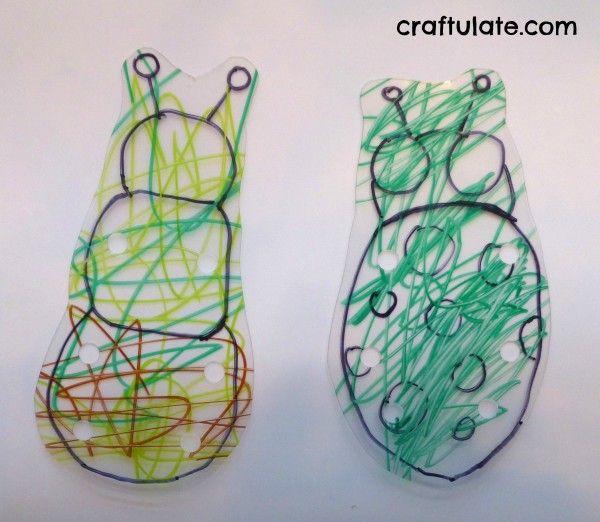
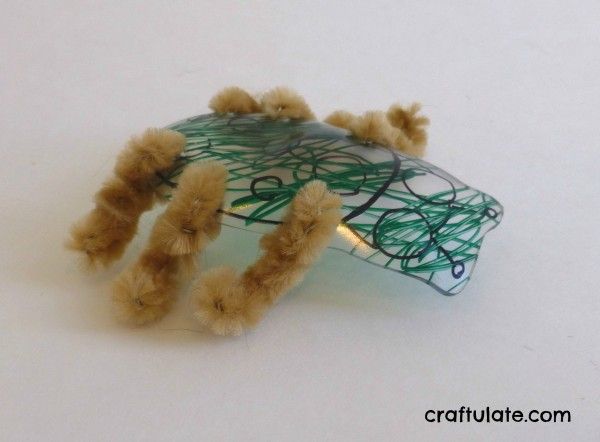
I put the bugs on a silicone mat and then on a cookie sheet, and (like Lalymom recommends) a sheet of parchment paper over the top. Into a 300F oven they went, but I realized that I couldn’t see them shrink because of the paper over the top. So I took the paper off, and in 3-4 minutes they had shrunk down. And curled up. Ah. I couldn’t flatten them out much so this is how they looked:
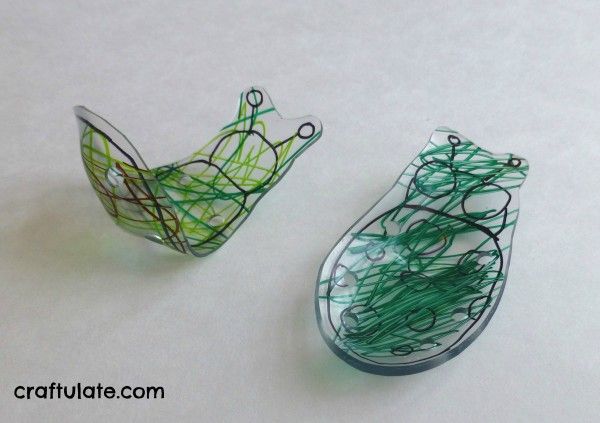
Undeterred by my curly bugs, I cut two pipe cleaners, each into six pieces (use wire cutters, not scissors!). I twisted one end of the pipe cleaner piece through the hole, then twisted the other end to make a “foot” and to ensure there were no spiky bits of wire. I used the pliers my husband gave me for my birthday (true love!) which were perfect for hiding those sharp ends. The curled bug looked quite odd but the other one didn’t look too bad!
However, I knew I wanted to try to get them flat so I insisted that we order in dinner again that night so I could get some more clear plastic boxes. After washing and drying, I drew a bumble bee and a (red) ladybug onto the plastic. Then cut them out and punched holes as before.
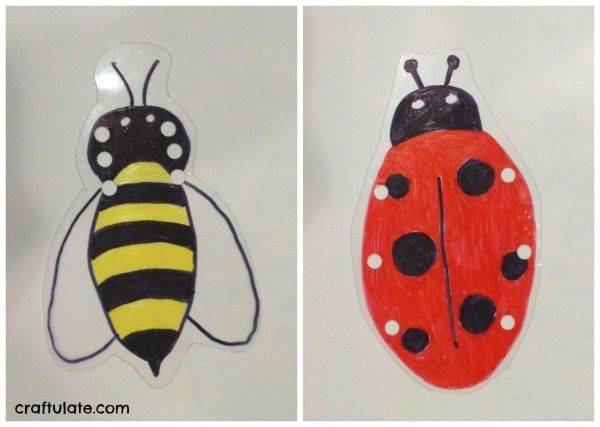
Again I put them on the silicone mat, with parchment over the top. This time I took no chances, and put a small baking pan on top to weigh them down a little. I patiently waited four minutes and then nervously removed them – it had worked! Nice flat bugs! To give you an idea of size, the lady bug started at 6″ long and reduced down to 2.5″. I added pipe cleaners to them as before and ta-da!!
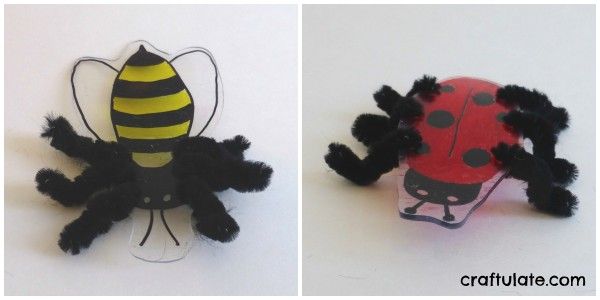
F really liked them and loved making them “fly”. Buzzzzzzz!
I was inspired by this pin to make these bugs – can’t find the original source for it though, sorry!


