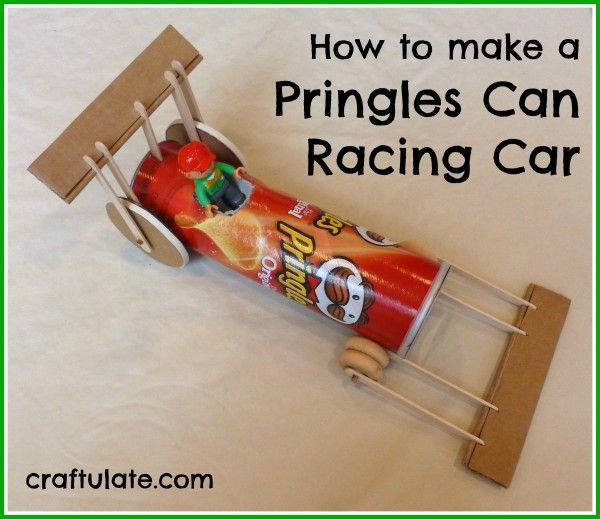
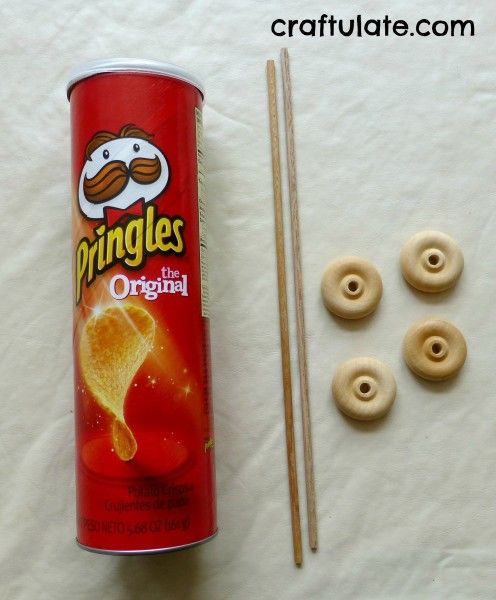
This toy racing car craft is made from a Pringles can!
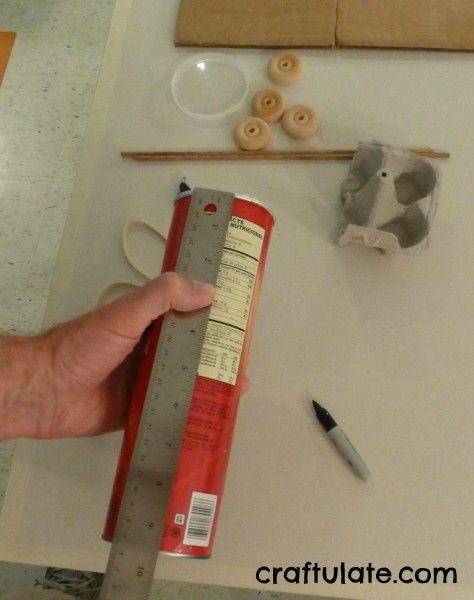
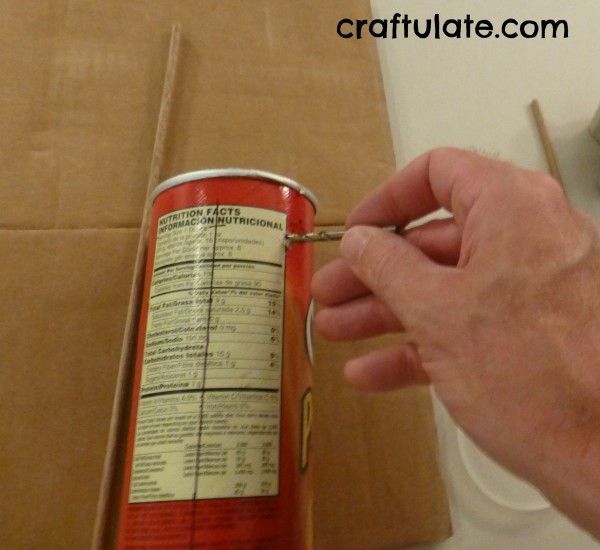
To make the holes I used a twist drill (that was a little smaller than the width of the dowels) to make a push fit. Then I poked one of the dowels through the two holes to make an axle; and put a pair of wheels on each side.
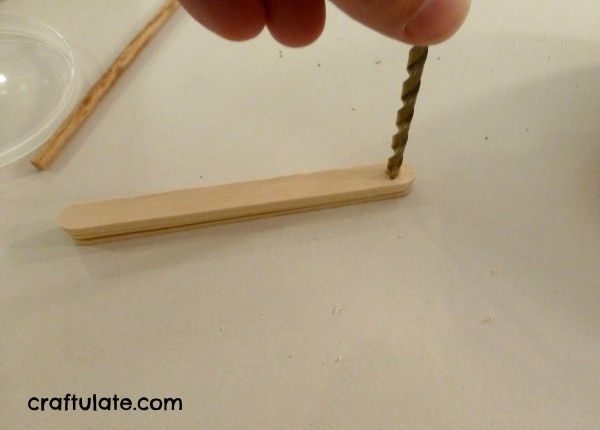
While I was wondering how to keep the wheels from falling off the axle, I decided on craft sticks. I drilled holes in both ends of four sticks, by stacking them carefully one on top of the other. If you have an electric drill it’s easier, but you can do it by hand with a twist drill and a bit of elbow grease.
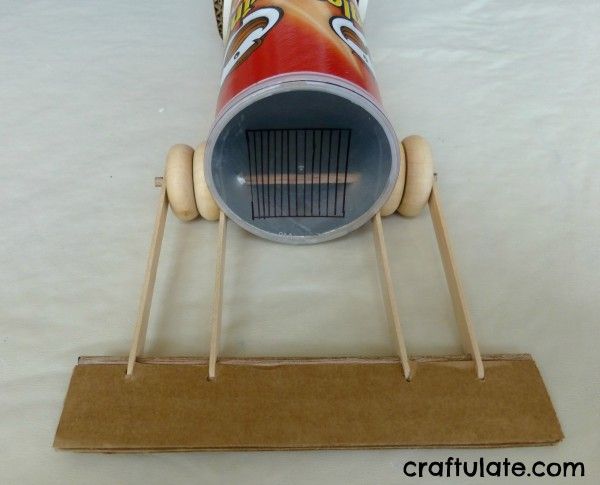
Here’s the arrangement: the axle pokes through the tube, and on each side there is a craft stick, two wheels and another craft stick. Nothing is glued at this point.
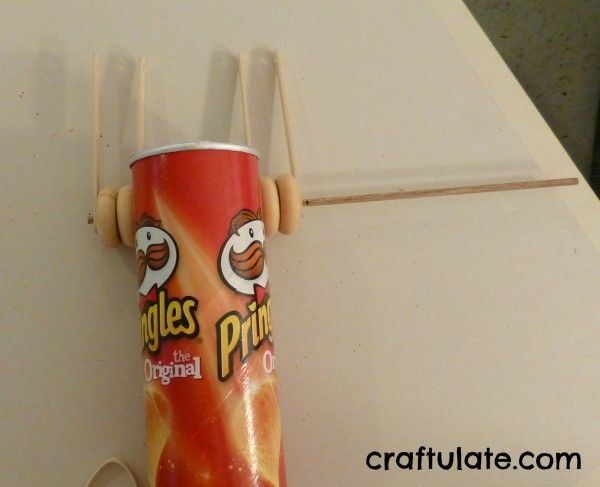
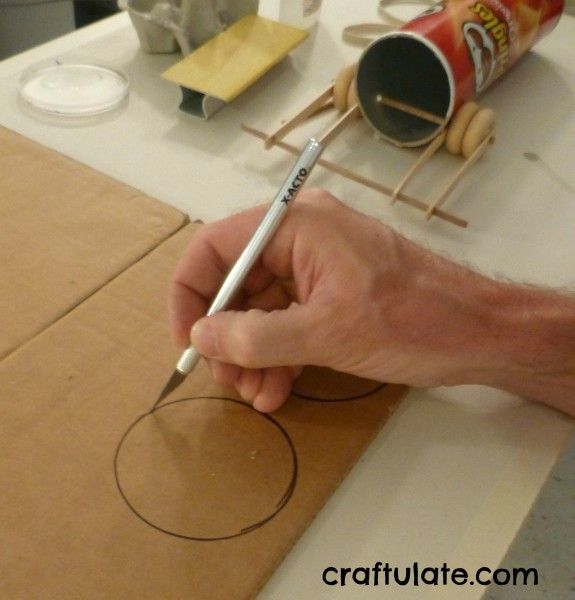
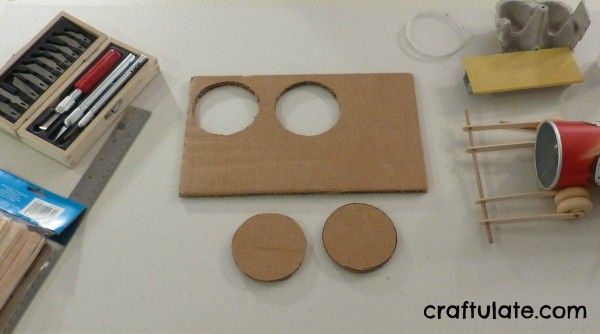
You may notice in the last picture that I also pushed another dowel through the front of the craft sticks, to complete the support for my front wing.
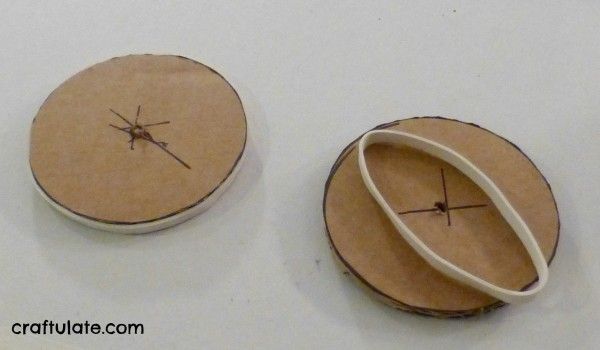
Find the center of each back wheel, e.g. by drawing two diameters across it roughly at right angles to each other, or by eyeballing it. Then drill through with a twist drill or just poke a hole with a stick. I used two wide rubber bands for the tyres.
Again, you need to measure so that the tube will be clear of the ground with the wheels on. I jacked up the back of the car with a few craft sticks, and rested the wheels alongside then marked through with a pencil.
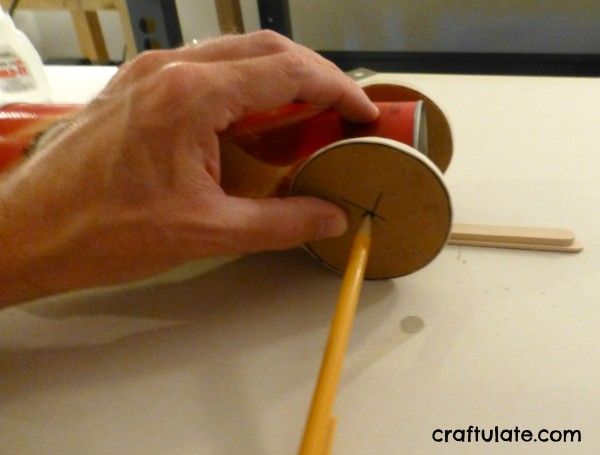
Then I made holes in the tube, and poked a dowel through to hold the wheels on. Again, I used four craft sticks with holes drilled in each end to help retain the wheels and to be the basis of the rear wing.

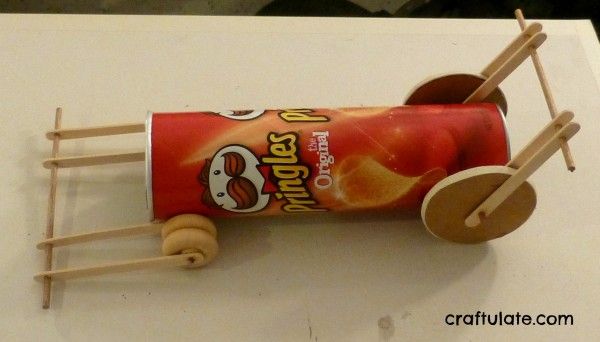

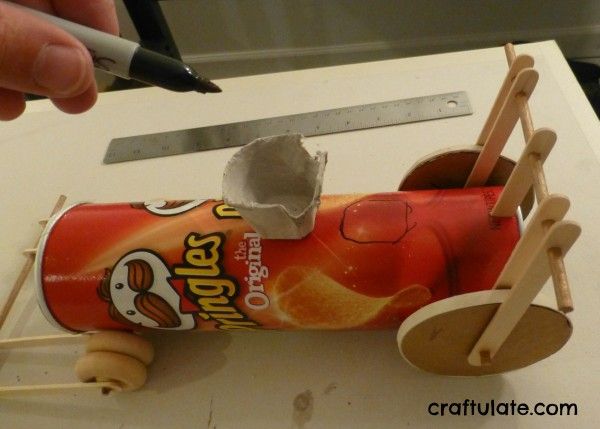
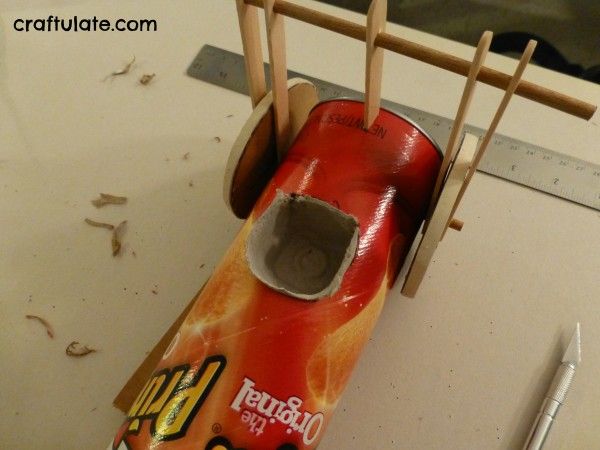
Voila! One race car, apparently from the Pringles racing team!
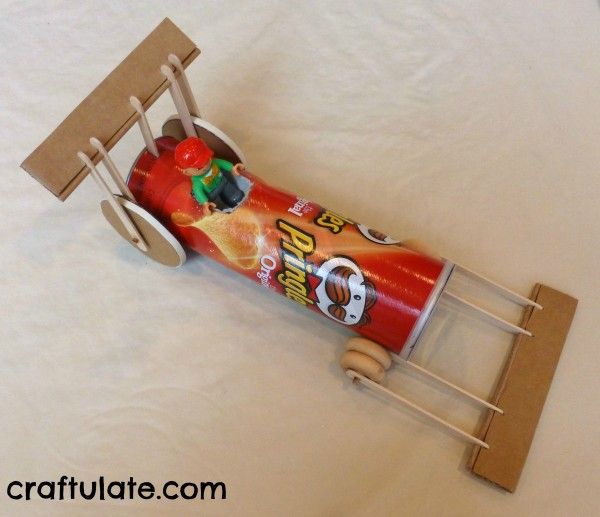
Georgina and I showed it to our son who loved it! We have to supervise him when he plays with it but generally he’s quite careful.

