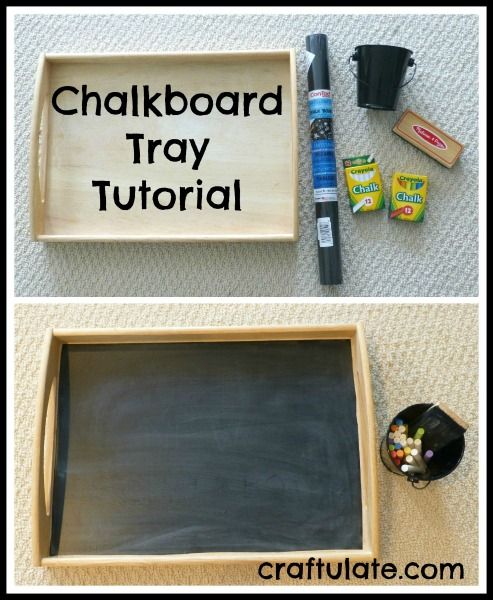
I upcycled an old wooden tray to make this handy chalkboard tray!
The following post contains affiliate links, which means that at no extra cost to you I can make a tiny bit of money to help support this blog. Thank you!
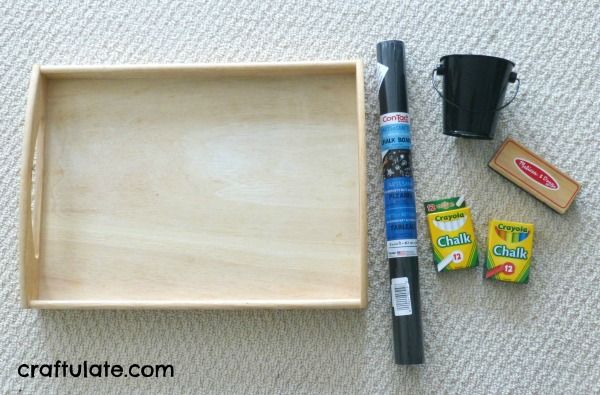
First I cut a piece of chalkboard contact paper to the size of the tray and carefully stuck it to the inside of the tray. I thought that this would be super tricky to get perfectly flat but because the paper can be repositioned I could just lift and retry it. So it was just a case of working fairly carefully and smoothing out any air bubbles as I went.
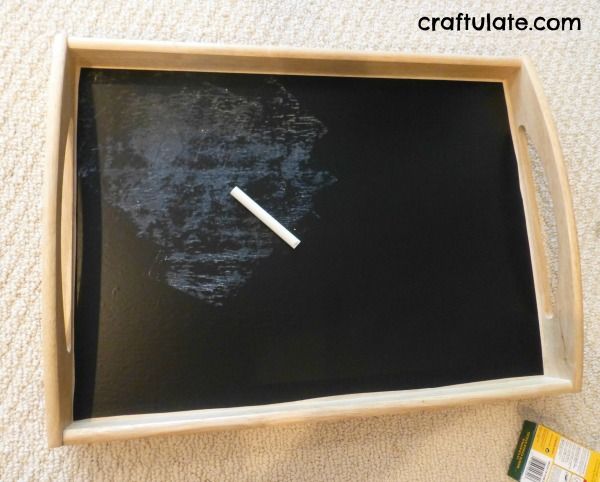
Then the contact paper needs to be “cured”, sort of like seasoning a wok I suppose! This is done by rubbing the long edge of a piece of chalk over the paper and then wiping off with a felt eraser. For more handy tips about using this contact paper, see here.
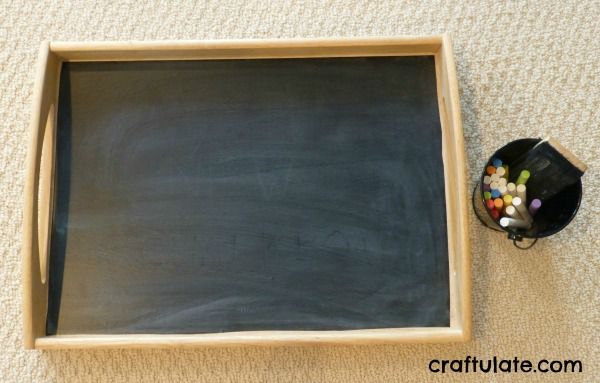
Then the chalkboard was ready to use! I put some chalk and an eraser in a pail to keep things tidy.
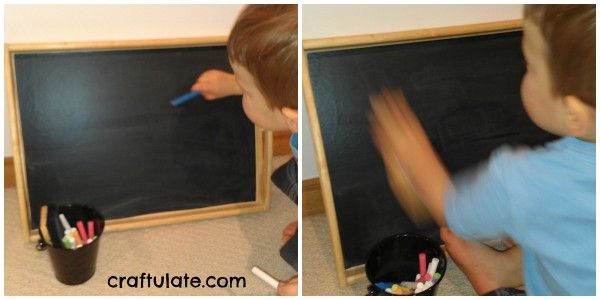
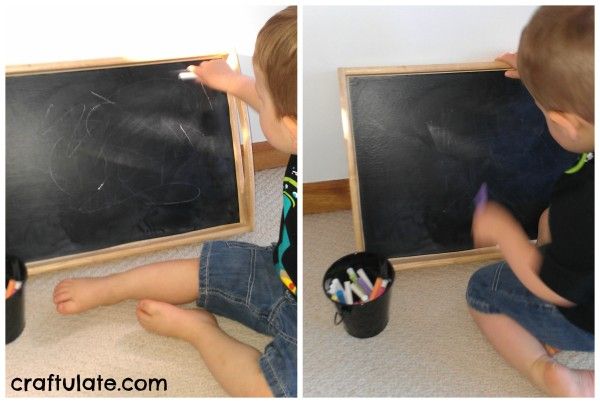
I showed it to F and he immediately started scribbling. The white chalk worked better than the coloured chalk for some reason. But he really loved rubbing off the chalk!
We’ve now had this for a week and he’s played with it every day. F loves handing me the chalk and calling out letters, animals or “choo choo” for me to draw. I just love that!
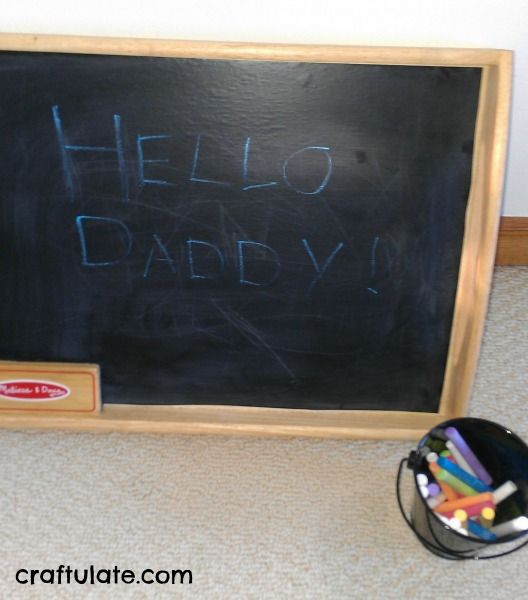
The tray has ended up living in my husband’s study, with a vague hope that F will play with this rather than my husband’s computer! Plus it also means that we can leave messages for Daddy to find!
This activity was part of our Black Crafts and Activities week.