This tissue paper snowflake cutting activity transforms into pretty artwork!
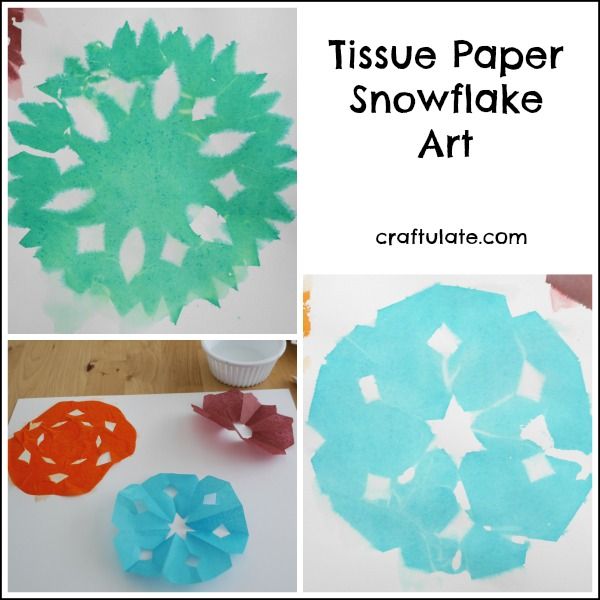
The following post contains affiliate links, which means that at no extra cost to you I can make a tiny bit of money to help support this blog. Thank you!I love finding new ways to make snowflakes and snowflake art! Last year we made snowflakes from cupcake liners which was fun! This year we made them from coloured tissue paper but then transferred the dye from the tissue paper onto card! Here’s what you need:
- Colored tissue paper (dark colors work best, we found)
- Scissors
- White card
- Paintbrush and water
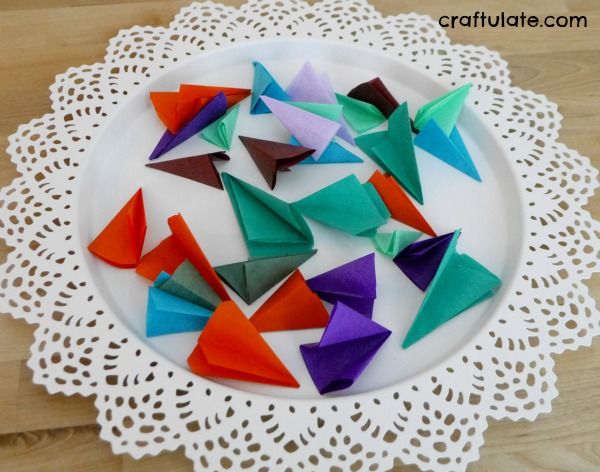
There are many ways to fold paper ready for snowflake cutting, depending on how many points you want! We used a technique very similar to this one: folded a square piece of paper in half, folded the two edges into the middle to form thirds, then cut along the edge opposite the point to form a horizontal line. You can then fold it in half again if you like!
I showed my son how to make little snips in the paper. Cutting out little triangles from the edges seemed the easiest way to start.
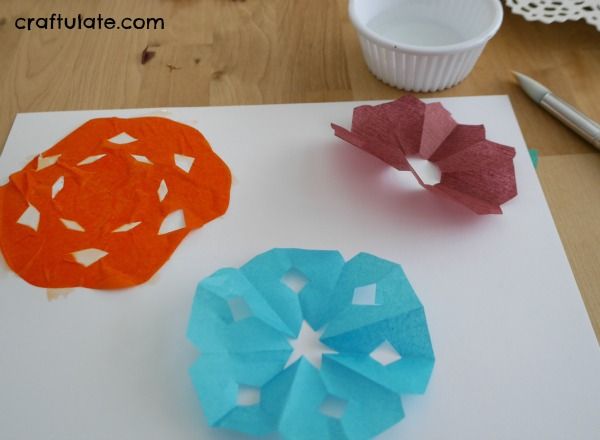
When he had finished making snowflakes, we placed them on white card and gently brushed them with water so that they stuck to the card.
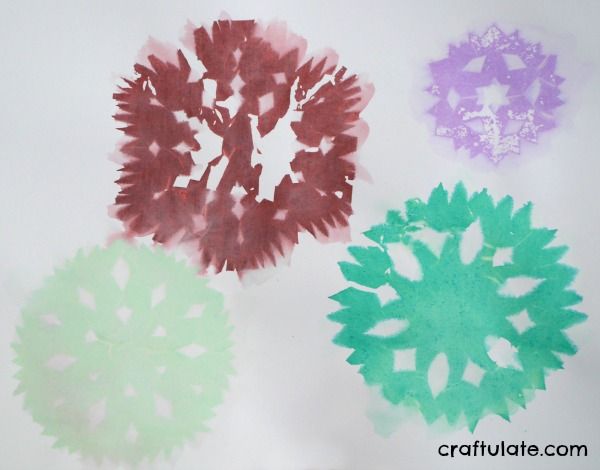
After a few hours the tissue paper had dried out, and started to peel off – leaving some of the dye remaining on the card – forming a lovely image of the snowflake.
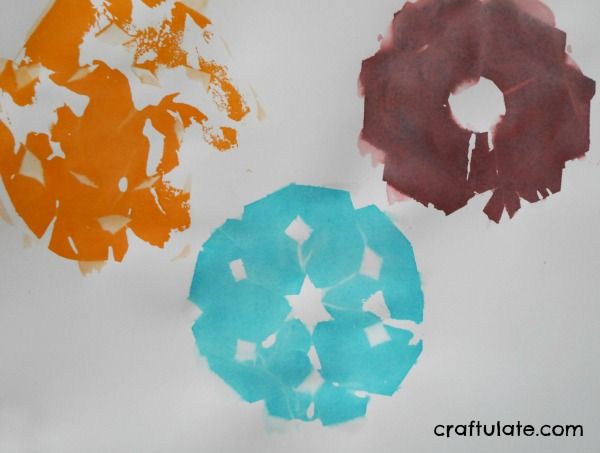
As we had so many folded snowflakes left over – my mother (an expert snowflake-cutter) tried the activity too. Here are the results!
[bctt tweet=”This #tissuepaper #snowflake art is a fun #winter activity for kids!”]
