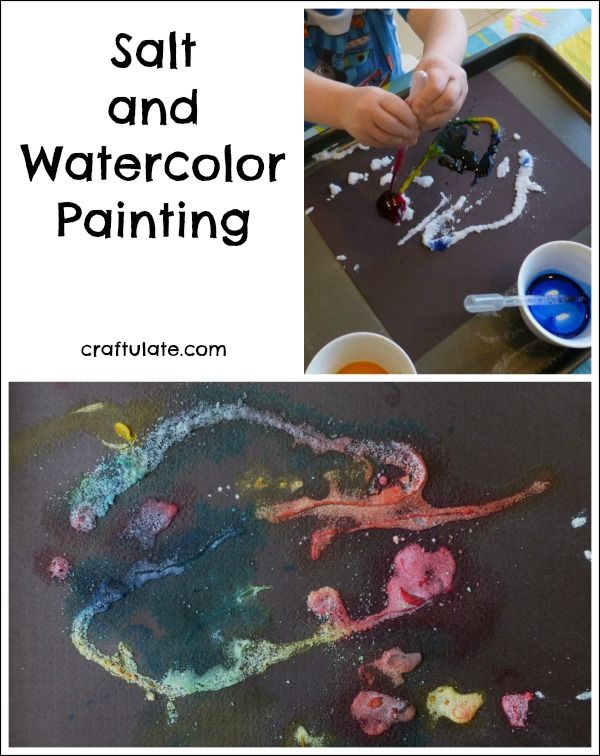
This painting technique uses glue, salt and watercolor paints and creates some dramatic artwork!
The following post contains affiliate links, which means that at no extra cost to you I can make a tiny bit of money to help support this blog. Thank you!
This salt and watercolor painting activity has three stages:
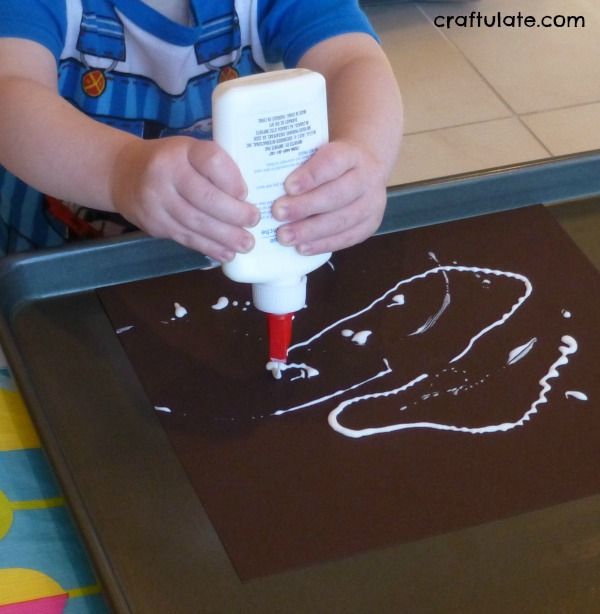
- Make a design with glue
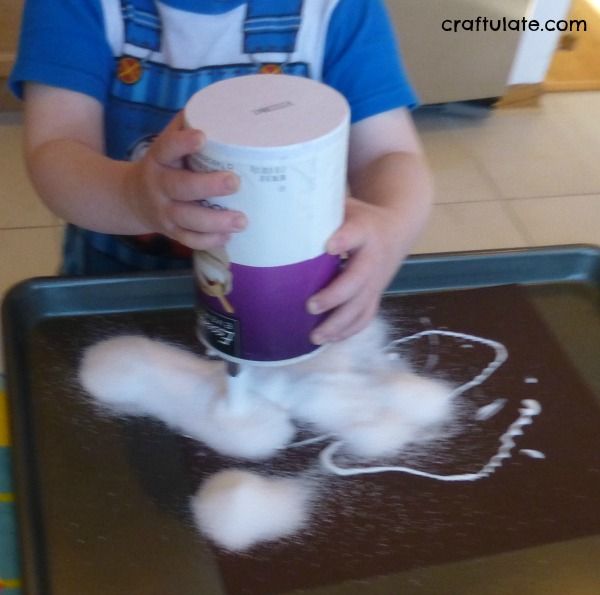
- Sprinkle salt over the glue
- Drop watercolor paint over the salt and glue
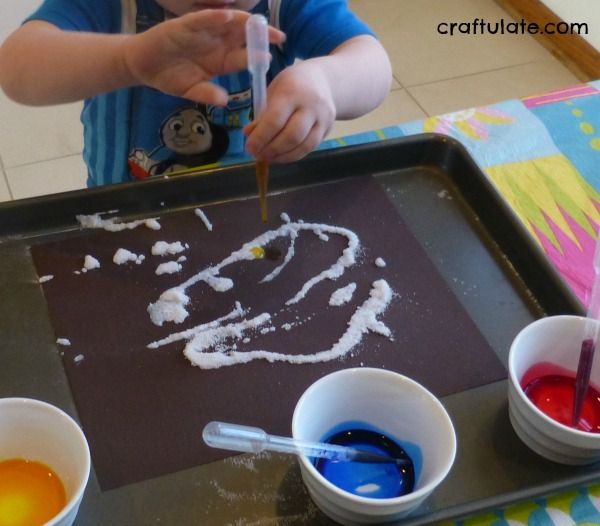
Then I gave him the salt container. And stepped back to take photos. I *think* he got enough salt! No harm done, though, I just tipped off the excess and there wasn’t even any mess thanks to the cookie sheet containing all the salt.
To paint the salt I gave F some undiluted liquid watercolors and some plastic pipettes (eyedroppers). I knew that F would particularly like the opportunity to play with the pipettes! He didn’t have great direction with adding the paint, but we got there in the end.

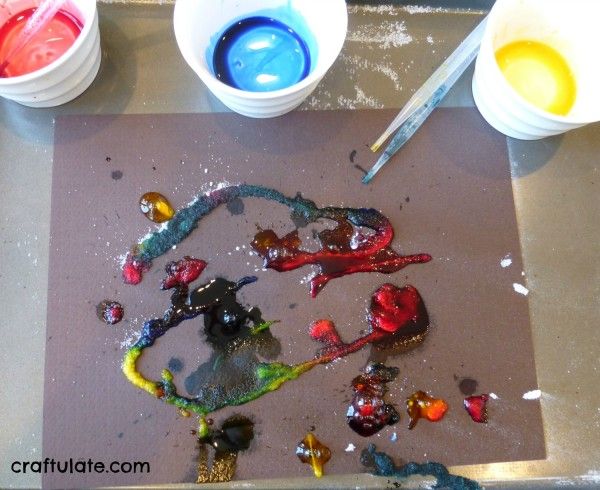
His finished artwork was a little on the messy side…
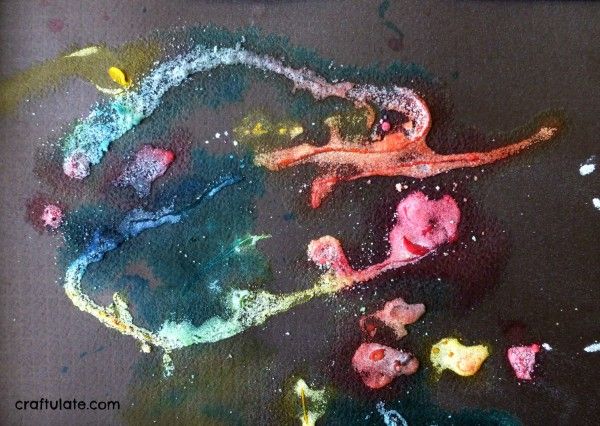
… but after it had dried and I had shaken the excess salt off, it looked very pretty!
I made a salt and watercolour painting too!
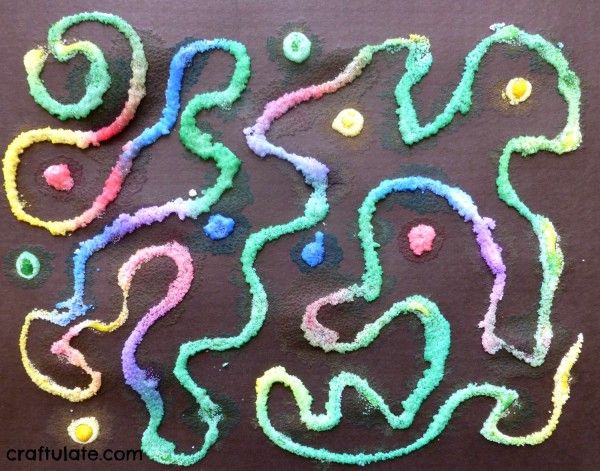
Because of the crumbly nature of the salt this technique doesn’t result in long-lasting artwork, but this fun painting method is definitely one we’ll be revisiting!