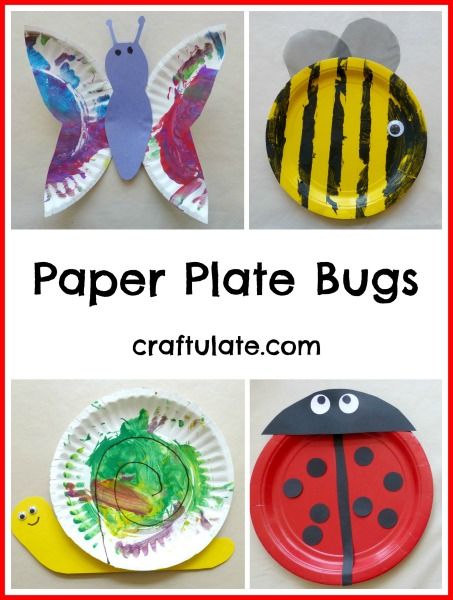
This week we have been making paper plate bugs: a bee, a butterfly, a ladybug and a snail!
The following post contains affiliate links, which means that at no extra cost to you I can make a tiny bit of money to help support this blog. Thank you!
Paper Plate Bee
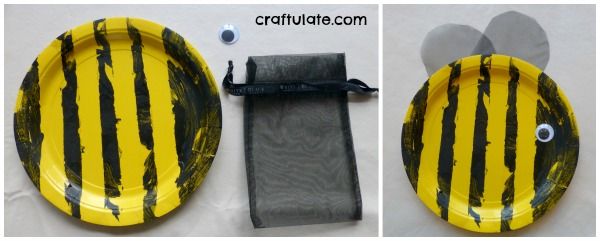
To prepare the bee I used masking tape (painter’s tape) to mark lines onto a yellow plate. Then I gave F (26m) some regular black paint and some black glitter paint. It didn’t take him long to give up on the brush and go in with his hands! After the paint had dried I carefully removed the tape. I glued on a googly eye and made some wings from a small black organza bag.
Paper Plate Ladybug
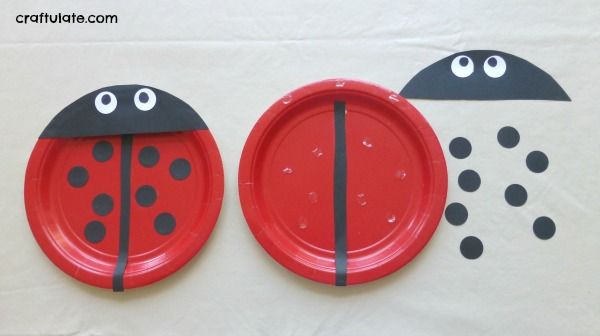
For the ladybugs we used red plates but if you don’t have any then you could always use white plates and paint them red first. I made this craft a matching activity, by making one in advance. I gave F all the pieces, and I added glue dots to his paper plate where the pieces should go. Then he had to try and match my version!
He did pretty well and we also did some number counting when he added the spots.
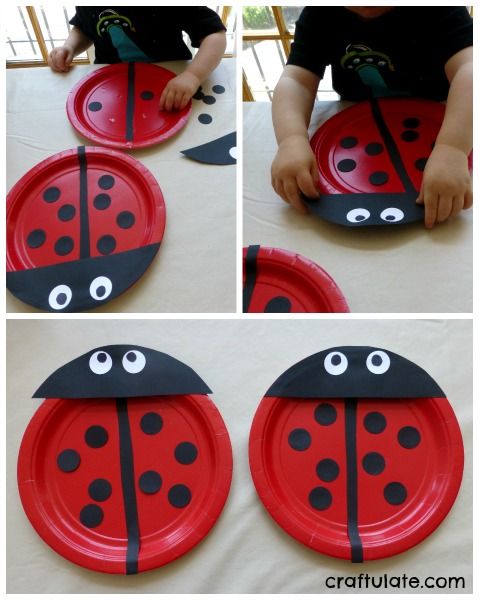
This craft could easily be adapted for older children by asking them to add their own glue.
Paper Plate Butterfly and Snail
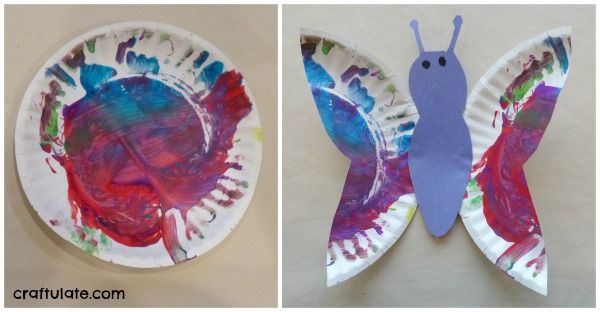
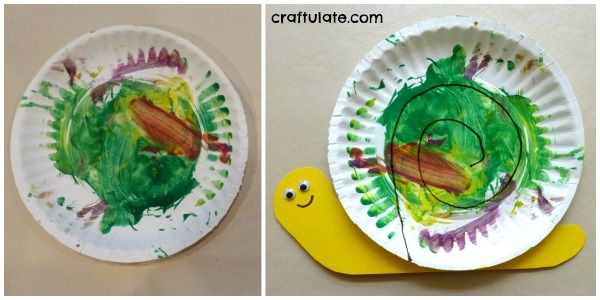
We often use small white plates as paint trays for our painting sessions, so I kept two of the “prettier” ones and turned them into bugs!
To make the butterfly I cut the plate in half, shaped each half into wing shapes, then glued them to a piece of construction paper that I had cut into a body shape.
To make the snail I kept the plate whole to form the shell, and glued it onto some card, adding in extra details with a marker pen.
[bctt tweet=”Super cute paper plate bugs to make with kids! #kidscrafts”]
This article originally appeared on Cocktails with Mom.

