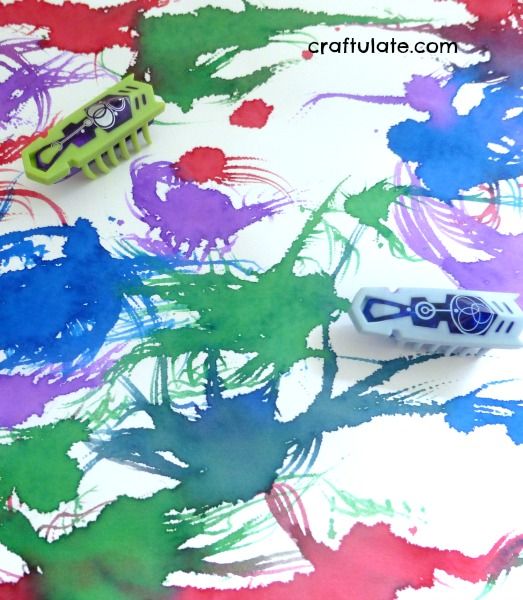
Painting with Hexbugs was seriously good fun – such a crazy way to make art! Make sure you check out the video!
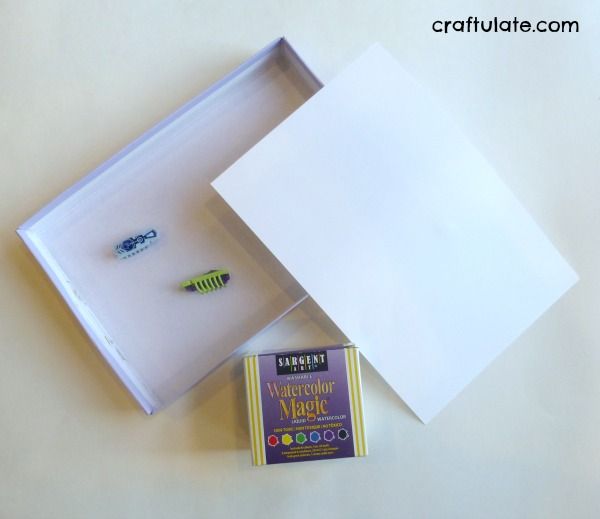
The following post contains affiliate links, which means that at no extra cost to you I can make a tiny bit of money to help support this blog. Thank you!For this art project we used Hexbug Nanos, Washable Watercolor Paint, a shoebox lid and some white cardstock.
If you’re not familiar with Hexbugs, they are little robotic toys that propel themselves forwards in a rather realistic manner! They are battery operated and have lots of little rubber legs, and when switched on they vibrate. Very addictive to watch! Usually they come with their own “habitat” and you can create all kinds of mazes for them. However, I was watching F play with them one day and thought they would be perfect for painting pictures!
I placed the cardstock inside the shoebox lid, dropped on some watercolor paint, switched on the Hexbugs and let them paint! F immediately LOVED the patterns that the bugs made. They are absolutely mesmerizing.
The movement of the Hexbugs is really hard to explain if you’re not familiar with them, so we made a video!
If you can’t see the video, please go to my YouTube Channel – don’t forget to subscribe for more videos!
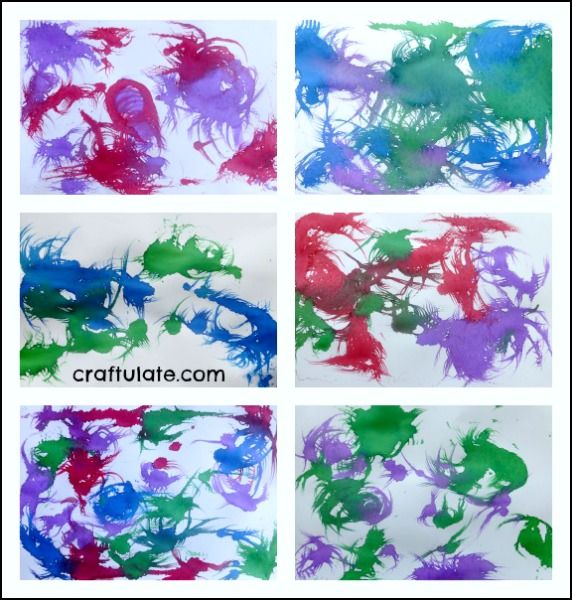
This activity was so fun we made a LOT of pictures! Here are just some of my favourites:
Here are some tips for painting with Hexbugs:
- Fresh batteries in the Hexbug Nanos make for better paintings! We use non brand batteries which work fine and are a lot cheaper!
- Occasionally the bugs get stuck in the corners of the shoe box lid. They can either be gently nudged out of the corner or I fixed this problem by placing a piece of tape across the corner on the inside of the box to create a more rounded corner.
- Don’t leave too long a delay between adding paint and adding the Hexbugs – wet paint works best.
