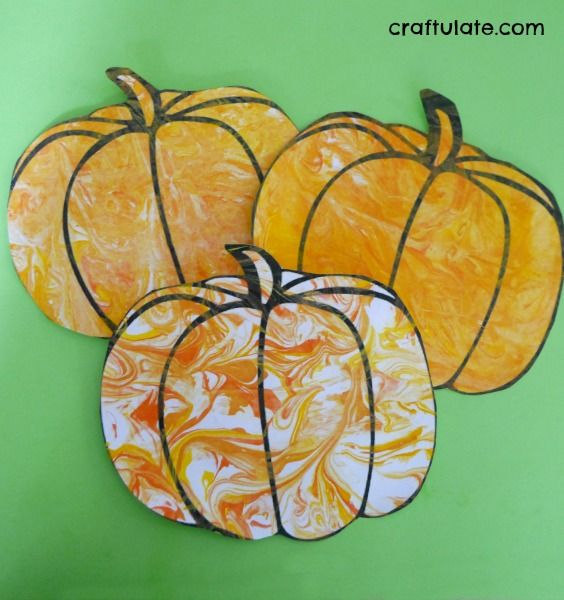
This marbled pumpkin art is a super fun project for the kids to make this fall!
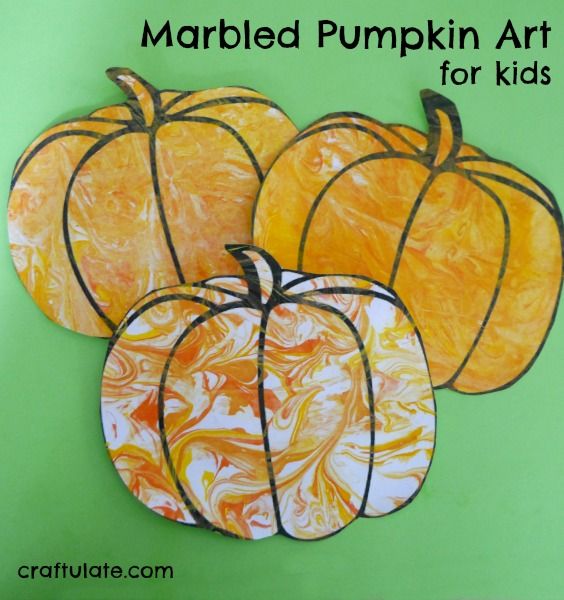
The following post contains affiliate links, which means that at no extra cost to you I can make a tiny bit of money to help support this blog. Thank you!We’ve experimented with making marbled paper a few times – our first was nearly two years ago when we made the beautiful paper into Marbled Animals, and then we used some pretty pink and red marbled paper to make a Spring Flower Craft last year.
My son is now 5, and not every craft immediately grabs his attention. But if he sees me starting to squirt shaving cream into a foil tin – I know he’ll want to be a part of it! There are more detailed instructions in the animals post that I linked to above, but to make these gorgeous pumpkins this is what you’ll need:
- White card with a printed outline of a pumpkin (super easy to find online, I got this one from clipartpanda)
- Large foil tray
- Shaving cream
- Orange paints in various shades (we used some from the great Apple Barrel range)
- Stick
- Plastic scraper tool
- Paper towels
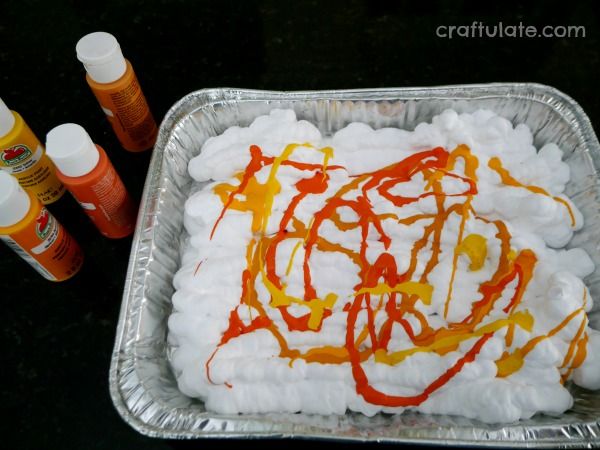
Use a stick (craft stick, chopstick or even a fork!) to gently swirl the paint around in the cream.
Press the card onto the paint and cream, printed side down. Peel off the card and leave it for a few seconds to allow the paint to dye the card. Use a scraper tool to remove the cream from the card, wiping the excess onto a paper towel.
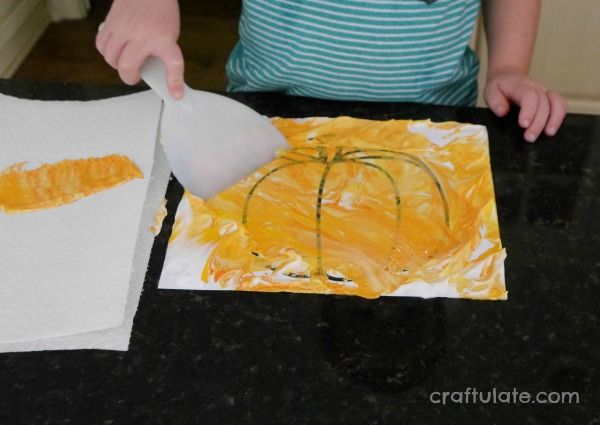
Underneath a beautiful marbled picture will be revealed! Swirl the paint some more if needed, and make more prints. You’ll see different effects with each one.
Leave the artwork to dry and cut out the pumpkins.
