This is a really easy way to learn about making paper with kids. And we made our paper glittery, too!
First: Get Your Supplies!
[amazon box=”B002P30IYS, B008UWDEQC” template=”table”]
Next: Get to Work!
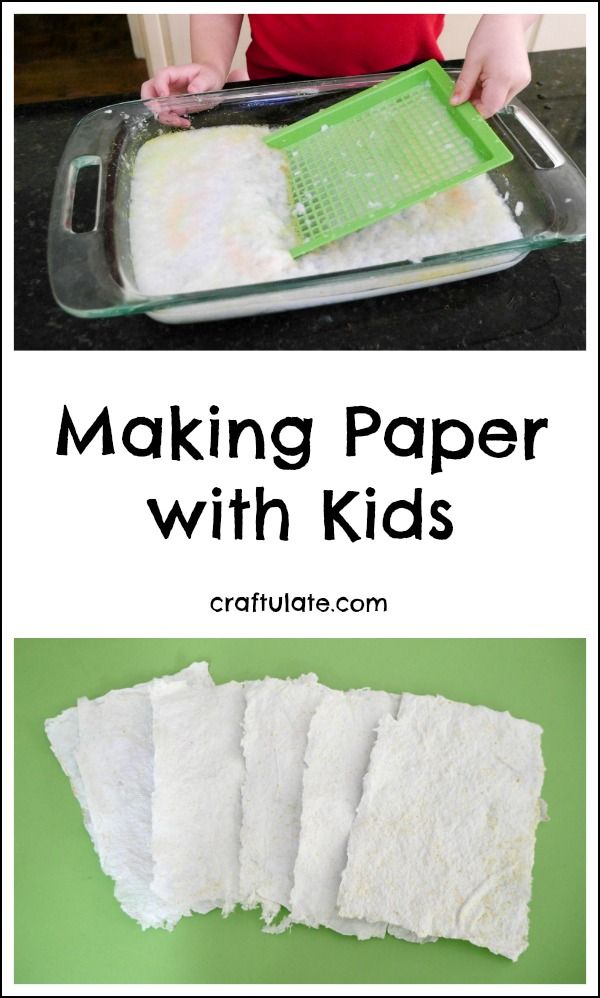
“Mommy, how do you make paper?” My five year old asked me this question a few weeks ago. I tried explaining it to him, and he wasn’t convinced. I showed him a video of how you can make it at home using a mesh screen and paper pulp, and he was obsessed!
I wondered about making a screen so that we could try this at home, but then I noticed a Paper Recycling Kit from 4M that was under $10 on Amazon! It comes with reusable plastic mesh tray and screens, as well as paper to get you started and other things like paint and yarn that could be added to the paper. It seemed great value and an easy place for us to get started.
Note: The kit does recommend that it is suitable for ages 8 and over, but I chose to ignore that and offer adult supervision instead!
The kit provides a stack of white tissue paper to make the paper pulp, and once this is used up you could use newspaper, scrap paper and more. They suggest two methods of making the pulp: cut up the paper, leave it in a bottle with water overnight, or cut up the paper and add it to a blender with water. We chose the quick blender option! F got busy cutting up paper.
I added the paper to the blender jug, then he carefully added the water, making sure he didn’t put his hands inside.
I switched on the blender and we had pulp in just a few seconds! We poured it into a large baking dish and added more water.
At this point I asked what kind of paper he’d like to make. After thinking for a while he requested “sparkly paper”! So he chose some fine glitter, added it to the pulp, and mixed it all around.
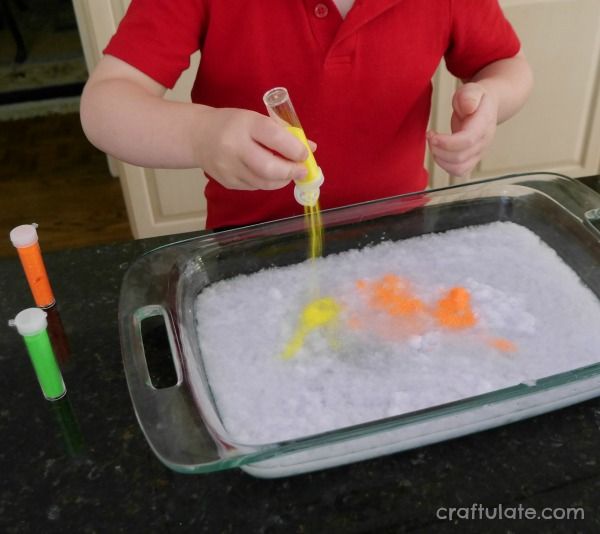
We inserted one of the screens into the plastic tray mesh, and slipped it into the pulp.
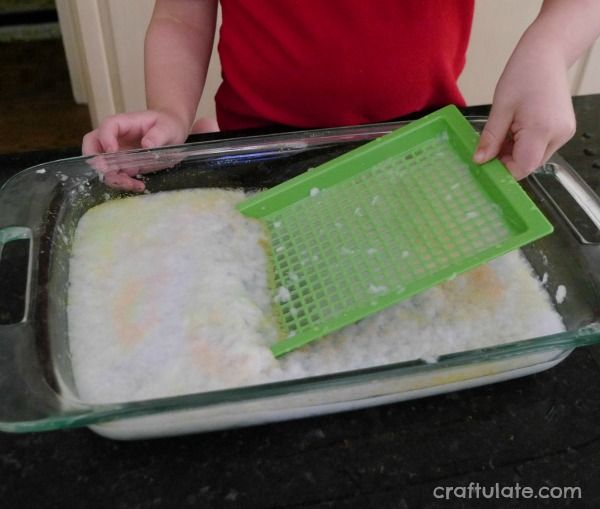
We lifted it up and evened out the pulp. Then I placed another screen over the top and pressed it to get as much water out as possible. F left this part to me! I removed the screens from the mesh and placed them on some paper towels and cloth. F took a sponge to it to try and get even more water out.
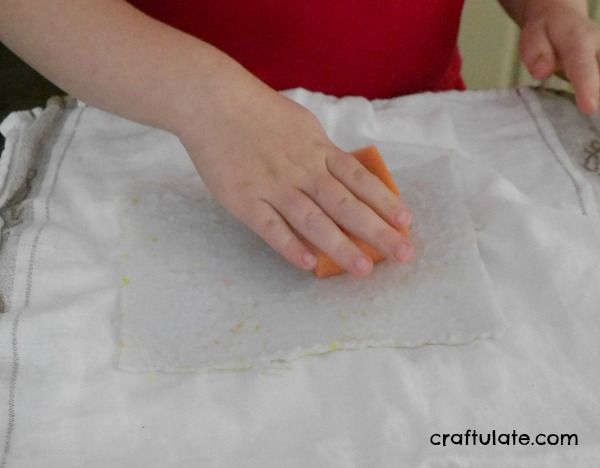
Then he carefully peeled off the top screen.
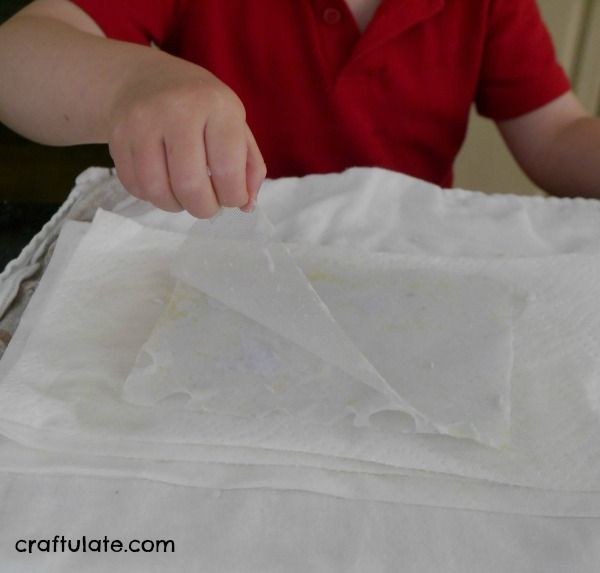
I flipped it over and even more carefully removed the other screen. More layers of paper towel, then we went back to make more! We got quite a system going between us and ended up with six sheets of paper. We weighted it down with heavy bottles and left it overnight to dry. It actually took most of the next day to dry fully!
But ta-da! We made paper. Glittery paper!
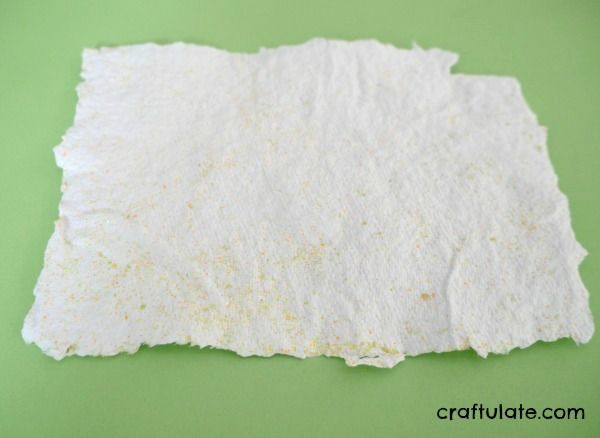
They weren’t equal in thickness, some had holes in them, but it was OUR paper that WE made! I have a feeling this is only the start of our paper making adventures!
Don’t Forget Your Supplies!
[amazon box=”B002P30IYS, B008UWDEQC” template=”table”]
[bctt tweet=”Making Paper with Kids – an educational activity with lots of fun variations!” username=”craftulate”]

