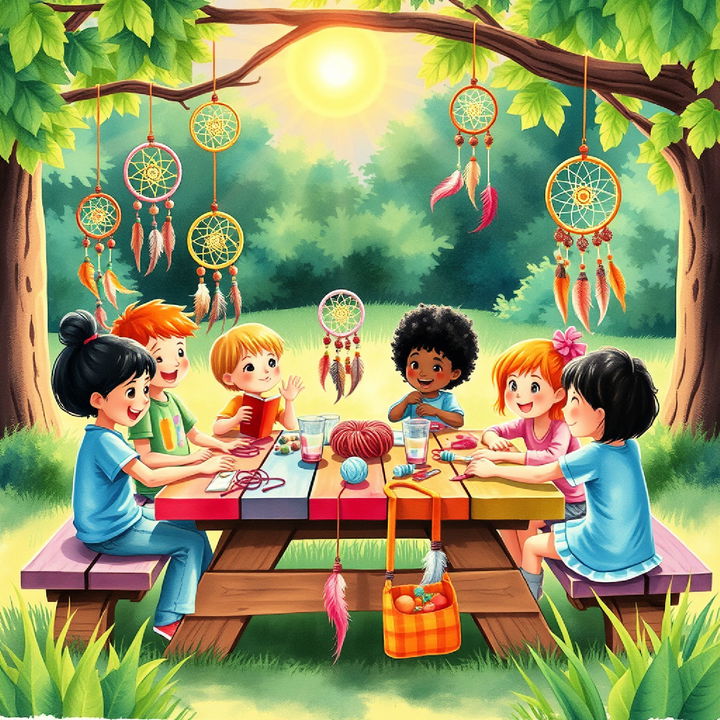
I’m thrilled to finally share this post with you! My experience making DIY dream catchers with kids during art camp was incredibly rewarding. The children were utterly engaged throughout the entire process, which involved various activities like taping, wrapping, sewing, beading, painting, and pom-pom making. It was a busy three hours, but seeing the kids’ faces light up with accomplishment made it worth every second. I’m excited to walk you through the steps so you can experience this fun and creative activity yourself.

Materials Needed: Why They Matter
Before diving into the step-by-step guide, let’s talk about the materials you’ll need and why each is essential:
- Wooden Embroidery Hoop: Acts as the frame for the dream catcher.
- Washi Tape: Adds decorative flair and helps secure yarn ends.
- Yarn: Used to create the web that catches dreams.
- Felt: Perfect for making soft embellishments like hearts.
- Polyester Batting: Adds fluff and volume to sewn decorations.
- Needle and Thread: For sewing felt pieces.
- Beads: Enhances the aesthetic appeal.
- Pom-Pom Maker: Simplifies the pom-pom creation process (optional).
- Paper Pinwheels: Offers a beautiful, whimsical touch.
- Watercolors: Used to paint and decorate pinwheels.
- Wire for Hanging: Ensures the dream catcher can be displayed properly.
Step-by-Step DIY Dream Catcher Instructions
Discover easy DIY Dream Catcher Instructions to create your own beautiful, handmade dream catchers below:
Step 1: Cover the Hoop with Washi Tape
Why Washi Tape?
Washi tape is not only colorful but also functional. It can secure the ends of the yarn and add an extra layer of decoration.
- Gather Supplies: Start with small pieces of washi tape.
- Application: Let the kids tear or cut the tape with small scissors.
- Wrap the Hoop: Cover the entire wooden embroidery hoop with the tape.
Step 2: Wrap the Hoop with Yarn
Why Yarn?
Yarn forms the foundation of the dream catcher’s web, catching the “bad” dreams.
- Choose Colors: Select two different colored yarns.
- Wrap Around: Demonstrate wrapping the yarn tightly around the hoop. Encourage the children to keep the yarn snug to prevent slippage.
- Secure Ends: Use dots of hot glue if necessary to secure any loose ends.
Step 3: Sew Felt Decorations
Why Felt?
Felt is easy to hand-sew and can be shaped into adorable decorations like hearts.
- Create Templates: Draw a heart template on paper first.
- Cut Felt: Use the template to cut two felt hearts.
- Threading the Needle: Double the string and tie a knot at the end to keep it from slipping out.
- Whip Stitch: Teach the kids the whip stitch (a simple sewing technique) and let them sew the heart, leaving a small opening.
- Add Stuffing: Insert a small amount of polyester batting and stitch it closed.
Step 4: Paint the Paper Pinwheels
Why Pinwheels?
Pinwheels add 3D interest and a personal touch to the dream catcher.
- Pre-make Pinwheels: Use sulphite paper cut into 4-inch diameter circles.
- Painting: Set up a painting station with watercolors. Allow the kids to paint their pinwheels and let them dry.
- Finish Up: Punch a hole at the top for stringing.
Step 5: Make Pom-Poms
Why Pom-Poms?
Pom-poms create a playful, fluffy embellishment that kids love.
- Tools: Use a pom-pom maker or a cardboard circle method.
- Wrap Yarn: Show the children how to wrap the yarn around the tool.
- Cut and Secure: Cut the wrapped yarn and tie it to form the pom-pom.
Step 6: Assemble the Dream Catcher
Why Assembly?
Combining all the elements is the most exciting part, giving the kids a sense of completion and pride.
- Cut String: Measure and cut four pieces of string for the various decorations.
- String Beads: Add beads and buttons to the strings for extra flair.
- Attach Decorations: Use a larger needle to thread the string through the felt heart. Attach the pinwheel, pom-poms, and hearts to the hoop at varying lengths.
- Create a Hook: Form a hook using colored wire at the top for hanging.
Tips for a Successful Dream Catcher Crafting Session
- Preparation: Have all supplies ready and organized before starting the activity. Pre-cutting and prepping materials can save time, especially if you’re working with a group of children.
- Supervision: While this craft is kid-friendly, always keep an eye on younger children during the sewing and hot-gluing parts.
- Personalization: Encourage each child to personalize their dream catcher with unique color choices and decorative elements. This makes each creation special and meaningful.
Fun Variations and Customizations
- Add Feathers: Traditional dream catchers often use feathers, which can be a beautiful and authentic touch.
- Different Shapes: Instead of hearts, try different felt shapes like stars or moons.
- Color Themes: Create a theme based on seasons, holidays, or favorite colors.
- Glow-in-the-Dark Elements: Use glow-in-the-dark paint or yarn to make a nighttime accessory even more special.
Hosting a Dream Catcher Party
Given the excitement and engagement from the kids at art camp, I decided to incorporate dream catcher making into birthday parties. Here’s how to adapt the activity for parties:
Step 1: Split the Table
Divide the workspace:
- Taping and Yarn Wrapping Station: Set up on one side.
- Painting Station: Set up on the other side.
Step 2: Pre-made Elements
To save time:
- Mini Puffy Hearts: Sew and stuff these beforehand.
- Mini Pinwheels: Have these ready for the kids to paint.
My Personal Experience
Making dream catchers was not only a hit with the kids, but it was also a rewarding experience for me. I made one myself and found the process relaxing and fulfilling. The possibilities for customization are endless, and it’s a craft that both kids and adults can enjoy. The sense of accomplishment and joy on the children’s faces made it all worthwhile, and I’ve since shared this craft at several events and parties with great success.
If you try making your own dream catcher, I’d love to hear about your experience and see photos of your creations!
Conclusion
Creating DIY dream catchers is a wonderful way to blend creativity, tradition, and fun. By following these steps, using the recommended materials, and adding your personal touch, you’re sure to create a beautiful and meaningful piece that can be cherished as a unique work of art. Happy crafting!
