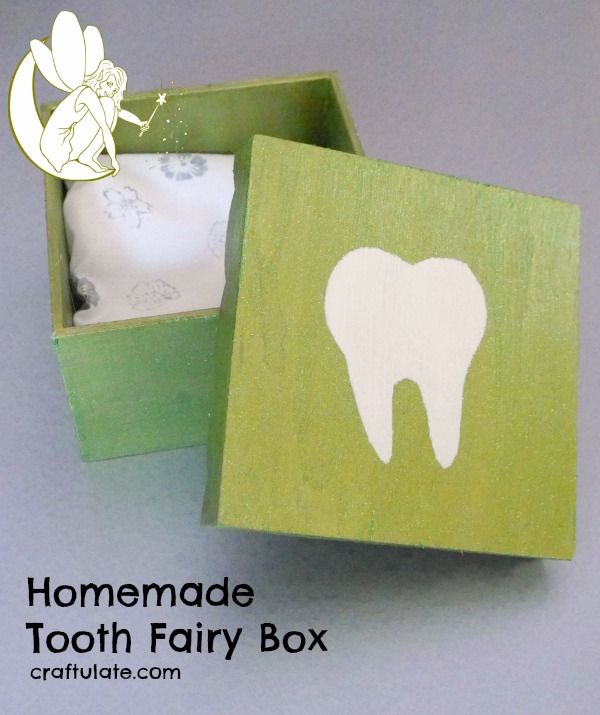
This homemade tooth fairy box is perfect for kids who don’t like things too pink and flowery!
Disclosure: I was provided with these craft materials from PLAID free of charge in exchange for my fair and honest review. Please see my disclosure policy. This post also contains affiliate links, which means that at no extra cost to you I can make a tiny bit of money to help support this blog. Thank you!
OK so this is me being SUPER organised. My son is 5½ – and when his first baby tooth falls out (usually around the age of 6 or 7) I am SO going to be ready for it! I figure that once I have the tooth fairy box all made, all I have to do is decide on how much the fairy will pay out per tooth. I deliberately chose a subtle sparkly green look for this box – many fairy-related items are very pink and flowery, so I wanted to make one that better reflected my son’s tastes!
So here’s what you need to make this super adorable box:
- Unfinished Wooden Box – I particularly like this scallop-edged box
- Metallic Paint (I used Folk Art Peridot and Folk Art Champagne)
- Glitter Paint (I used Folk Art Extreme Glitter Peridot)
- Small square of fabric just larger than the box
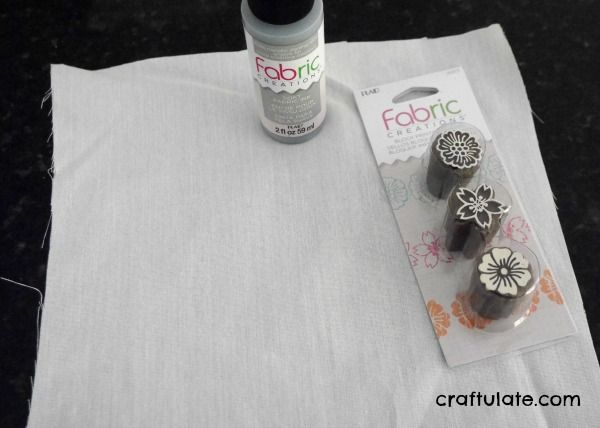
- Fabric Stamps (I love these mini floral ones)
- Fabric Paint (I used Fabric Creations Metallic Silver)
- Batting or cotton wool
- Hot Glue Gun
- Card, pen and scissors
- Stencil tape
- Spouncer
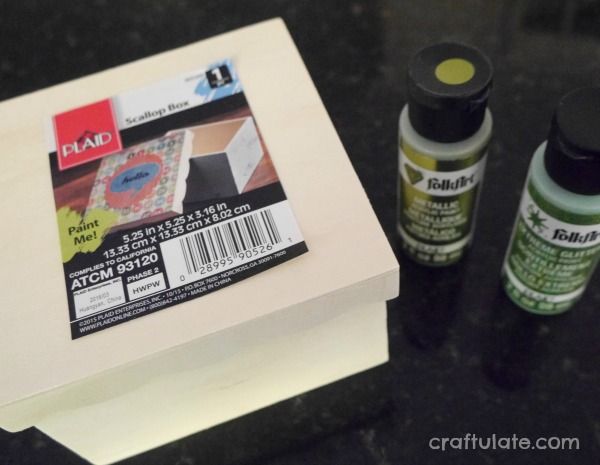
Start by covering the wooden box and lid with the metallic green paint. I painted mine both inside and out, although I didn’t bother with the inside base of the box. I gave the box two coats of paint and let it dry.
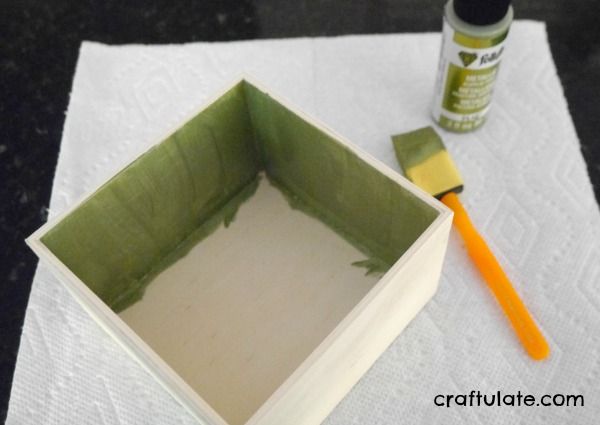
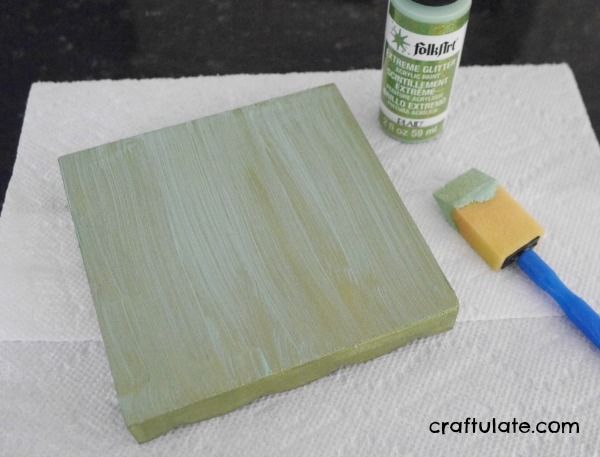
Add a coat of the glitter paint to external surfaces of the box and lid.
Cut a piece of fabric just larger than the box. Use the fabric stamps and fabric paint to decorate the cloth.
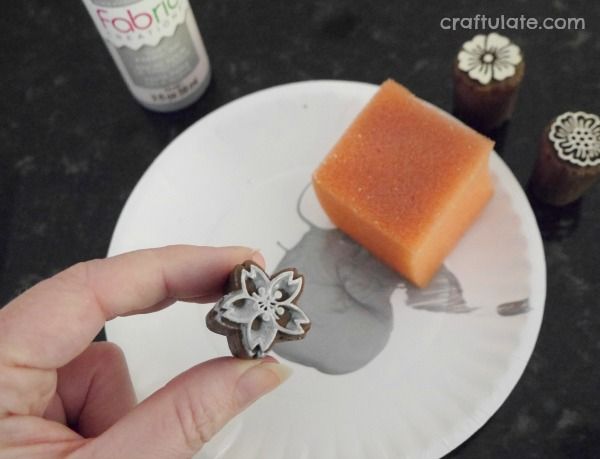
Pour a little of the paint onto a paper plate, then use a sponge to dab paint onto the stamps. This avoids excess paint and makes the print clearer.
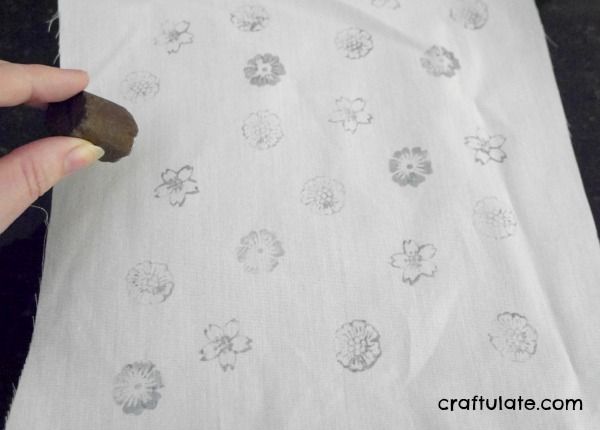
Let the paint dry then iron the fabric on the wrong side – this will both heat-set the paint and make it look, well, less wrinkly. 🙂
Place the fabric right-side-down, and snip off the corners. Fold a few layers of batting into the size of the box, then place them in the center of the fabric. Use a hot glue gun to secure the four edges around the batting.
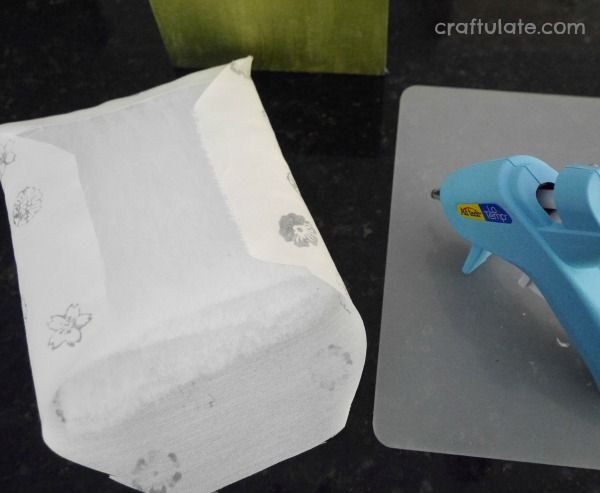
Spread some more hot glue into the base of the box, then press the fabric and batting down into the box, right side up. Add extra glue to the corners and sides if necessary.
To finish the lid, make a quick stencil by drawing a tooth shape onto card and cutting it out. Use stencil tape to gently secure it to the lid.
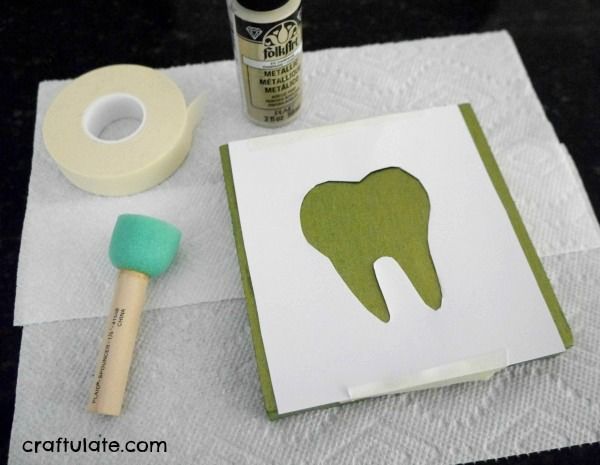
Pour some Folk Art Champagne paint onto a small paper plate, dip the spouncer into the paint, dab it on the plate to release the excess, then dab it onto the stencil.
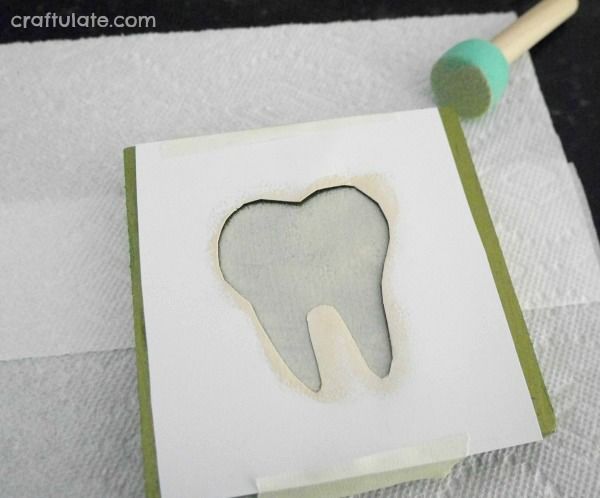
You may need to add two coats. Remove the stencil, and the box is complete!
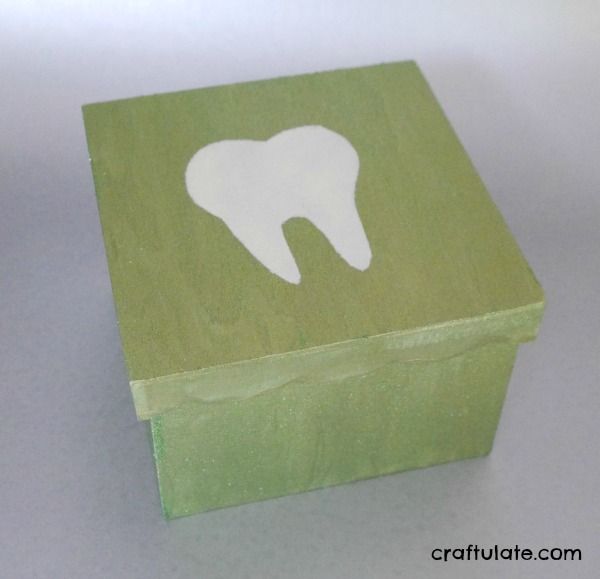
And now you are all prepared for your child’s next milestone!
[bctt tweet=”Homemade Tooth Fairy Box #toothfairy” username=”craftulate”]
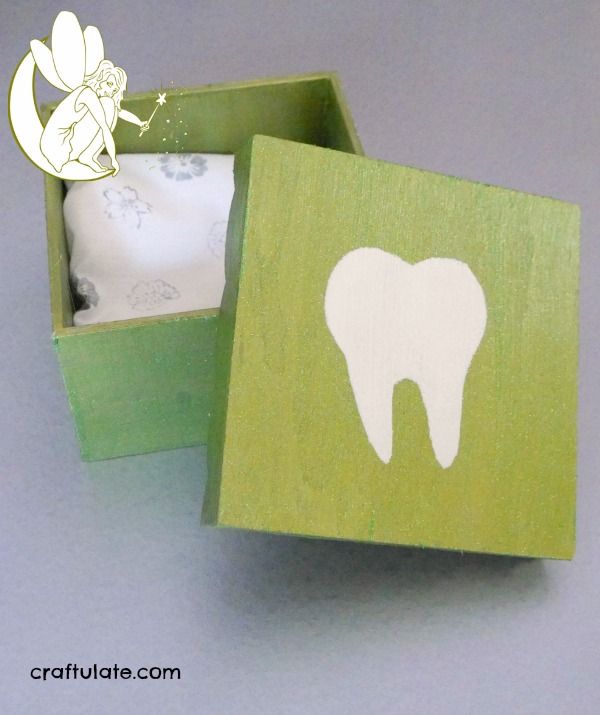
Update – 1½ years later we’re still using this! My son still loves it!

