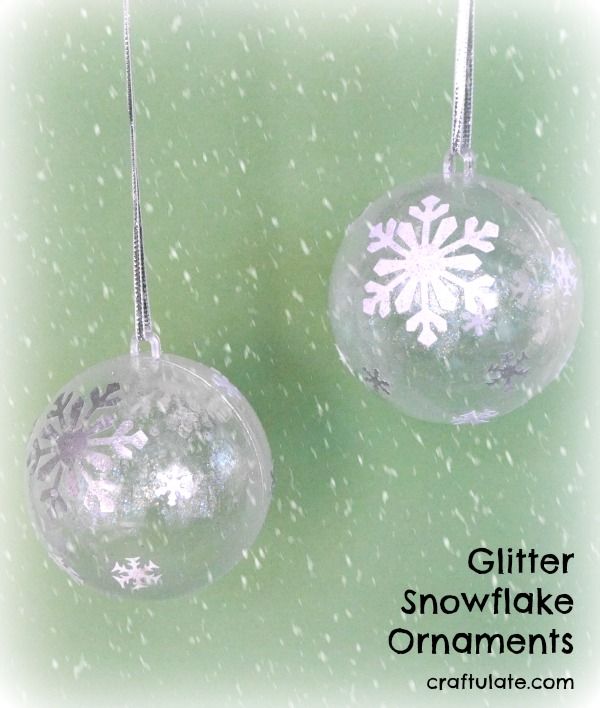
Kids will love making these glitter snowflake ornaments!!!
Disclosure: I was provided with this Mod Podge from PLAID free of charge in exchange for my fair and honest review. Please see my disclosure policy. This post also contains affiliate links, which means that at no extra cost to you I can make a tiny bit of money to help support this blog. Thank you!
Are you getting in the mood for winter? Once the leaves have fallen, bring on the snow! To celebrate the change in seasons, we made some super pretty sparkly snowflake ornaments.
You will need:
- 3″ clear plastic ornaments balls, glued shut if the fillable kind
- Snowflake paper punches (we used a selection of small and large punches)
- White and silver paper
- Extreme Glitter Mod Podge
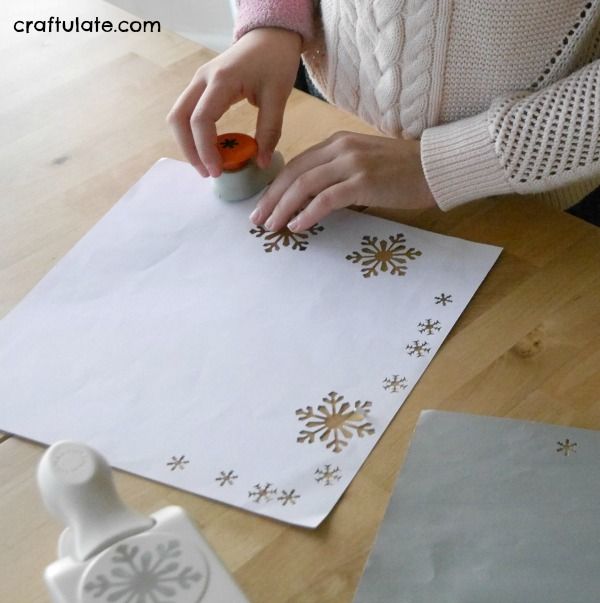
Once they’d cut out several snow flakes, it was time to start gluing! I attached a pipe cleaner to the hook of the ornament so that they would have something non-gluey to hold onto, and I would have something to hang it from to dry!
They coated the ornament in the glitter Mod Podge, then attached the snowflakes. As each snowflake was placed, they added more Mod Podge over the top – you can’t have too much sparkle!!!
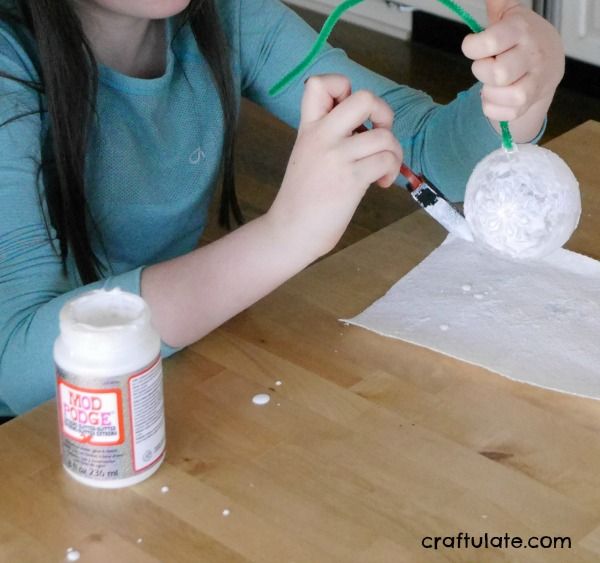
Things did get a little sticky, so I had baby wipes and paper towels standing by. 🙂
The girls were concerned that the glue covered the snowflakes, but I assured them that it would dry clear. They *loved* their finished snowflake ornaments!
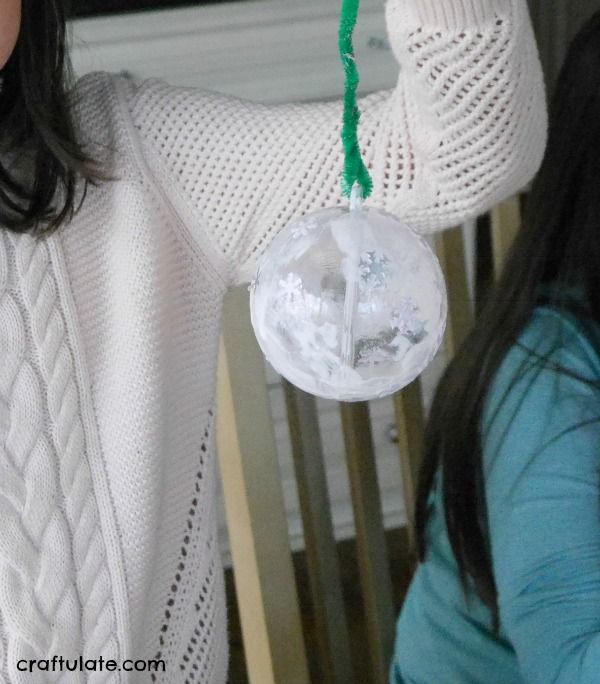
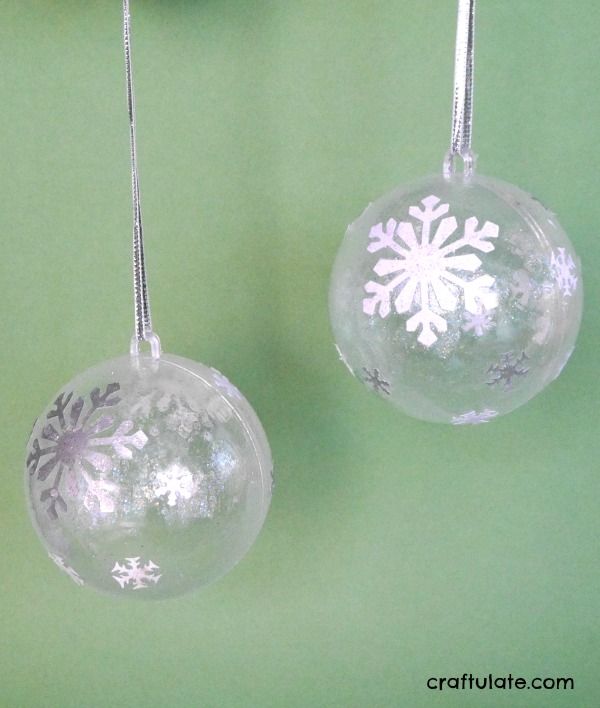
When the Mod Podge had dried, the ornaments looked so pretty and sparkly. The glitter really catches in the lights!
[bctt tweet=”Glitter Snowflake Ornaments for kids to make! #kidscrafts” username=”craftulate”]

