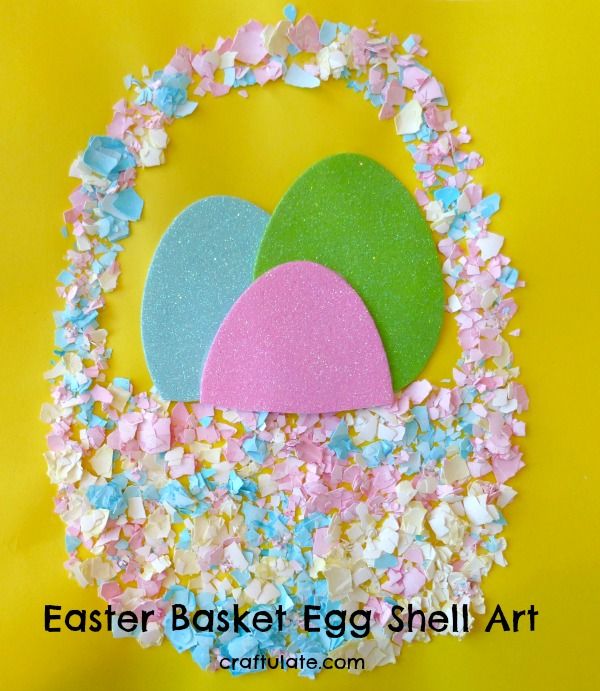
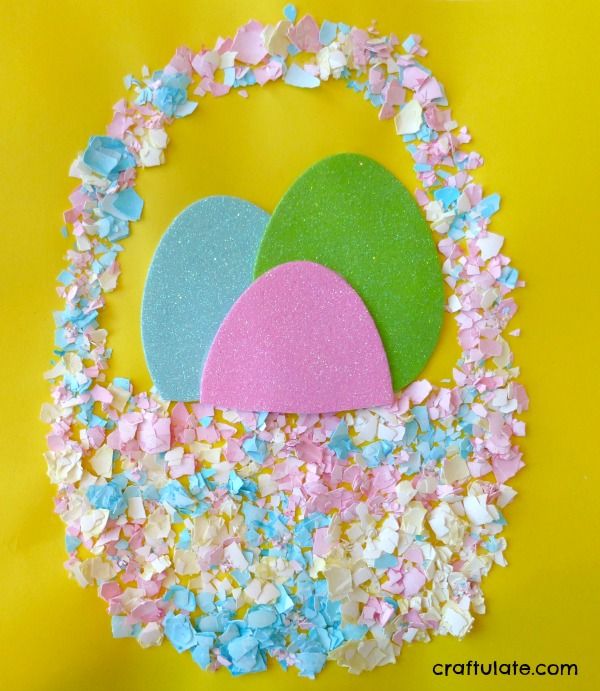
This was our first ever egg shell art project and just I love the textures and colours of the Easter basket that we made!
The following post contains affiliate links, which means that at no extra cost to you I can make a tiny bit of money to help support this blog. Thank you!We have been using a LOT of eggs recently – mainly due to our new egg shapers! I have been rinsing and saving the egg shells over the last few weeks and we are finally ready to make some egg shell art! Before dying the egg shell, I gave them one last good scrub with some dish soap and left them to dry.
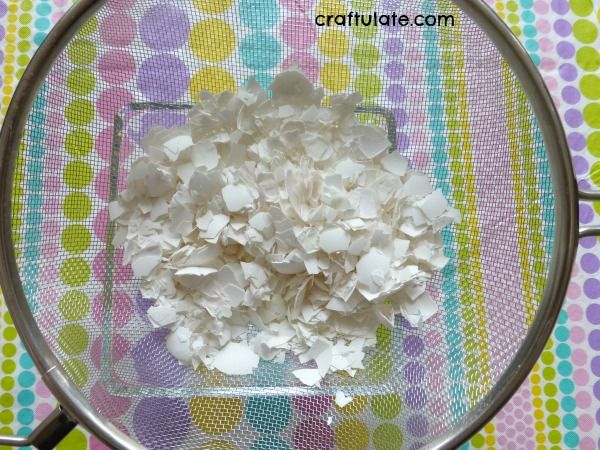
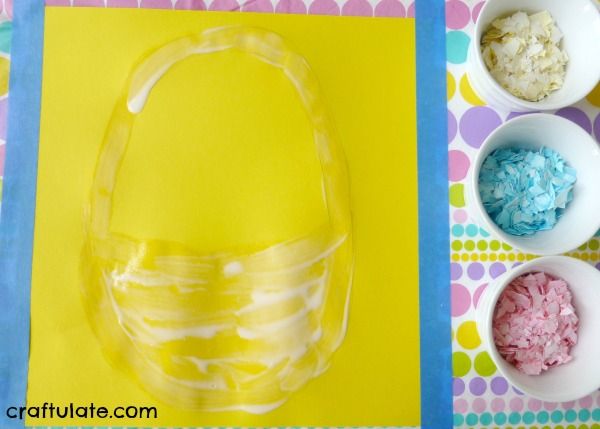
To dye the egg shells we used this great tutorial from Powerful Mothering – head on over if you’d like to find out more! Of course you could also make egg shell art from previously blown and dyed eggs!Once the dyed egg shells were dried, I drew a basket shape onto a piece of card. Then I spread glue all over the shape and invited F to help me make our egg shell art.
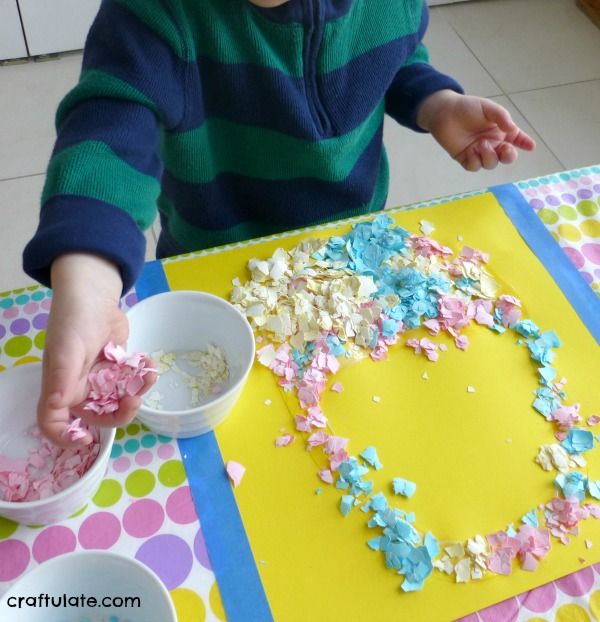
He happily dumped handfuls of egg shell all over the glue, stopping occasionally to examine the shell.
I left the artwork to dry, then shook off the loose shell. There were a couple of undecorated patches which of course I could have left blank, but I couldn’t resist adding in a little more shell so that the basket shape was completely covered.
Then I glued on three craft foam egg shapes that I bought from the craft store for the basket contents.
I am so happy with how this turned out!
[bctt tweet=”Easter Basket Egg Shell Art – a fun project for kids to make #kidsart #easterart” username=”craftulate”]

