Today I’d like to share with you my bean bag tutorial, plus some suggestions of how to play with them!
Bean Bag Sewing Tutorial
Bean bags have got to be one of the easiest sewing projects! Any size, any shape, any colour – the only thing you need to make sure is that the filling can’t escape!
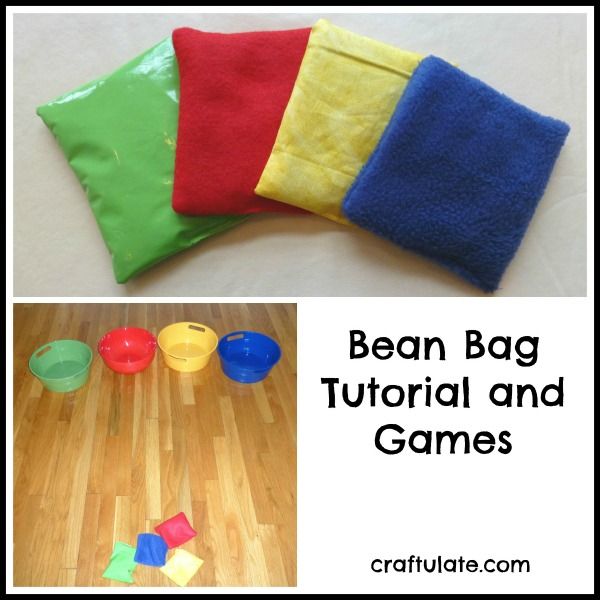
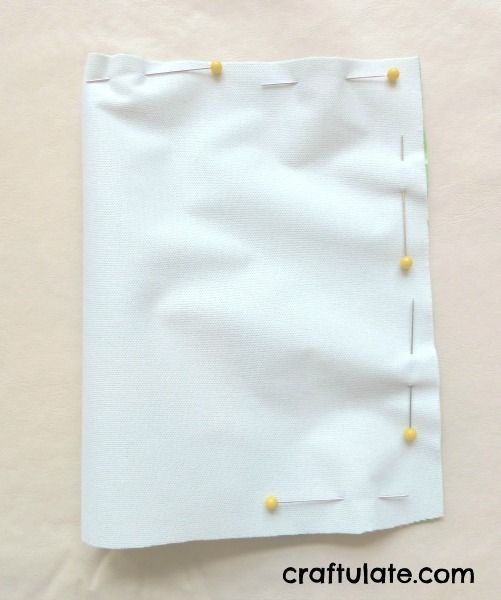
Start by selecting your fabrics. I chose four different colour fabrics in different textures. Cut your chosen shape from each fabric, I kept things simple with a 10×6″ rectangle. Then with right sides together, fold it in half and sew most of the way round the edge, leaving a space to turn it the right way round.
Then snip off the corners and turn it inside out, using a point turner if you have one to get smart corners.
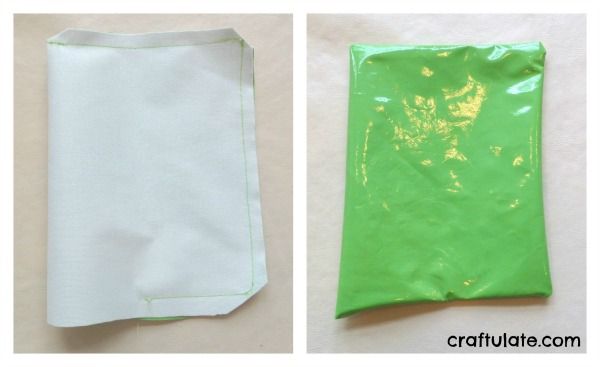
Then fill the bag with your chosen “bean” – I used green split peas.

Fold in the edges of the hole, then sew over the top to seal it. Done!
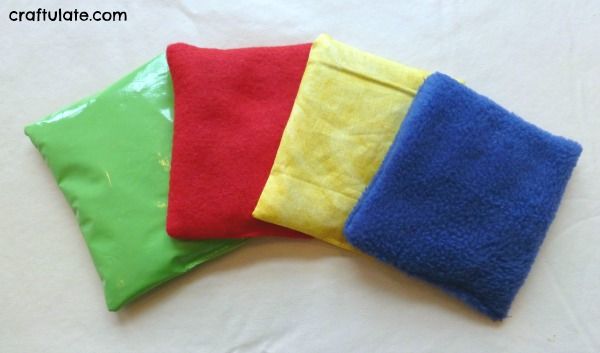
Bean Bag Toss Game
I deliberately made the bean bags to coordinate with four large containers that I’d picked up from the dollar store.
You could tape a line for children to stand behind, then get them to throw the bean bags into the container of the corresponding colour. If you don’t have containers of different colour, you could always tape some coloured card to the inside base of plain containers.
F is a little too young to understand the game aspect, but a perfect age for turning this into a colour matching activity.
There are loads of activities that we can do with these bean bags; Activity Village has lots of great games and challenge ideas (like throw and catch with just right or left hand, balance a beanbag on head while walking or jumping, throw a beanbag into the air – clap once then catch it etc).
The bean bags and the containers are now a toy that is played with daily. Such good value! I really look forward to all the fun we’re going to have with them!

