I had a LOT of fun making this 3D advent calendar! I hope it will be in our family for many years to come.

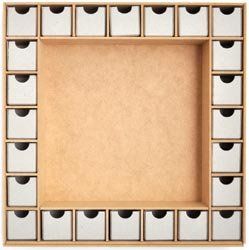
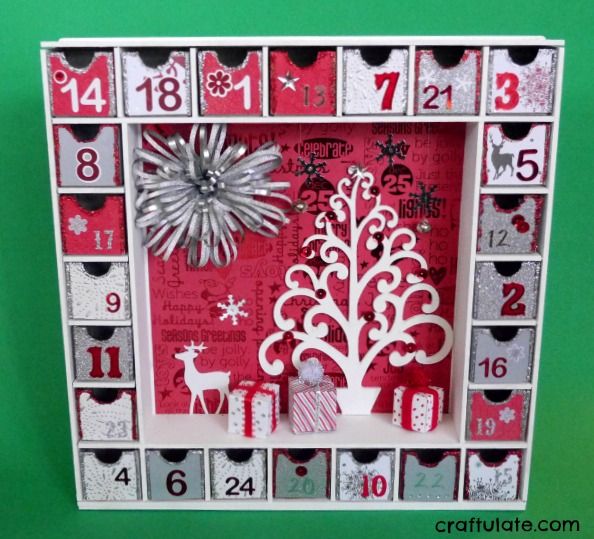
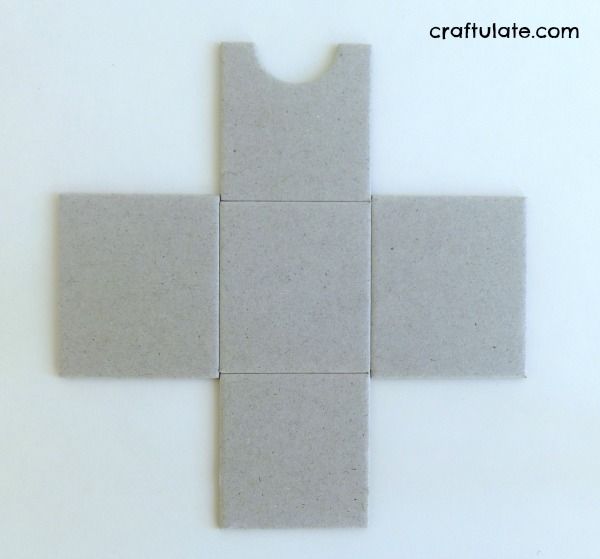
Right out of the box it looks rather intimidating, and the instructions that come with it aren’t too helpful. It comes flat packed, and you have to put the work in before you get to the fun decorating part. But soon you figure it out and construct the shell of the calendar. You’ll need some wood glue, and a craft knife to cut off the protruding tabs. Then you have to paint it. I decided to go wild and crazy and paint it all white. The finished size is 13×13″.The drawers that come with the kit are pre-cut and made from thick cardboard.
I covered the sides with different types of coloured paper, then assembled them. The kit also contains cardboard numbers to use on the front, but I chose to use stickers instead. I used glitter glue over the edges of the drawers to cover the joins.

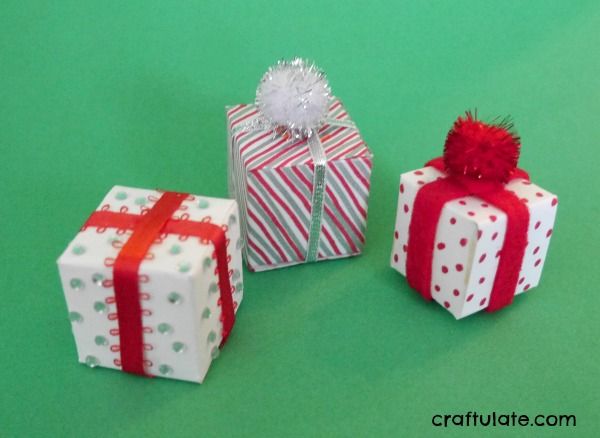
The middle section is where you can really unleash your creative side! I backed it with some Christmas paper, added a gift bow, then painted a pre-cut balsa wood tree with white paint and glued it in place. Then I added stickers, sequins and hung two jingle bells from silver thread. It was very hard not to keep adding more and more, but I settled for finishing the calendar with three little gift boxes. I used this template, then added gems, glitter pom poms and ribbon.
I am so pleased with how this 3D advent calendar turned out. It is so visually interesting and I can’t wait to start filling the little drawers each November – ready for December 1st!