Your kids will have a load of fun designing their own clay turkey this Thanksgiving!
The following post contains affiliate links, which means that at no extra cost to you I can make a tiny bit of money to help support this blog. Thank you!
This clay turkey craft is really fun! However, you DO need to think about making it in advance of Thanksgiving, because the craft depends on the balls of clay drying with the feathers stuck into them – so you won’t be able to place the clay in the oven to dry it out faster. The smaller the turkey, the faster it will dry.
To make these clay turkeys you’ll need:
- White Air Dry Clay
- Cocktail stick (optional)
- Feathers (we used a natural blend like these or these)
- Brown, red, and yellow acrylic paint
- Hot glue gun (I also use a glue gun mat)
- Googly eyes

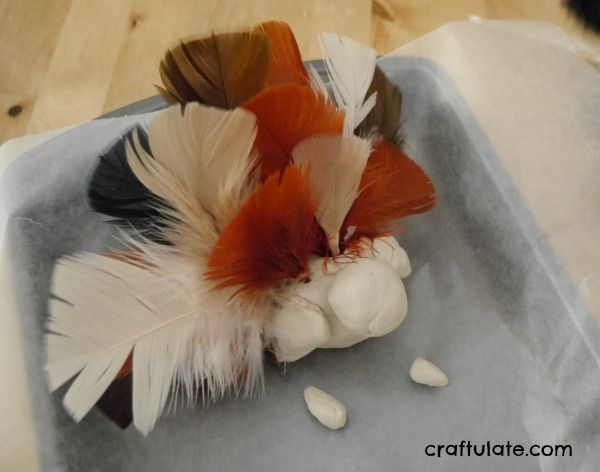
Insert the feathers into the body part of the turkey. Make a little beak and wattle and leave everything to dry. Ours was touch-dry in two days, and completely dry in three.
Paint the turkey (yes, some paint will get on the feathers, just encourage the kids to go slow and be careful!). Also paint the beak and wattle.
Let everything dry then glue it all together, adding googly eyes as well!
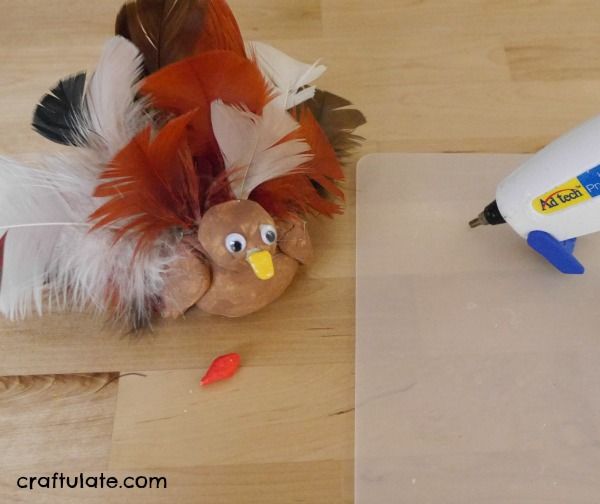
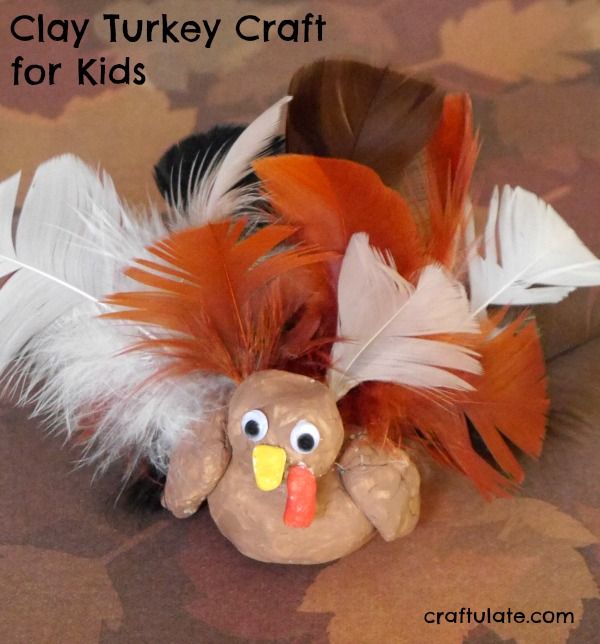
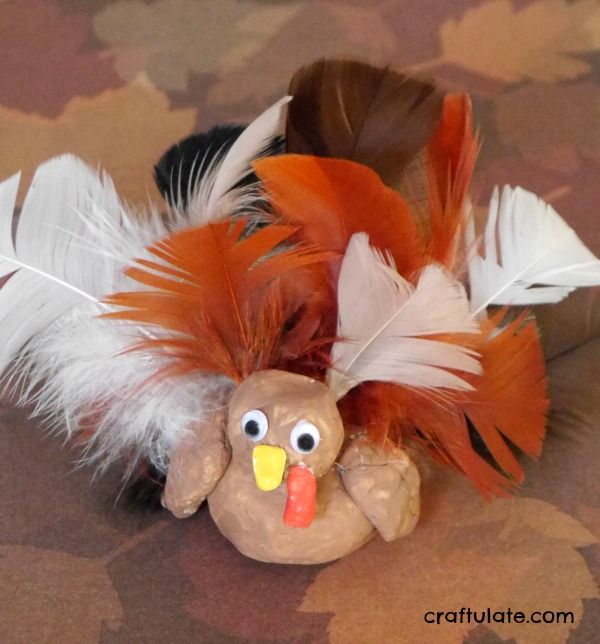
Here’s the finished turkey. It would look lovely as a Thanksgiving table decoration!
[bctt tweet=”Clay Turkey Craft for Kids #clay #turkeycraft #thanksgivingcraft #kidscrafts” username=”craftulate”]

