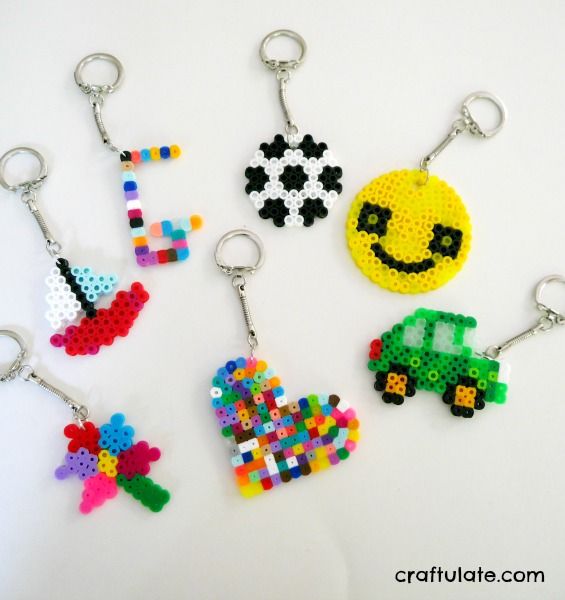
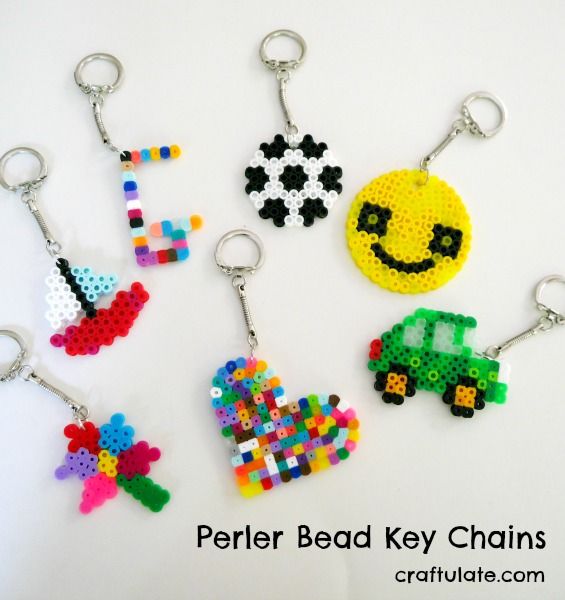
These perler bead key chains are fun for kids to create – and would be great for gifts, too!
The following post contains affiliate links, which means that at no extra cost to you I can make a tiny bit of money to help support this blog. Thank you!My son has recently been playing a game on his Kindle called Art Class with Dr Panda. It’s a great value free app that lets kids try all kinds of different virtual art techniques. One of the “classes” is about making melted bead designs from beads. He knew about putting beads on pegs and then ironing them – and he wanted to do it for real! I explained that he wouldn’t be able to do the ironing part, but I was happy to pick up a little Perler Bead truck kit for him next time I was in the craft store.
He showed great patience placing all the beads – I was quite impressed! The tiny beads are also fantastic for his fine motor skills! He also preferred to make his own designs rather than follow instructions. To develop his interest in this new craft, I decided we should make some small designs that could be used as key chains. We used:
- Perler bead peg boards
- Perler beads
- Ironing paper and iron (to be used by adults only)
- Silver key chains
- 10mm silver jump rings
- Needle nose pliers
We kept the designs small so that the key chains would not get too bulky. F decided he wanted to do a heart first.
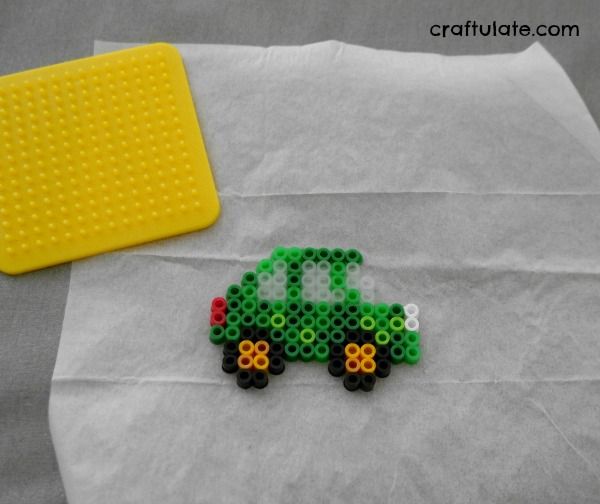
While he completed the heart, I made this cute little car. I love the clear beads for the windows!
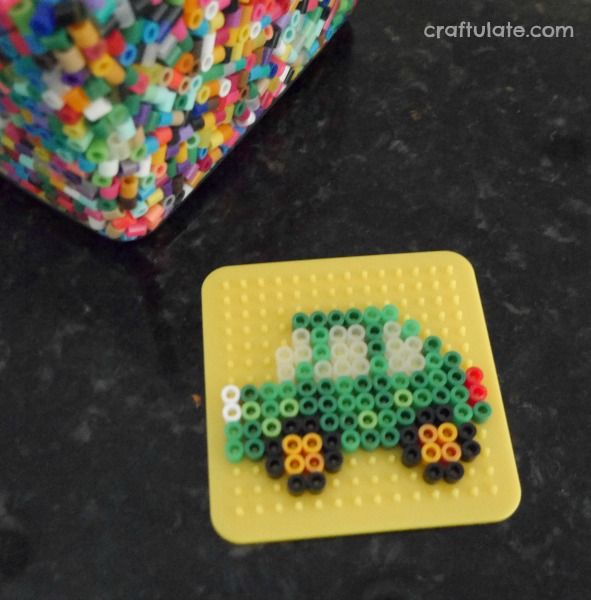
When our designs were complete, we VERY carefully carried them to the ironing board.
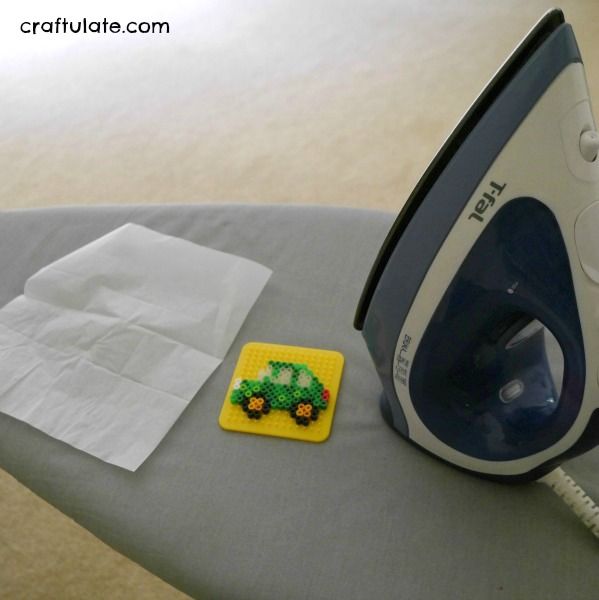
I placed ironing paper over the top (it usually comes with the beads, kits and peg boards), and pressed down lightly with a medium-hot iron, going in circular motions.
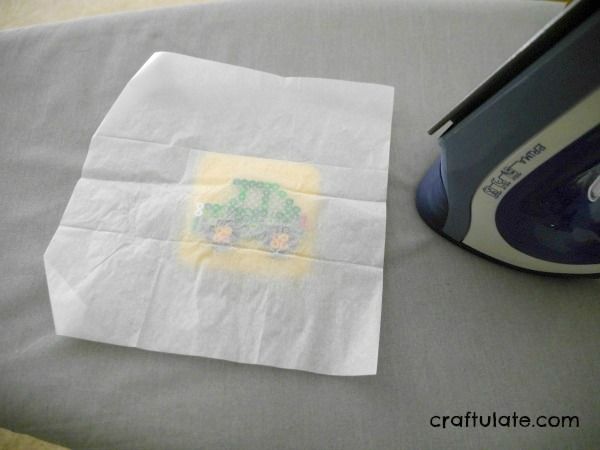
When the design has fused together, you can lift it off the peg board. Flip it over, and if you like, cover it in ironing paper again and gently melt the other side.
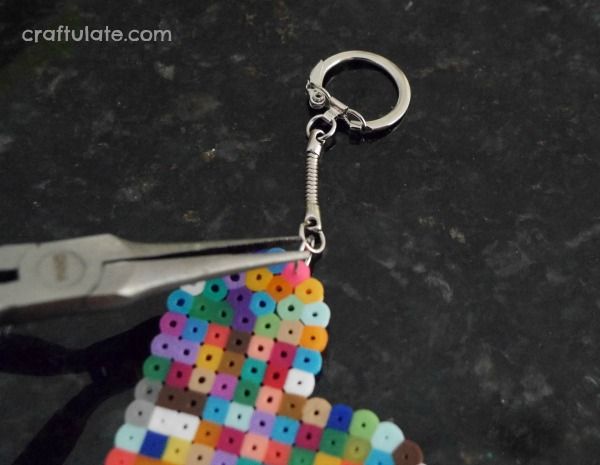
Note: If you are attaching the keychain through the central hole in one of the beads, try not to heat it too much otherwise the hole will close up. To attach the keychain, use the pliers to open up a jump ring and slide it through a hole in the design.
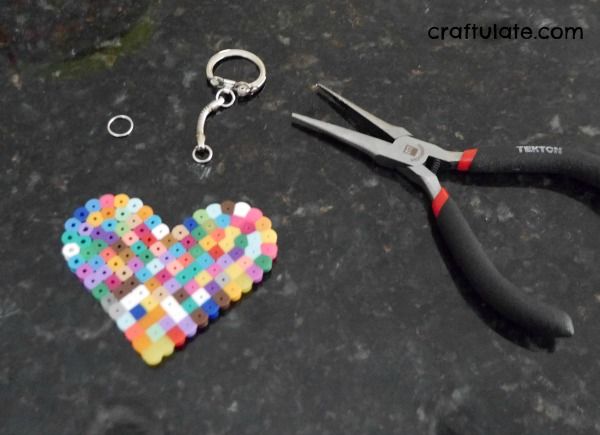
Add the end of the keychain and use the pliers to close the jump ring again.
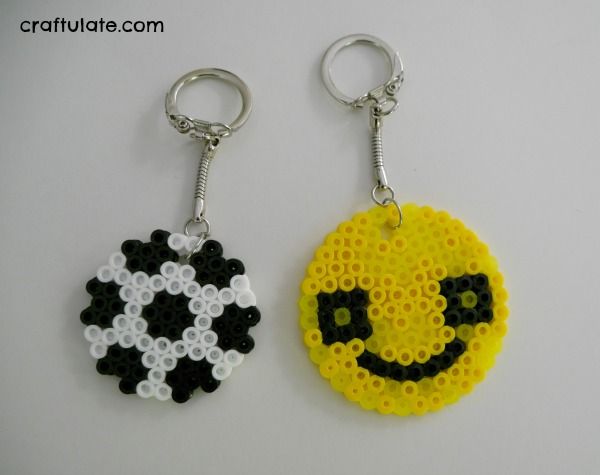
Alternatively, you could leave a bead out like we did with this soccer ball and smiley sun designs (the latter of which was all F’s own work – although he did ask for help completing the yellow).
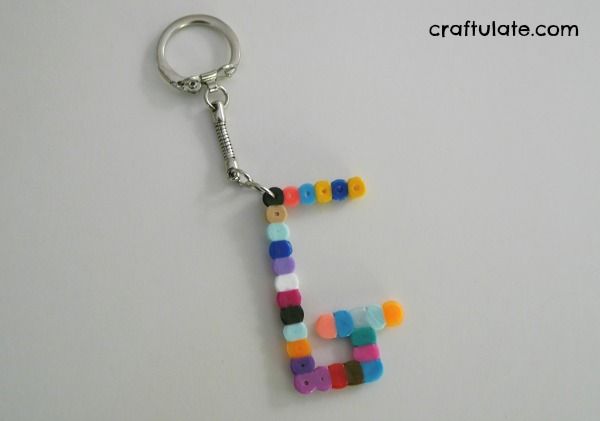
My son’s next design was to make this pretty “G” as a gift for his Granny. He didn’t want to make the design any thicker so I think this will be more of an ornamental key chain rather than one that is in regular use as it may well break!
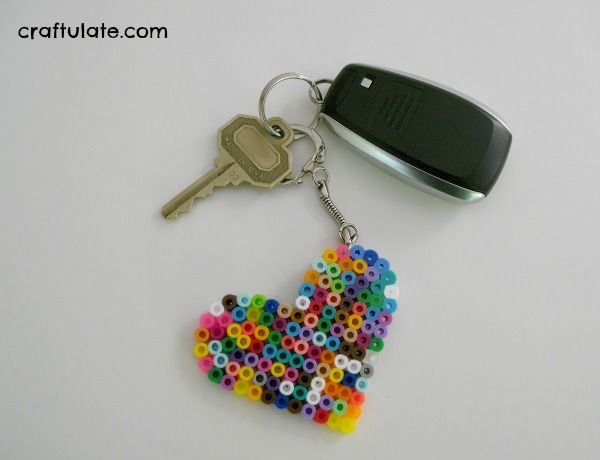
And finally, he presented his heart design back to me. Which I love. 🙂
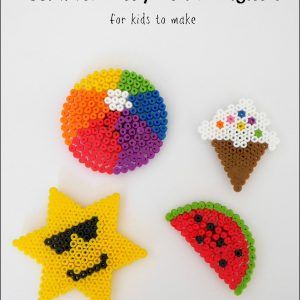
Here are some design ideas – many of which we tried. I have added links where I have found online designs to help you.
- Rainbow
- Race Car
- Heart
- Star
- Boat
- Sports balls
- Sun
- Ice cream cone
- Airplane
- Smiley face
- Fish
- Tractor
- Flower
- Watermelon slice
[bctt tweet=”Perler Bead Key Chains – a fun craft for kids to make. Great for gifts!” username=”craftulate”]
