These crayon cars are so fun to make! And kids will love making art with them afterwards!

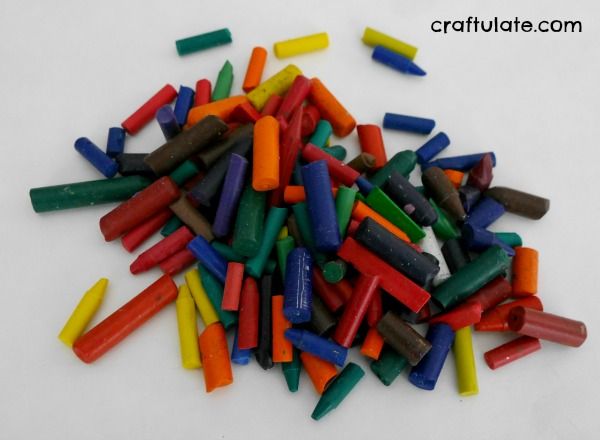
The following post contains affiliate links, which means that at no extra cost to you I can make a tiny bit of money to help support this blog. Thank you!When I first joined Pinterest many years ago, I remember seeing posts about making your own crayons in a mold from broken pieces of crayon. I dutifully kept a bag for all the broken bits. Unfortunately the project was doomed because my son just didn’t break enough crayons – and three years later I still only had a small handful! However, after deciding to take home restaurant freebie crayons, my stash increased considerably. And finally, I am ready to share my first melted crayon project!
To make these crayon cars we used:
- Broken crayons, paper removed (you can soak them in water if they are tricky to remove)
- Silicone car mold (it also comes with a musical note mold!)
There are several candy car molds around but make sure you get silicone rather than plastic ones – the latter may not withstand the temperatures of the microwave. The particular mold we used has six cavities, but I found that it worked best if we only filled the four outer cars, as the crayons in the centre melted slower than those on the outside.
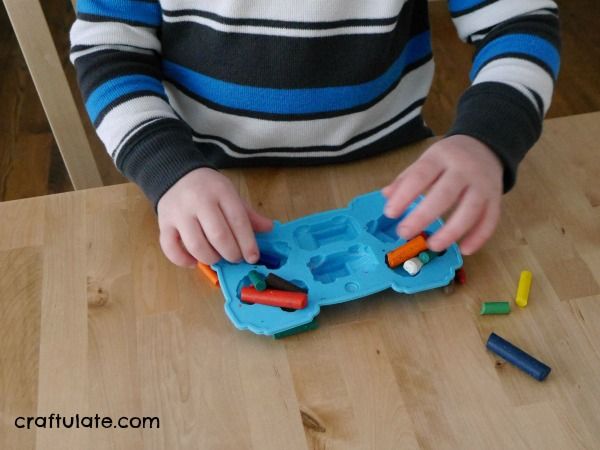
My son helped me fill the cavities – I found that I needed to heap the crayons otherwise they didn’t fill completely and the cars were missing their wheels!
I placed the mold on a plate and microwaved it until the crayons started to melt. You’ll need to find your own timings here because every mold, plate and microwave is different! But I’d recommend starting with one minute then go in 30 second bursts, checking each time.
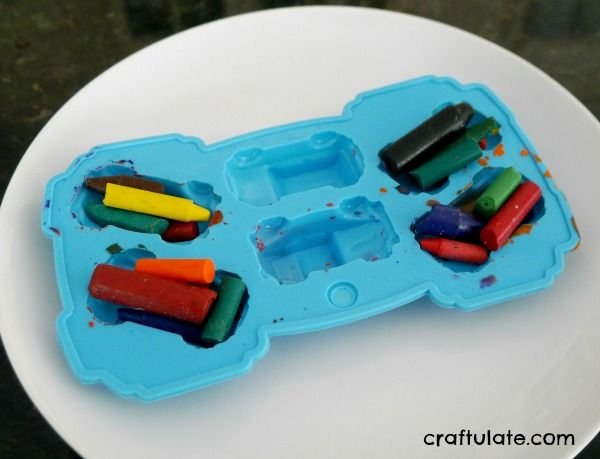
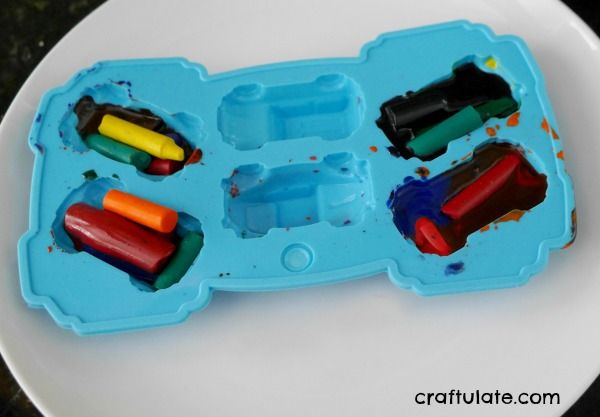
Once the crayons are fully melted, leave to cool and solidify. Then pop them out of the mold!
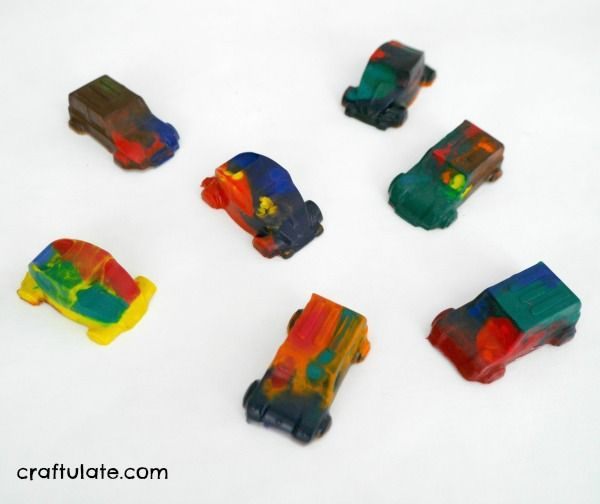
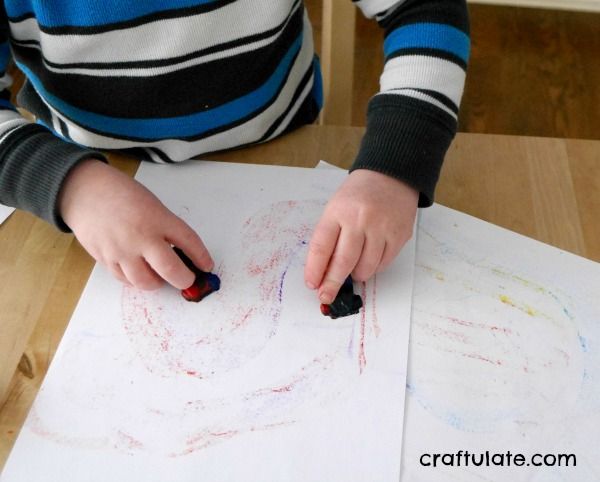
My son had great fun with these, since different colours emerged as he pulled them across the paper.
[bctt tweet=”How to Make Crayon Cars – a fun craft for kids to make AND draw with!”]


