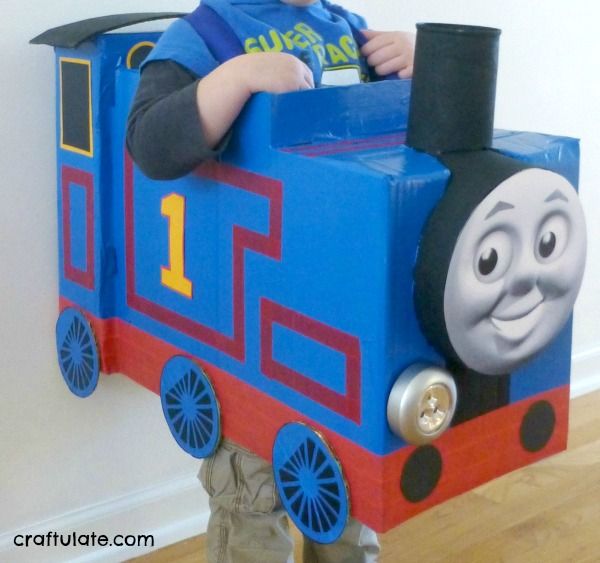
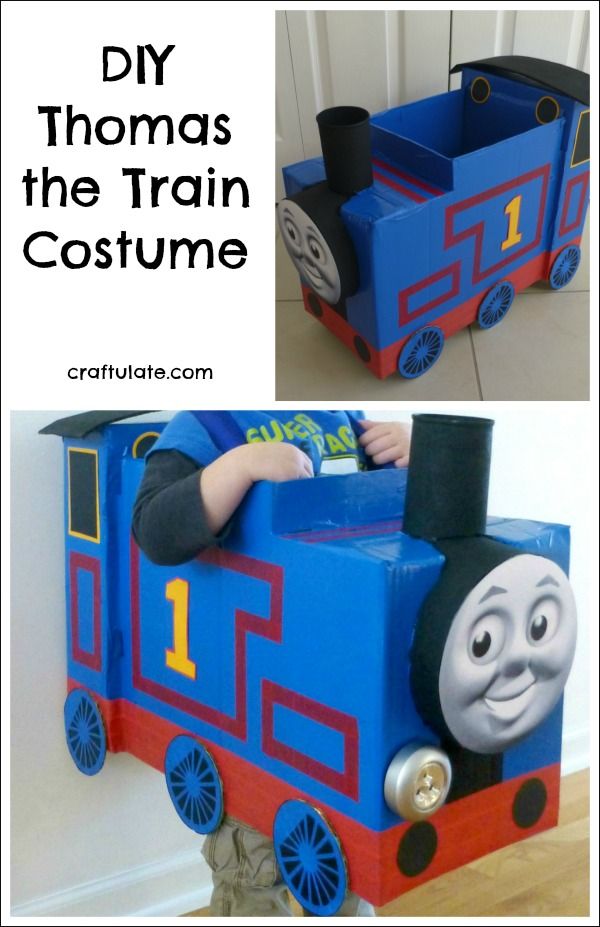
This Thomas the Train Costume is perfect for a train-themed party or Halloween!
The following post contains affiliate links, which means that at no extra cost to you I can make a tiny bit of money to help support this blog. Thank you!
When my son was aged 1.5 at Halloween, I decided he should be a pirate. The following year he was dressed as Bob the Builder. Neither year he was very convinced by the whole costume idea. By 3.5 I thought that he *must* have an opinion on his costume for Halloween. But his reactions ranged from “no costume” to “indifference”. Until he happened to look over my shoulder at a cardboard box-based Thomas the Train costume. Then he was VERY certain what he wanted, and it was up to me to try and create it!
- 1-2 cardboard boxes
- Shipping/packaging tape
- Craft knife, box cutter or sharp scissors
- Round box (I used a paper mache box like this one as suggested by Little Red Window)
- Pringles can or similar cardboard tube
- Primer paint*
- Blue paint
- Black paint
- Red tape – duct/painters’/masking/washi
- Black, red and yellow card
- 2″ circle punch (optional – but I love it!)
- Hot glue gun
- Wide ribbon
The initial design was dependent on the boxes we had available. I thought there could be a one or two box option.
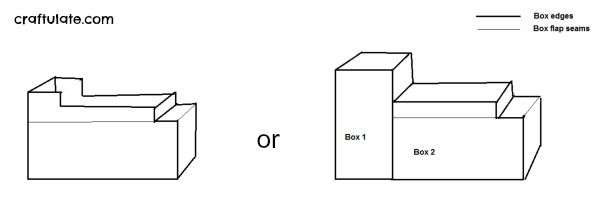
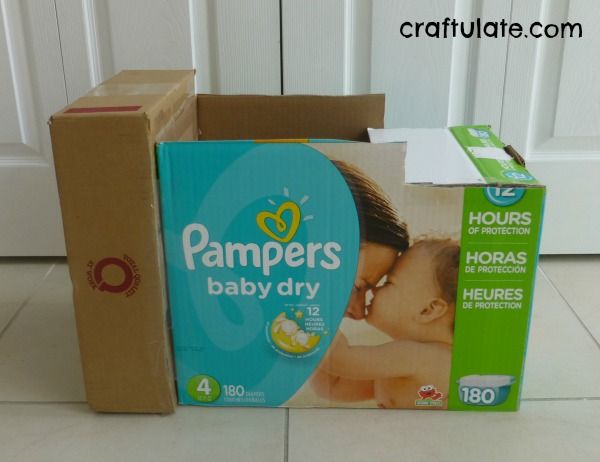
I had two boxes that went pretty well together, the smaller one making the cab at the back. I cut off the flaps that weren’t required and taped the boxes together securely. Using a craft knife I started to do a little shaping at the front. I kept some of the spare cardboard for making the wheels!
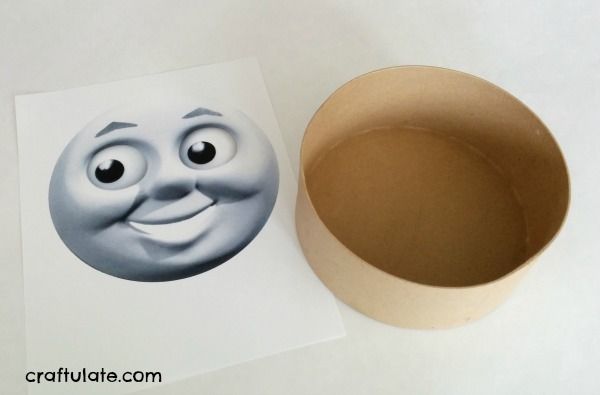
At this point I paused in construction. I wanted to print off a face that would be the right size and it was better to do this before attaching the round box! I used this template and tidied it up a bit, then printed it out a few times before getting the right size for the box. I didn’t attach it yet though!
Using the craft knife I cut a hole in the front large enough for the round box so that it was set back a little. Then added lots more tape to secure it and smooth the edges before painting. At this point F saw my progress and wasn’t too sure… until I put him inside and then he understood!
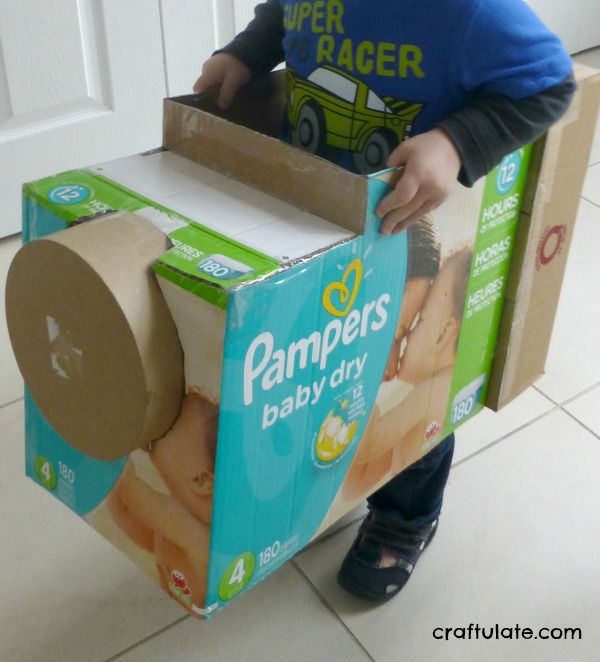
The smokestack/funnel was made from a Pringles can that I cut down to fit. Once I had attached it, it was time to paint! I gave it one coat of primer, then two coats of blue semi-gloss paint. The paint covered the gloss finish of the diaper box and packaging tape really well – but I wish I had done a neater job of the tape in some places!
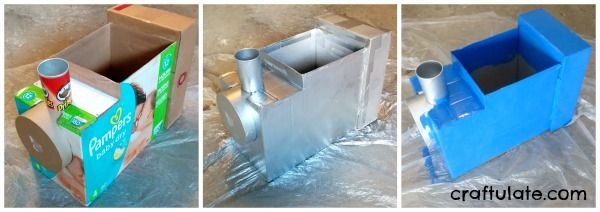
I painted the smokestack black and hot-glued on a curved piece of cardboard for the cab roof.
I had used some masking tape when I painted the black smokestack but some of the blue paint I had used peeled off when I removed the tape. I decided to add the red buffer trim with red masking tape, and the red trim detail on the engine with red washi tape. This was a LOT quicker than painting it, too! The rest of the details were cut from black, red and yellow card then glued on – a 2″ circle punch is particularly useful for the cab windows and buffers.
To make the wheels I found a basic train wheel Clip Art image and then adapted it. I have added four versions of it to my shop if you need them!
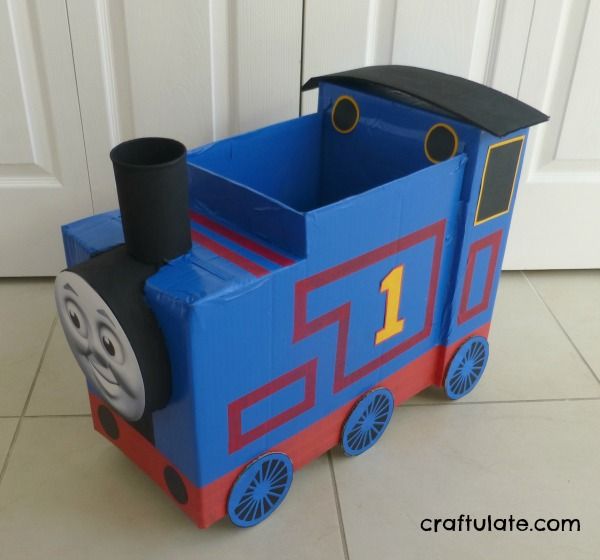
To complete the costume I attached two lengths of ribbon by pulling them through two holes that I made at the front and knotting it, and then hot-gluing the other ends to a hole I made at the back.
And as a final decoration, my husband bought a lamp for it! It’s one of those push on/push off LED lights and will look really fabulous at nighttime! The costume was a great success!
