This animal art for kids uses just shaving cream and paint to make marbled pictures!
The following post contains affiliate links, which means that at no extra cost to you I can make a tiny bit of money to help support this blog. Thank you!This was our second attempt at making marbled paintings – the first time we just made pictures, this time we turned them into animals! To make this animal art you’ll need (and there’s a video at the end too!):
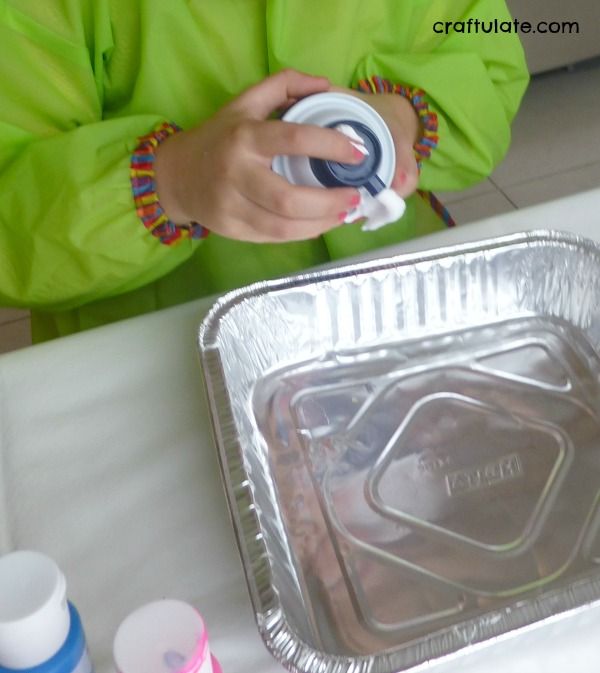
- White shaving cream
- Shallow dishes
- Acrylic paint
- Stirring stick (like a chopstick!)
- White card (cut to fit inside the dishes)
- Plastic scraper tool / putty knife
- Animal cookie cutters
- Marker pens
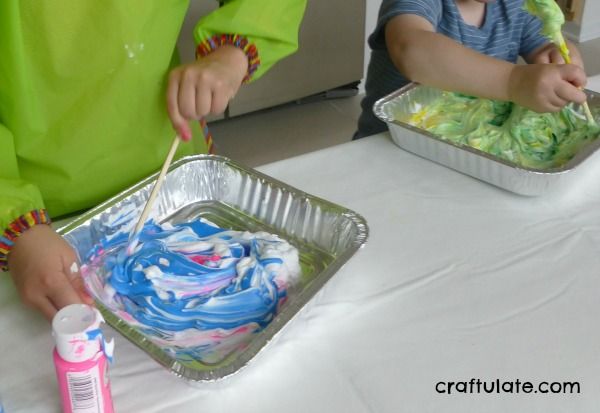
Swirl the colours around with a stick to make a marble pattern.
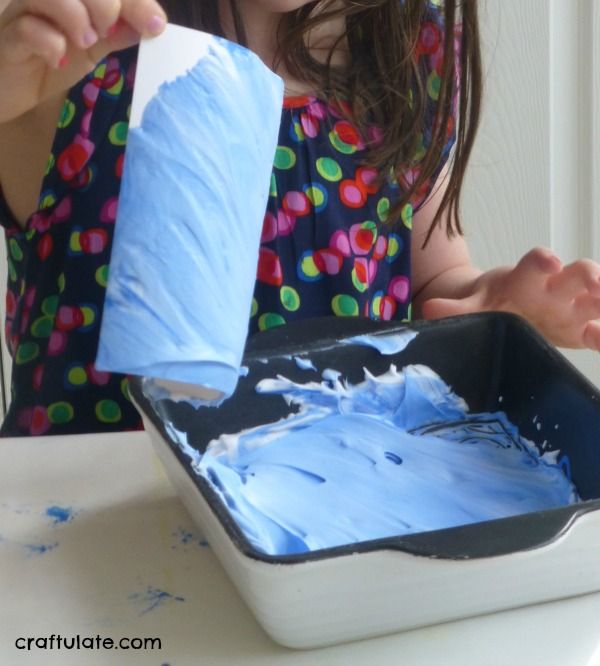
Carefully lay a piece of card over the top of the paint and cream mixture, gently push down, and then lift the card off.
Leave the mixture on the card for a minute or two, then use the scraper tool to remove the excess shaving cream (I wiped it onto some kitchen paper for easy clean-up). Note: I did this for the kids as they were quite happy just to swirl paint and make prints!
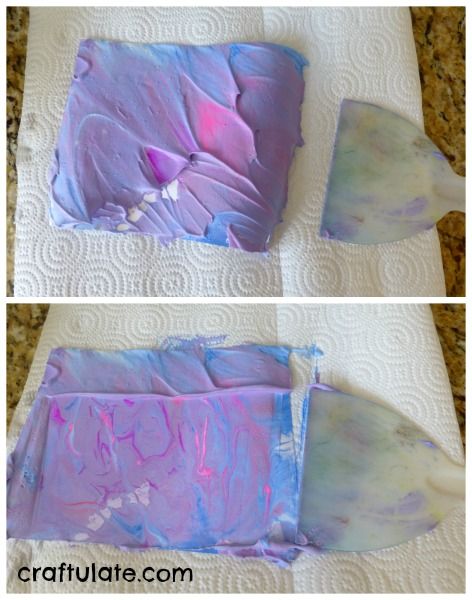
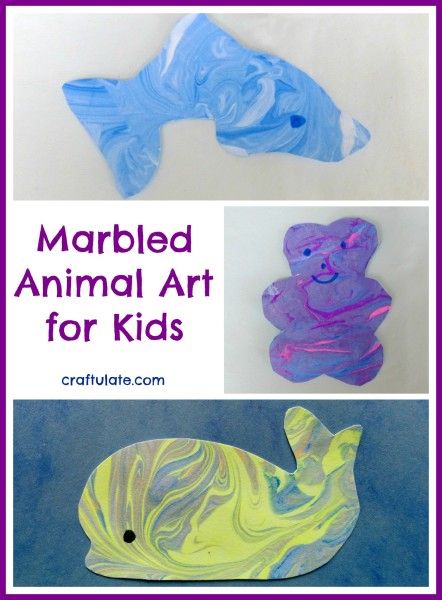
Ta-da! A pretty marbled painting. It dries very quickly, so soon after making them you can use the animal cookie cutters as stencils to cut out shapes, using the pens to add details. I encouraged the kids to draw the templates on the back of the paintings but it didn’t always happen!
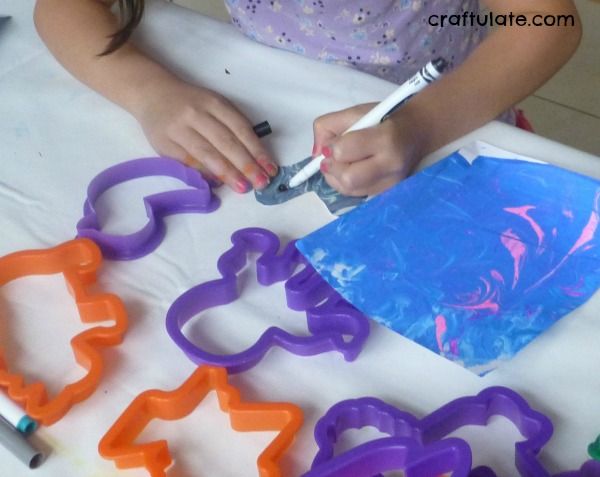
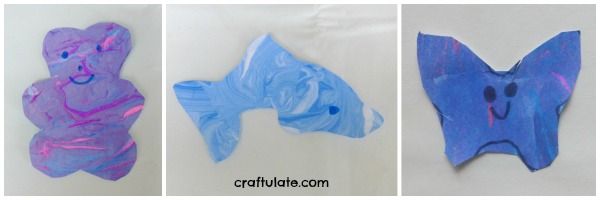
The kids made loads of animals – here are a few highlights!
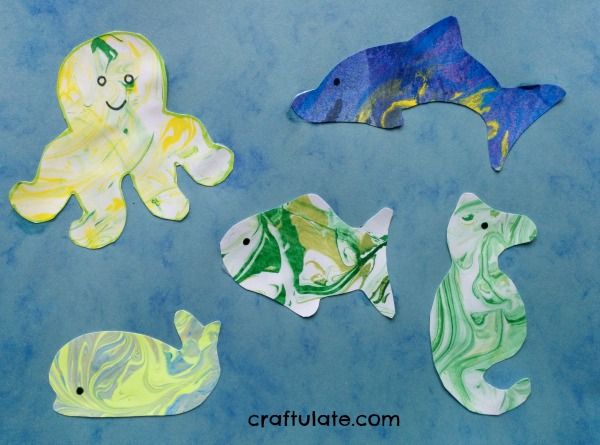
From the off-cuts I later made this fun ocean scene!

Here’s a video I made to show you this technique!

