Most people have heard of paper mache (also known as papier mache), but have you tried yarn mache?
The following post contains affiliate links, which means that at no extra cost to you I can make a tiny bit of money to help support this blog. Thank you!
First I made up a batch of paste based on a recipe I saw at Piggy Giggles. I used a quarter of the quantity she suggested, and that was the perfect amount! Here’s the recipe that I used:
- Mix ¼ cup of water with ¼ cup flour until smooth
- Mix this mixture into 1 cup of boiling water
- Let cool and it’s ready to use
As I hadn’t tried this activity before I did a trial run before trying it out with my son. I got two plastic bowls, not too big. For testing purposes I covered one in plastic wrap (cling film) and left one without. Then I cut some sparkly red yarn (wool) into different lengths.

First I dipped the pieces of yarn into the paste and draped them over the bowls. It’s a good idea to wipe off excess paste from the yarn as you go.
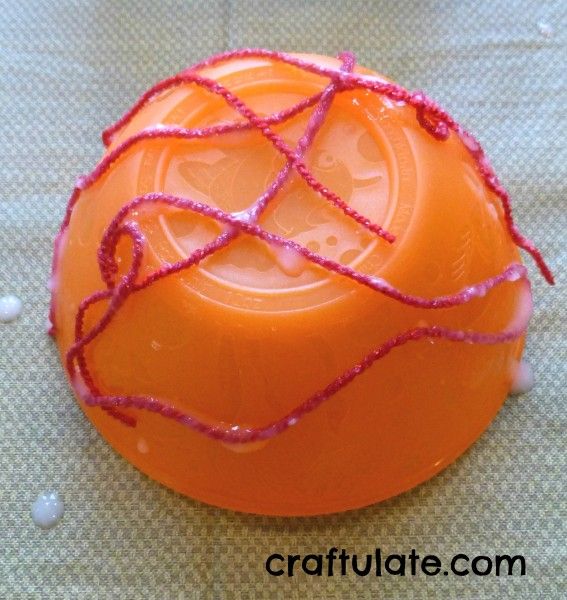
I kept going until the bowls had a good covering of yarn.
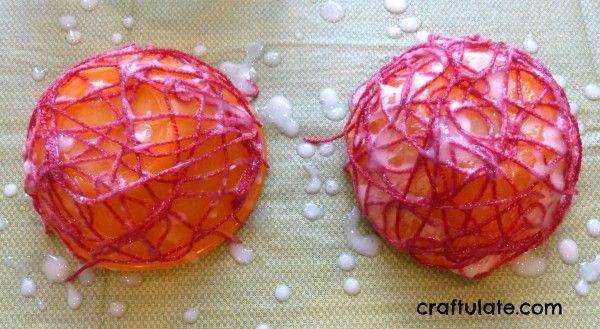
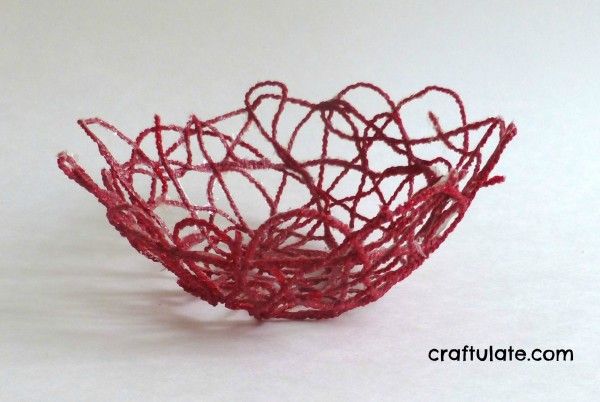
I left them to dry overnight. The next day the outer sides had dried, but the side touching the bowl was still a bit wet in places. So I removed the yarn from the bowl (this was MUCH easier to do with the plastic-wrapped version), then placed the yarn bowl loosely inside the plastic bowl so that it could dry.
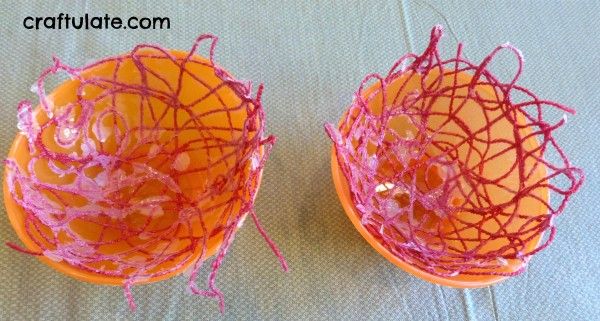
As you can see in the above photo there was some excess dried paste on the bowls, which I removed with a toothpick. I also snipped off any loose strands from the rim of the bowl to make it neater.
I had some paste leftover which I sealed in a bottle and kept for the next day. Time to get my son involved! I covered a different bowl in plastic wrap, gave him some yarn and the paste. I demonstrated how to dip a strand into the paste then drape it over the bowl, and then he took over.
Things did get a little messy (hence the lack of “action” photos)!

F’s bowl took a long time to dry as it was really wet with excess paste. Despite his more random approach to placing the yarn, it still looked like a bowl – almost!
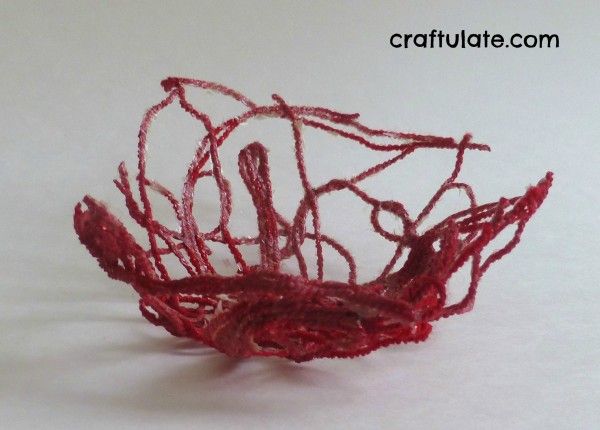
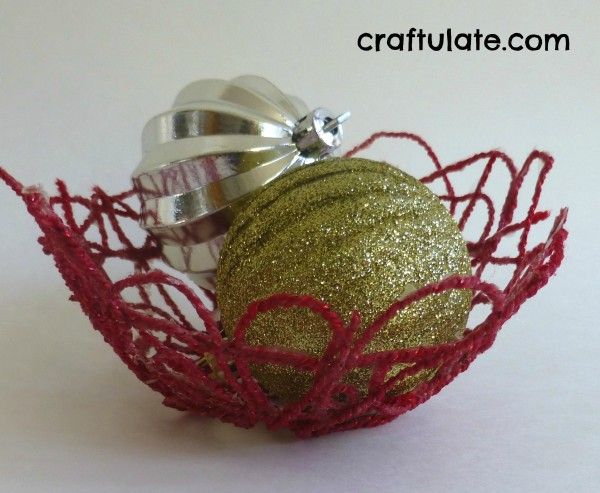
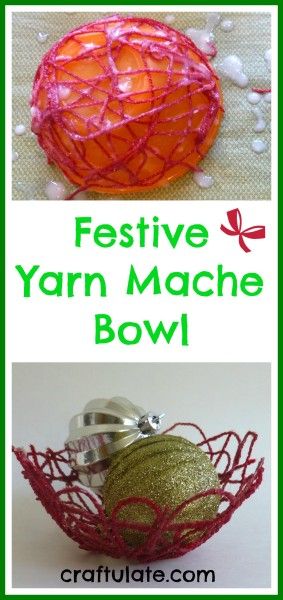
You could fill these bowls with ornaments as decoration, or with holiday treats. The contents just need to be light, and dry!

