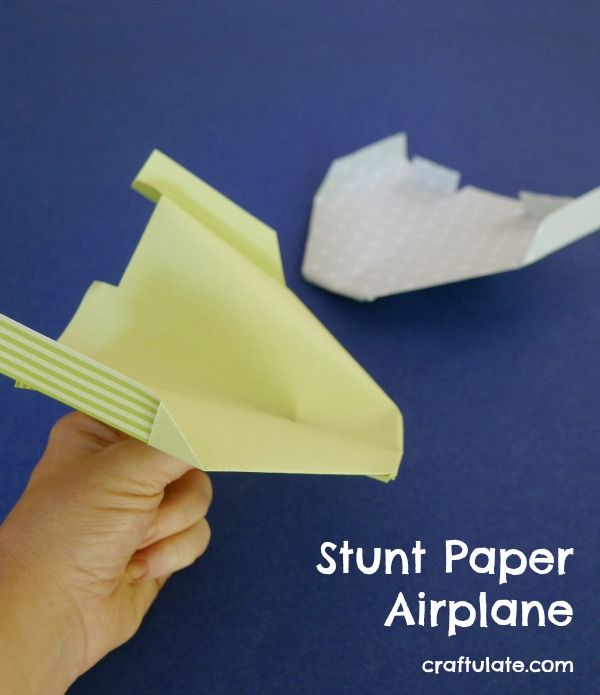
Kids will love this stunt paper airplane! Check out my step-by-step photo tutorial!
The following post contains affiliate links, which means that at no extra cost to you I can make a tiny bit of money to help support this blog. Thank you!
My husband made one of these stunt airplanes for our son the other day and it is really fun! In case you haven’t seen it before, I thought I’d share it with you here. Some of the folds are quite tricky, so this isn’t one for young kids to make. I’ve tried to make the steps as easy as possible to follow!
Start by folding one corner down across a sheet of regular paper.
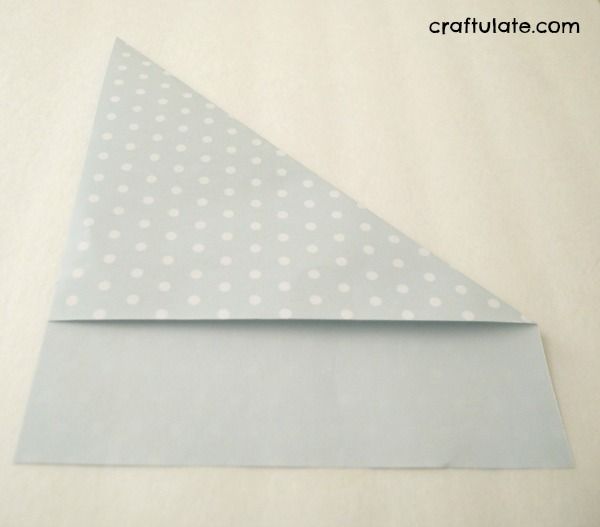
Open it up, and repeat on the other side.
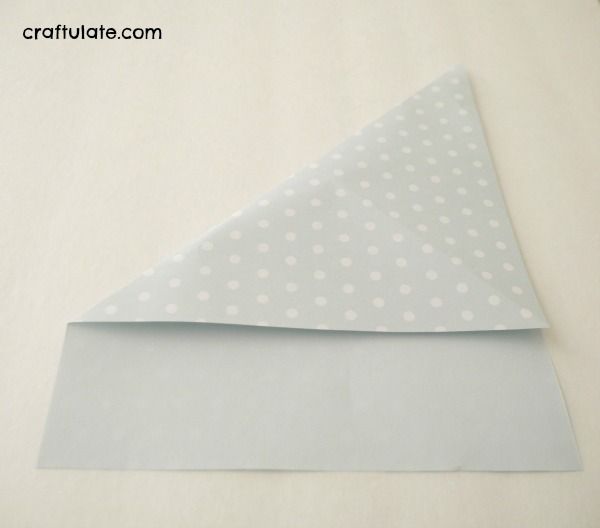
Open it up again. Pull the top left corner down to the lowest crease mark, folding the paper into the middle.
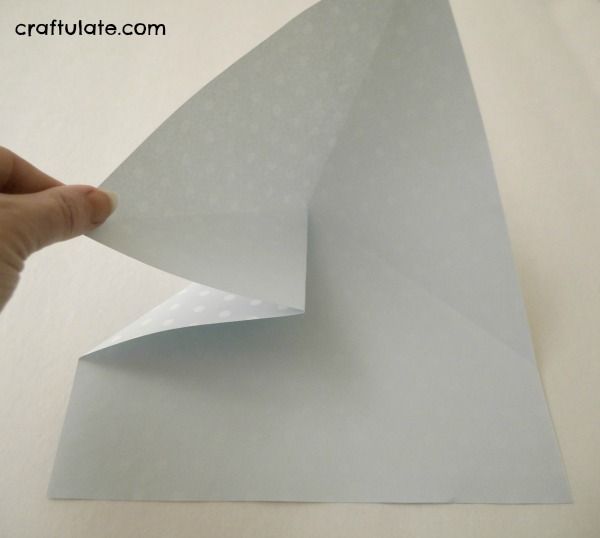
Repeat on the other side.
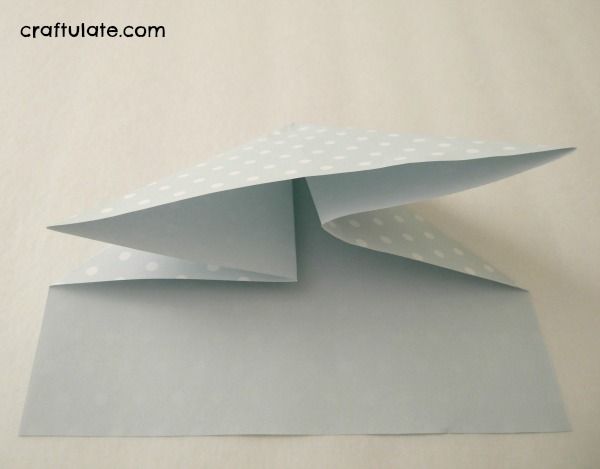
Fold the left hand point up to the top.
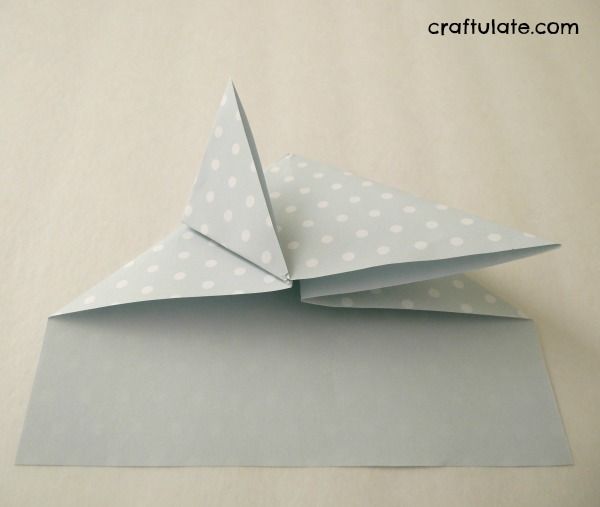
Repeat on the other side.
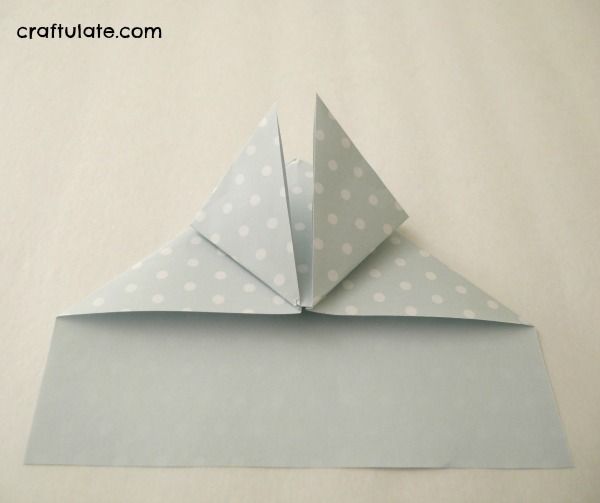
Fold the flaps that you have just folded in half again, up to the top point (do this on both sides).
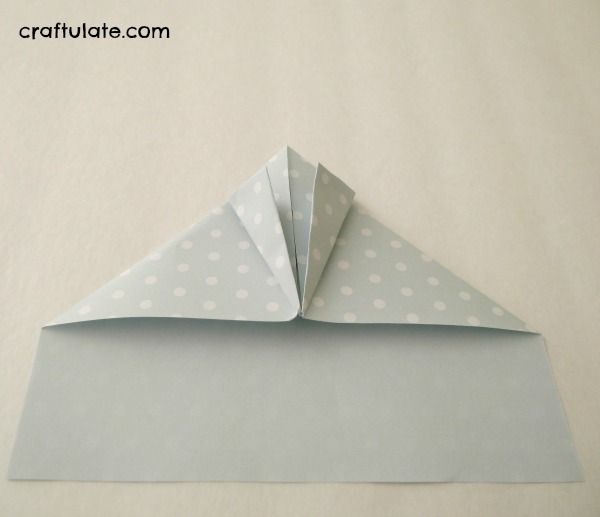
Fold down the top two loose flaps over the fold below it.
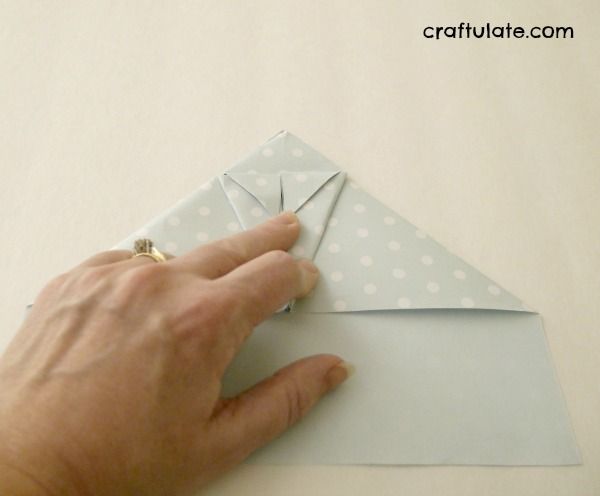
Tuck the left fold into the cavity available in the fold underneath it.
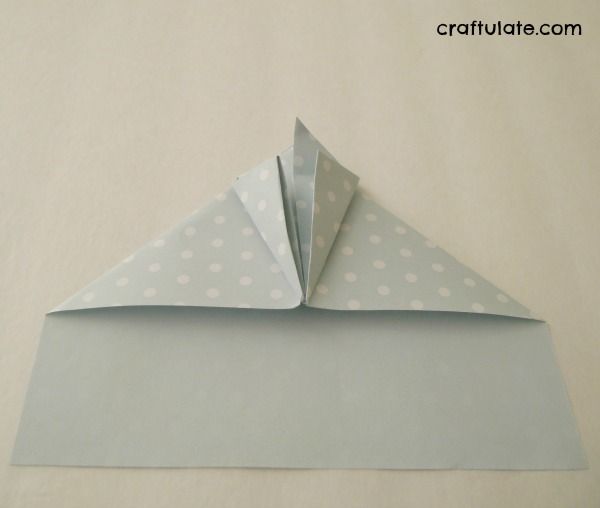
Repeat on the other side.
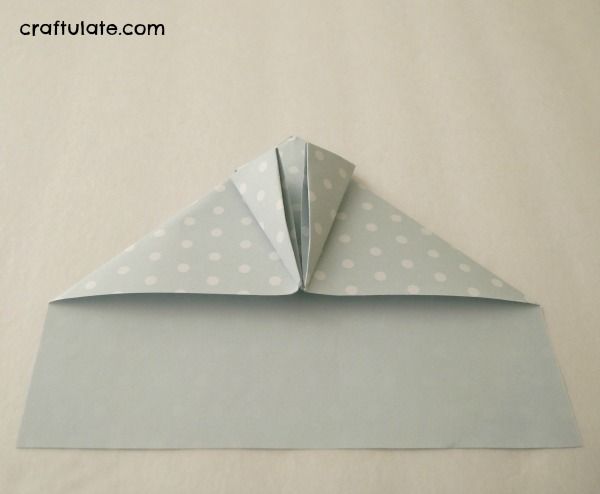
Open up the cavities on each side of the top point.
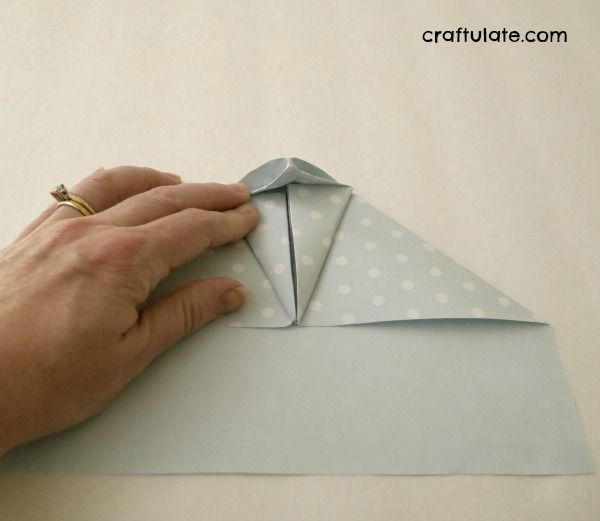
Fold this top flap down and tuck the left flap below it into the cavity.
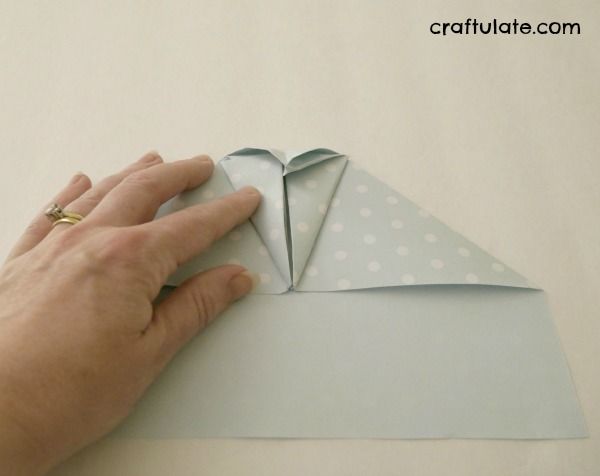
Repeat on the other side and flip the airplane over.Fold up each side to make the wing tips.
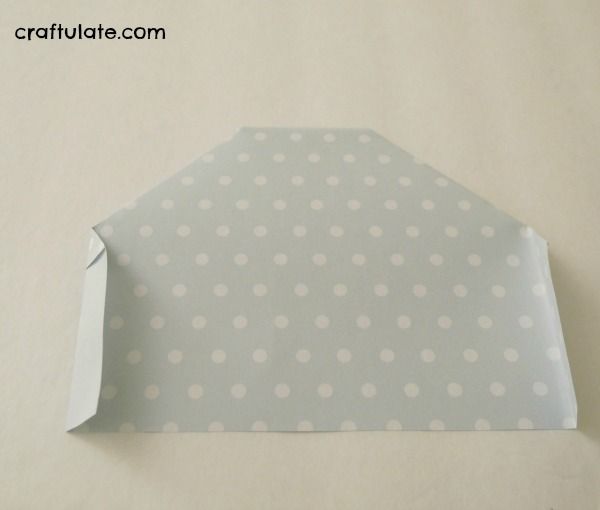
Make four cuts into the back of the airplane and fold up two wing flaps.

The airplane is complete!
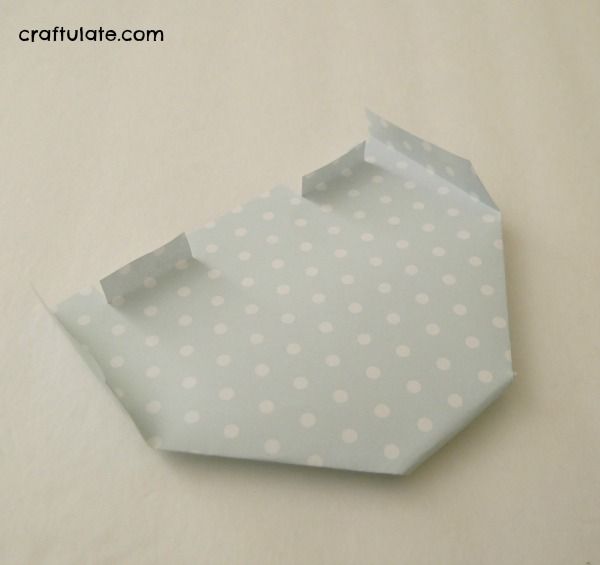
Wing flap guide:
- Both flaps up: Airplane climbs
- Both flaps down: Airplane dive-bombs!
- Both flaps flat: Airplane dives
- One flap up, one flap down: Airplane turns depending on which flap is up.
Try experimenting with different combinations to try and get loops and other tricks!
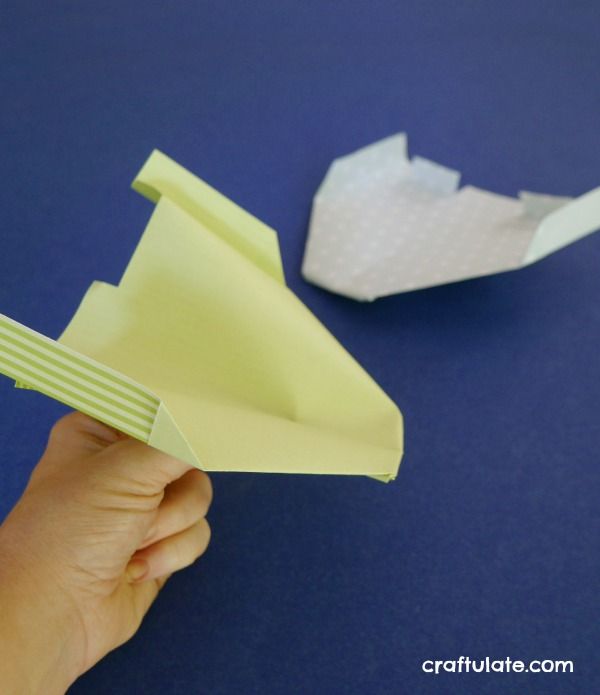
You could use patterned paper to make these airplanes, or get the kids to decorate some paper before folding!
[bctt tweet=”Stunt Paper Airplane #paperairplane” username=”craftulate”]

