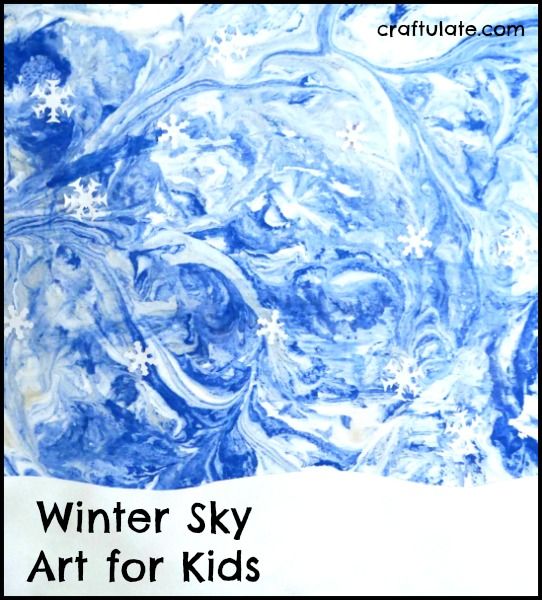
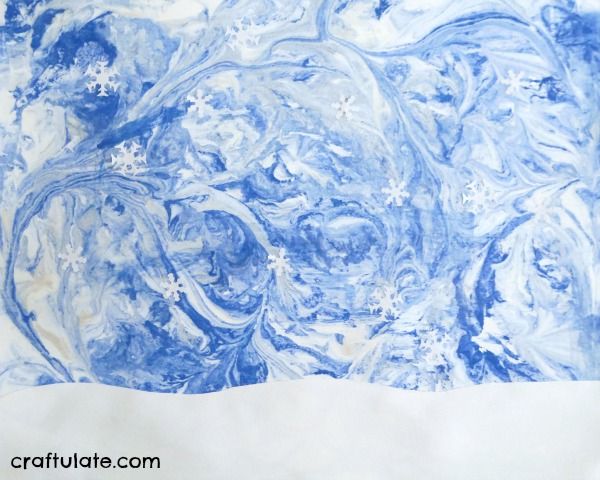
This winter sky art uses a marbling technique for the background and paper punches for the snowflakes!
The following post contains affiliate links, which means that at no extra cost to you I can make a tiny bit of money to help support this blog. Thank you!
It’s been a while since we did any marbling and I’m always looking for new ways to use it in our art and crafts. This sky scene can look very dramatic! To make the background you will need:
- Large baking pan or container
- Shaving cream (standard dollar stuff will do just fine!)
- Paint (I used blue acrylic with a touch of silver liquid watercolor)
- Stick (like a wooden dowel or chopstick!)
- White card (cut to size of pan, if necessary)
- Scraper
Squirt the shaving cream into the container so it covers the base – this is easiest if you turn the pan vertically. Then add in the paint – I added lots of the blue and only a little silver. Then your child can swirl it all around – no wrong way of doing this!
Press the card onto the paint and cream mixture.
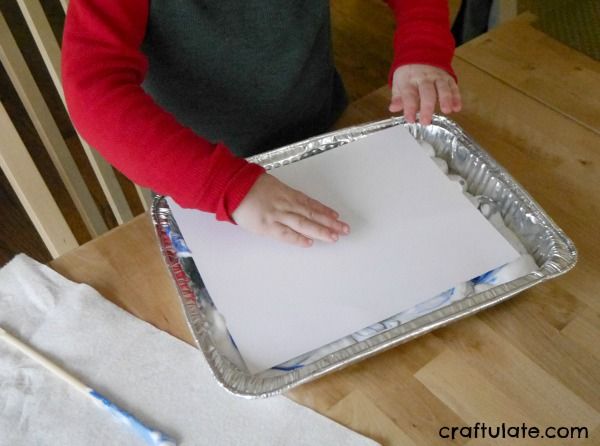
Gently peel it off and use the scraper to remove the paint and shaving cream. Some paper towels are helpful at this point.
The results are so amazing! EVERY. TIME. Here’s a video from a previous project which shows the same technique:
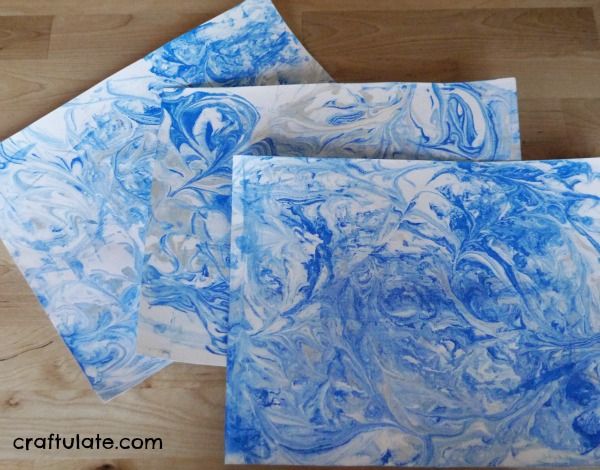
Repeat as many times as you want – you’ll get different effects each time! Then leave the cards to dry. They may start to curl up – if so then book press them to get flat again.
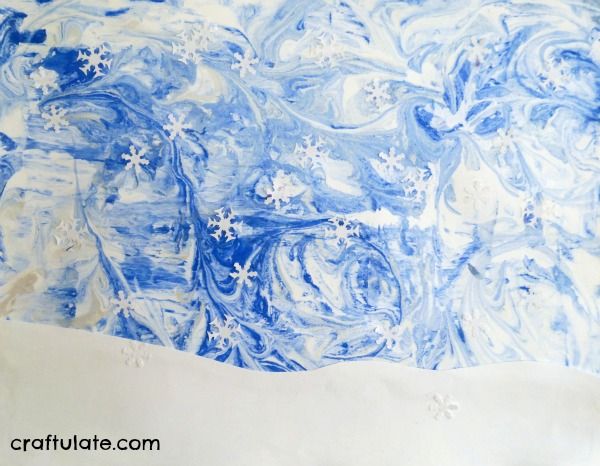
To make the snowflakes, use a paper punch and some white paper. This is a wonderful fine motor workout for little ones! Then glue them on (a glue stick is best), with a layer of snow made from more white paper at the base of the picture, if you like.
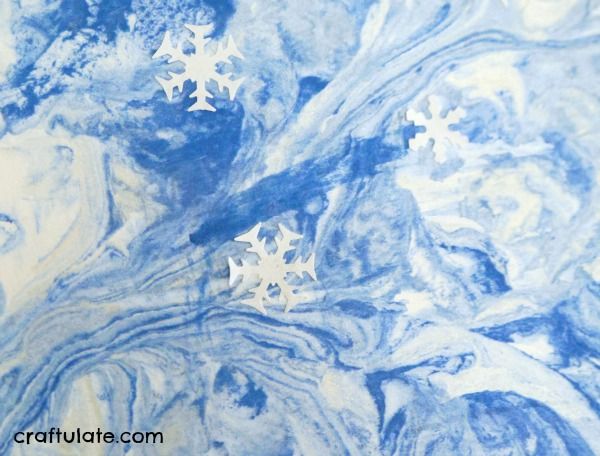
The finished pictures looks so beautiful – with all those whirls and swirls of the sky, the little dashes of silver and the delicate snowflakes! Here’s two of our finished pieces and a close-up!
[bctt tweet=”Make beautiful winter sky art pictures with the kids!”]

