I am really excited to have this guest post from my good friend Sara H. Today she is sharing with us how she made these super easy car cakes – all made during her son’s naptime!
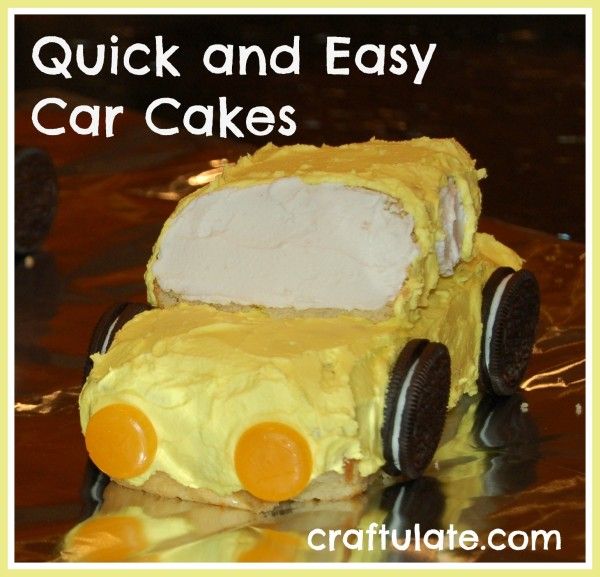
My son was turning two, and I decided to indulge his love of vehicles by making him a car cake for his birthday. I looked around online for inspiration and came across a basic design from Betty Crocker that I thought I could adapt for my purposes.
Instead of using a cake mix, I made a basic yellow cake from scratch. Just as easy, and I like knowing all the ingredients I’m using.
For the yellow cake batter:
2.5 cups AP (plain) flour
2.5 tsp baking powder
0.5 tsp salt
⅔ cup butter
1.75 cup sugar
2 tsp vanilla extract
2 eggs
1.25 cup milk
Mix flour, baking powder and salt. Set aside. Beat butter for 30 seconds, add sugar, vanilla and eggs, beat till combined. Add dry mixture and milk, and beat until combined.
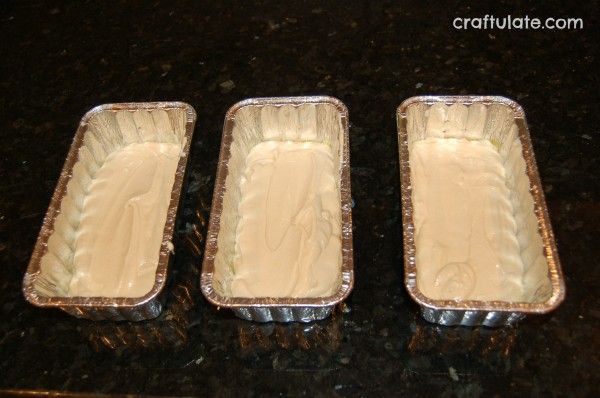
I poured the batter in equal parts into three 8×4-inch loaf pans and baked them in my small oven at 350 for about 30 minutes.

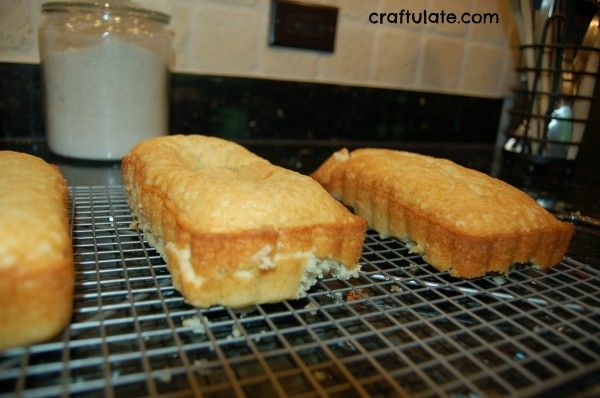
I didn’t do a great job greasing the pans, and the cakes fell apart a bit when I removed them from the pans. Also, the center of one of the cakes fell while cooling. Luckily, frosting covers any number of ills.
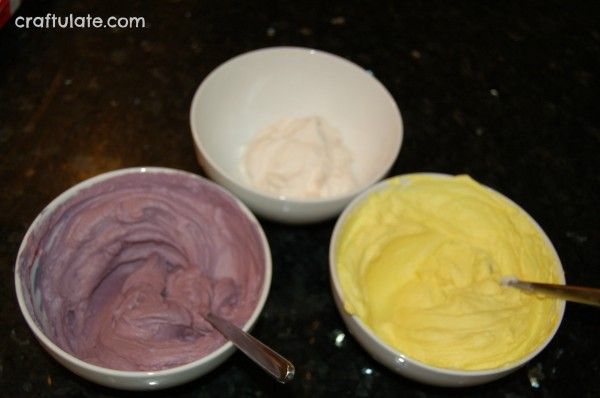
I made a big batch of powdered sugar frosting while the cakes were cooling, reserved a bit of white, then added food coloring to the rest for a yellow and purple.
For the frosting:
0.5 cup shortening
2 tsp vanilla extract
2.25 cup powdered sugar (icing sugar)
milk (2 or 3 tablespoons)
Beat shortening and vanilla. Add about half of powdered sugar, beat, then add a splash or two of milk, beat, then add the rest of the powdered sugar and as much milk as needed for desired consistency.
Once the cakes were cooled (I sped up the process by popping them in the freezer for a short time), I frosted one with yellow and one with the purple.
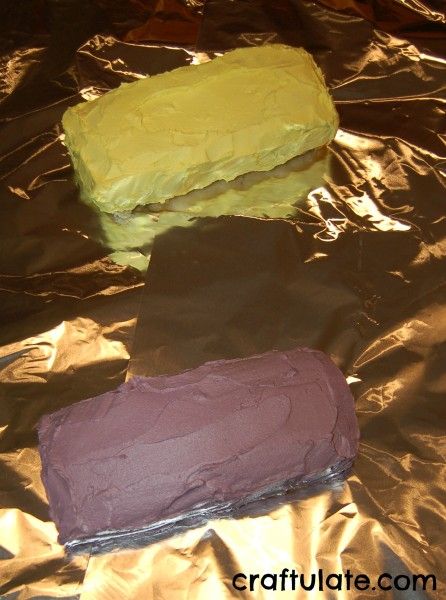
The third cake I cut in half for the tops, and tapered one end on each for the windshield. I placed the car tops on their bases, frosted the windshields and windows with white, then frosted around the white with the colors.
For the finishing touches, I used butterscotch candies for the headlights and chocolate sandwich cookies for the wheels. I think string licorice, as suggested by the link, would have been a nice demarcation between the windows and the rest of the cars, but I couldn’t find any at three different stores, so I decided to skip it.
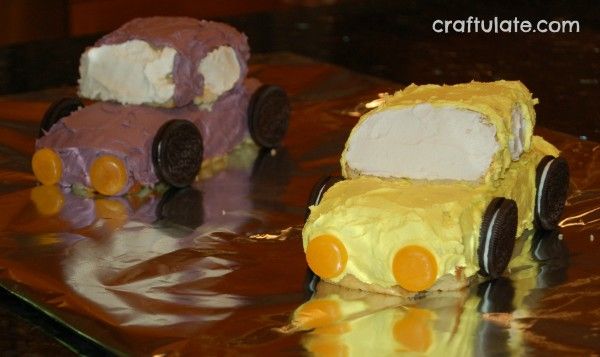
All this was accomplished during my son’s nap. When he woke up and saw the car cakes, he laughed with delight and immediately made the sign for “car.” Despite the frosting looking a bit sloppy, and the cars looking a little uneven, when I served the car cakes to my son at his birthday party, he gave an appreciative “wow” before digging in. Success!
Sara H. is a former newspaper copy editor and lawyer who currently stores her journalism and law degrees in a closet while working as a full-time stay-at-home mom in Chicago.


