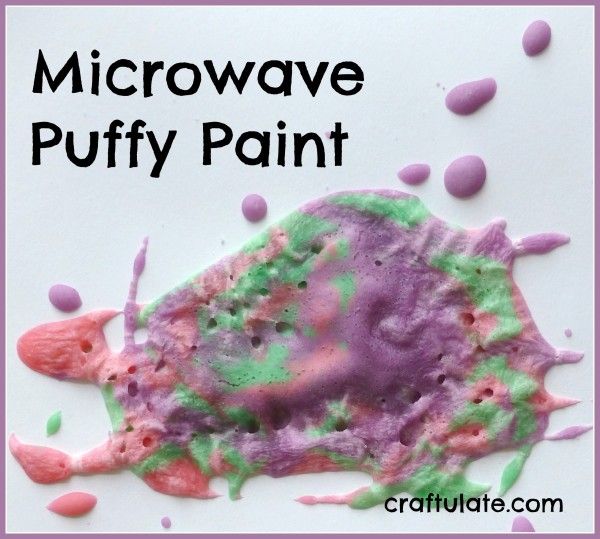
If your child is used to painting, and then you mention that you’re going to put their artwork in the microwave – their expression is a rather priceless mixture of wonder and disbelief. So here is how we painted with microwave puffy paint.
This the recipe that I used:
- ¼ cup self-rising flour
- ¼ cup salt (I’ve tried pickling salt and regular salt, both work well)
- Water
- Food colouring (optional)
Mix the first two ingredients together and then add enough water to get a thick yet pourable consistency. If you don’t have measuring cups just add the same amount of flour to salt, then add water. If you require coloured paints then divide up the mixture and add colouring as required.
I had never made this paint before so I tried it out first before giving it to the children. First I transferred the paint to a squeezy bottle and created some artwork on black cardstock.
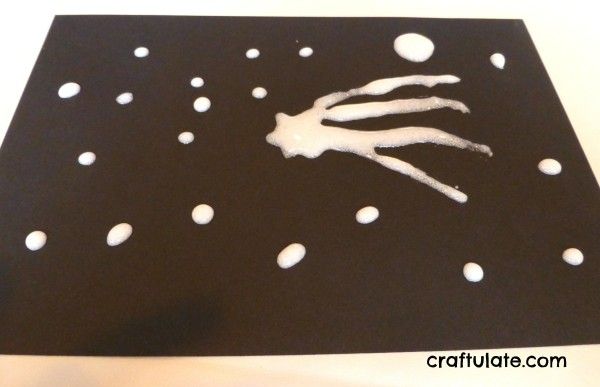
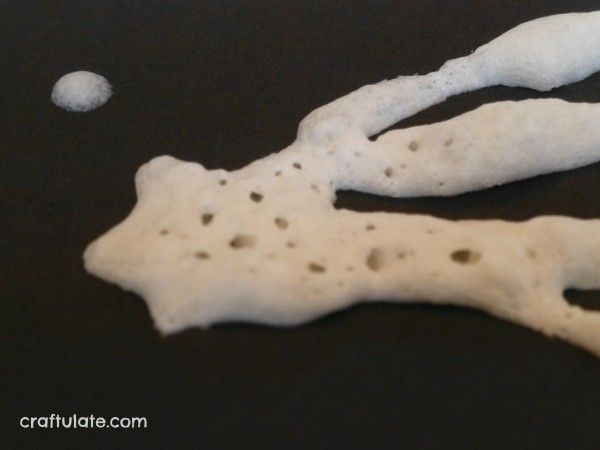
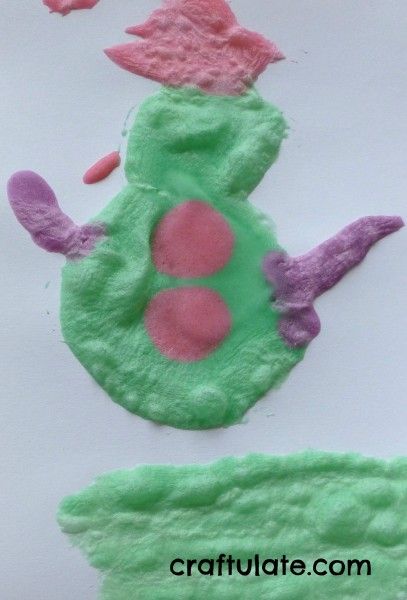
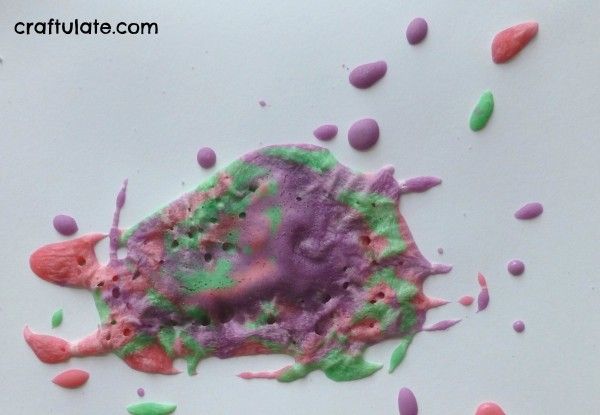
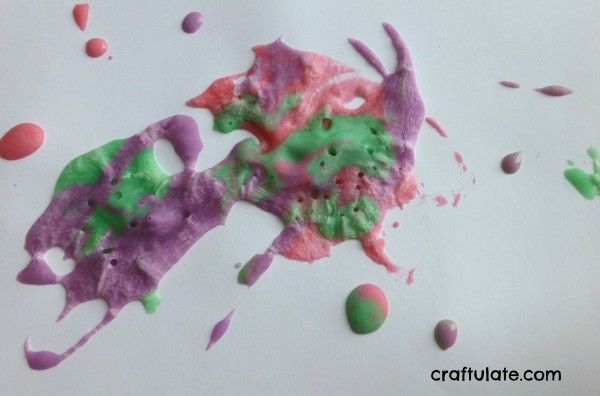
Then I placed the painted card in the microwave. All microwaves vary but it only took 15 seconds in our one, unless there was a very thickly painted area, and this took slightly longer. The paint puffs up in the microwave and after the card is removed the paint solidifies.

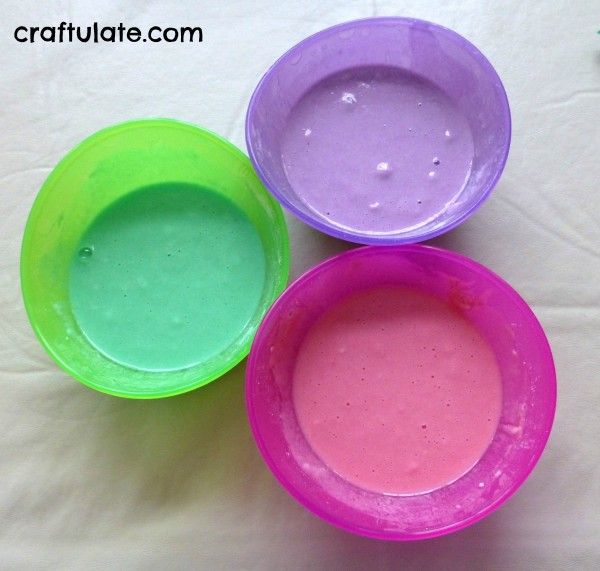
The next time we had some friends over for a crafty playdate, we tried using this paint. However I made several different colours of puffy paint for them to experiment with. This time I made up the paints in a bowl, and got the kids to paint with spoons!
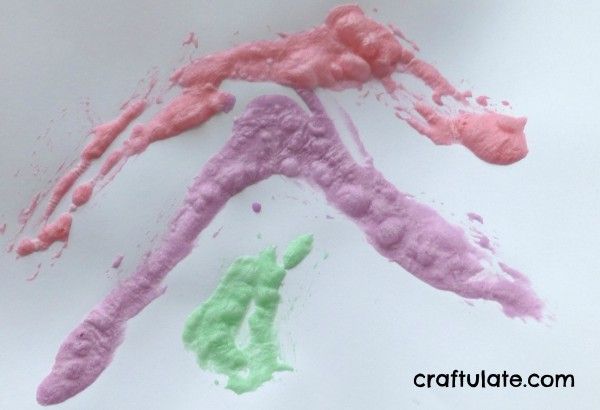
They made some great designs and really enjoyed how it looked after their image puffed up.
I made this paint in advance of the activity, and found that after about 3-4 hours the mixture still worked fine. After that it started to harden up in the container, but it may well still work OK with a little added water.
Inspired by One Crafty Mumma and inner child fun.

