This was our first time creating with modelling clay! And we ended up making a clay train – no surprise there…
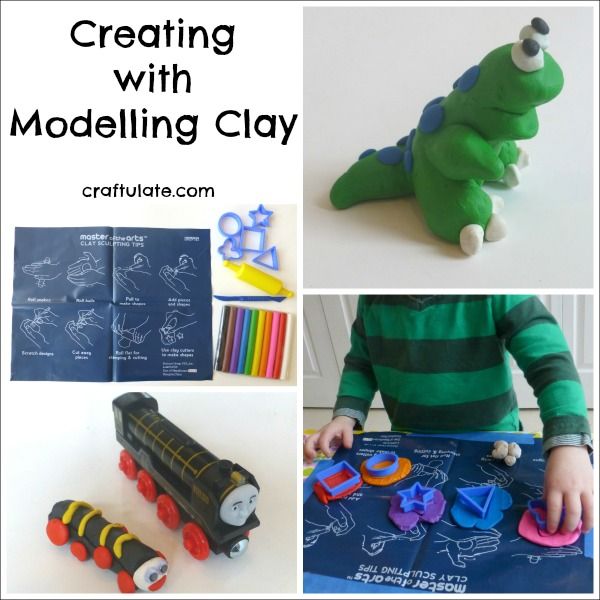
Disclosure: I was provided with this craft kit from CraftProjectIdeas.com free of charge in exchange for my fair and honest review. Please see my disclosure policy.We have been working with CraftProjectIdeas.com for some time now, so when they announced their new “Master of the Arts” range of craft kits I was very keen to try them out. The first one we tried was their Clay Kit.
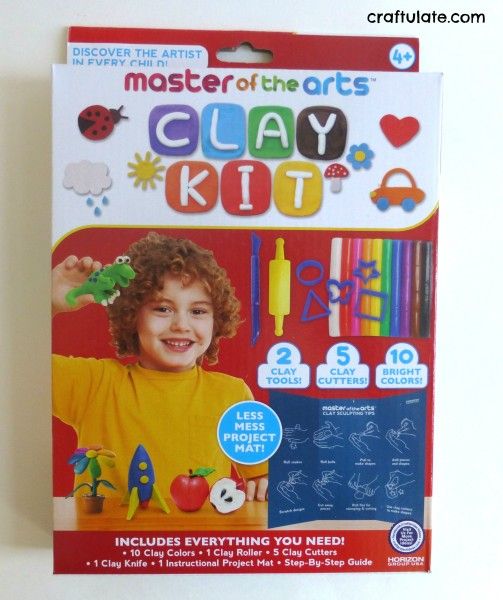
So what’s in the box? 10 sticks of clay, a project mat, five cutters, a rolling pin and a knife.
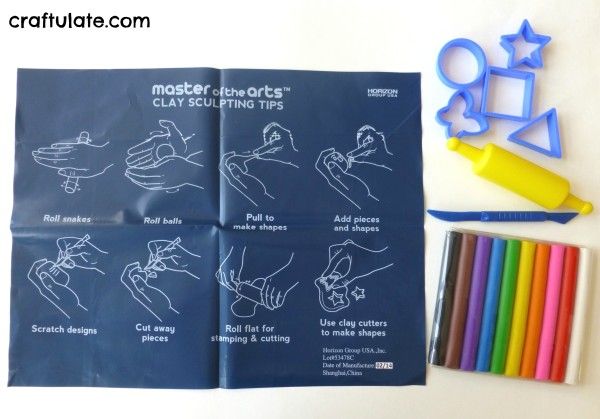
Now, we’ve played with a *lot* of homemade play dough over the last couple of years. But neither my son nor I are experienced with modelling clay. It’s a lot stiffer and harder to manipulate, but it has lovely bright colours and holds it’s shape well. Now I should mention at this point that the clay included in this kit is oil-based – so it doesn’t harden when left to dry. It is different from polymer clay which can be oven-fired or air-dried to a hardened state.
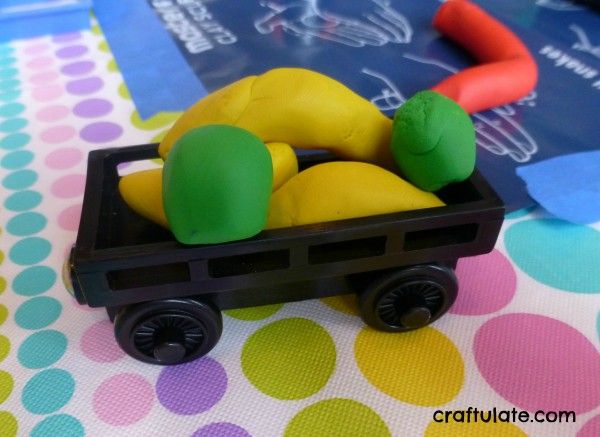
We opened up the box the day it arrived. I taped the project mat to the table otherwise it slipped around. Our first project was to make some simple fruit – apples and bananas. These duly got placed into a train car. Because everything is linked to trains around here!
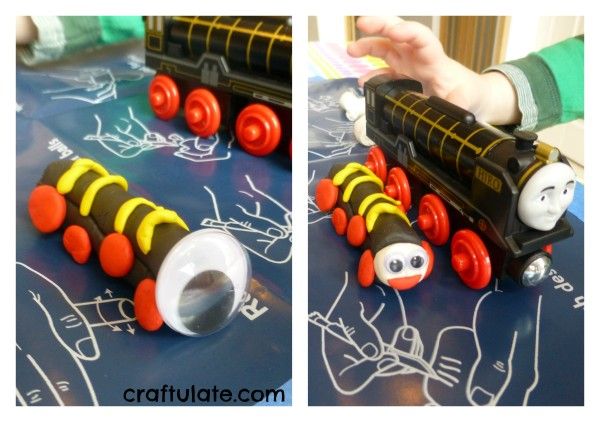
Our next project was rather more ambitious – a model of Hiro (a train from Thomas & Friends). I made the components of the model train and then F assembled it.
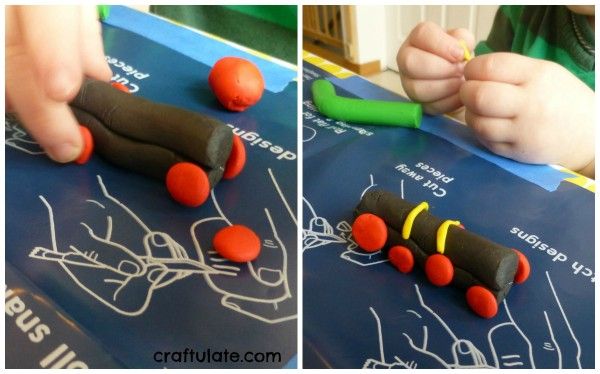
He went to grab the googly eyes (that’s my boy!) and added one to our clay train. I *slightly* adapted his design though.
Next we tried rolling out the clay. It was pretty hard to manipulate and this wasn’t easy for my son. I confess that I wasn’t impressed with the rolling pin that came with this kit – it might have been OK when the clay was very warm but as the rolling pin was hollow it was impossible to push it down onto the dough without the plastic bending. So I substituted it with one we already had in stock. The suggested age range for this kit is 4+ and my son is not yet 3, so I guess it wasn’t a surprise that the clay was a little too hard for him to handle. I think we’re just used to super soft play dough!
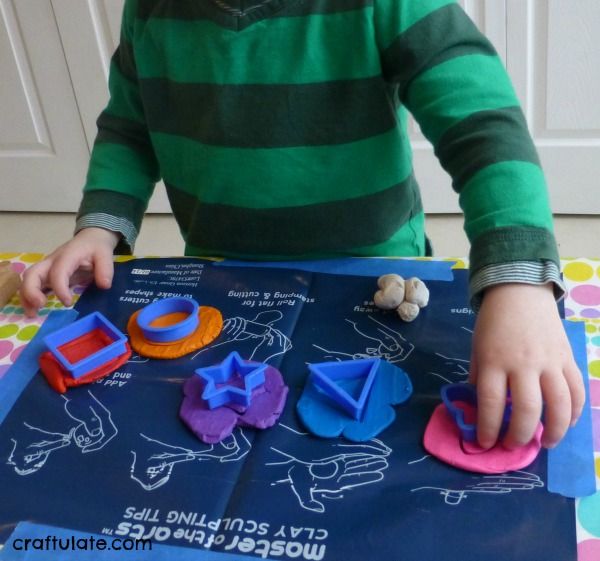
Once I had rolled out some clay for him, he tried out the shape cutters and together we pressed the cutter into the clay (that was quite hard work too!). We cut out each shape and then he lined them all up neatly with the cutter on top. 😉
While the clay was flattened he wanted to cover his trains – which we’ve been doing a lot with play dough ever since our Unwrapping activity. The pieces weren’t quite big enough but that didn’t bother him!
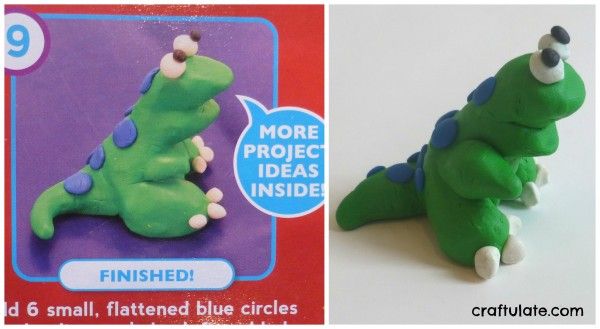
While he was doing that (and surreptitiously adding more and more track to the kitchen table) I decided to try out the project on the back of the box – a little green and blue dinosaur. I started to get the hang of blending pieces of the clay together and it turned out quite like the original!
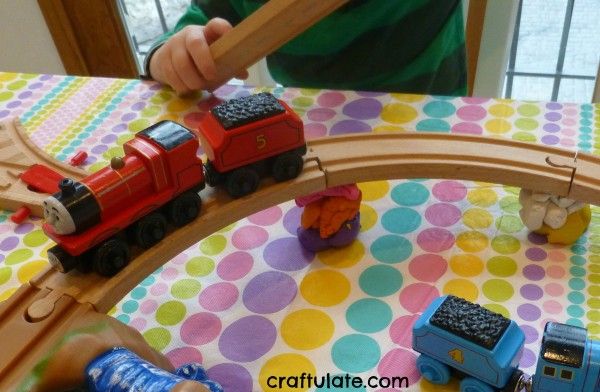
Meanwhile, F changed what he was doing and decided to use balls of clay as track supports!
All in all we played with this clay for well over an hour – which I count as a success! I did notice that the print on the project mat did start to come off on the clay, but when I looked again at the dino instructions on the back of the box I noticed that they used the mat print-side down. Anyway, the mat and the impossible-to-use rolling pin are the only negatives I have with this kit – and it should be noted that it will be retailing for under $5! Not a lot to pay, especially as the clay can be used over and over again.
CraftProjectIdeas.com is powered by Horizon Group USA and is a source of photo and video tutorials to inspire and educate children with arts and crafts. Find out more about the company by following them on Facebook, Twitter, Pinterest or YouTube.Disclosure: I was provided with this craft kit from CraftProjectIdeas.com free of charge in exchange for my fair and honest review. Please see my disclosure policy.

