This butterfly growing kit was enjoyed by the whole family – it was such a wonderful experience!
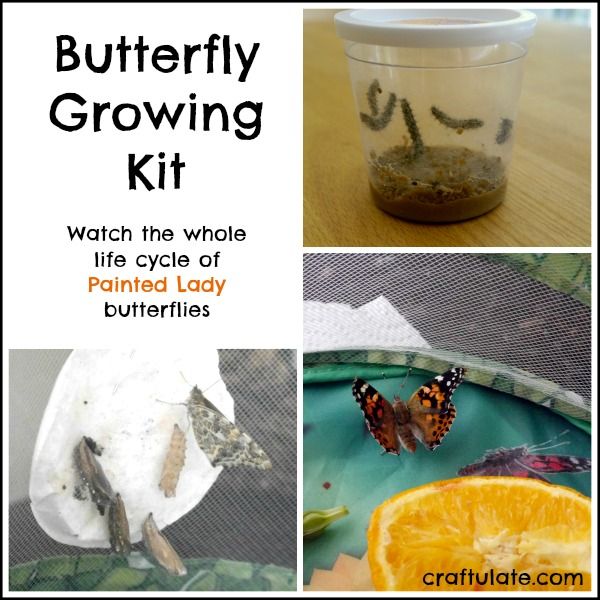
Although this post contains affiliate links, I have not been sponsored by the manufacturers of this product. All opinions are my own. By using my affiliate links I can make a tiny bit of money to help support this blog. Thank you!OK so normally I wouldn’t *just* write about a commercially bought kit – but this was too good not to share! The Insect Lore Butterfly Garden can be bought from Amazon.


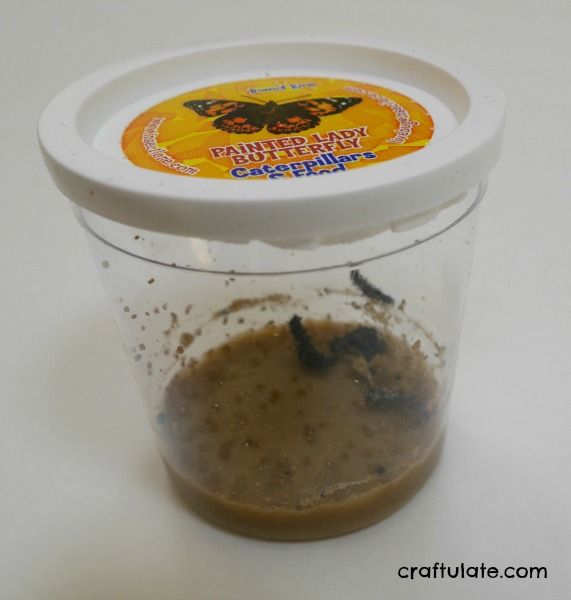
By the next day all five were sporadically wiggling – it seemed like they needed a lot of rest too. By day 4 they had definitely grown, and seemed to prefer hanging out on the sides and the lid.
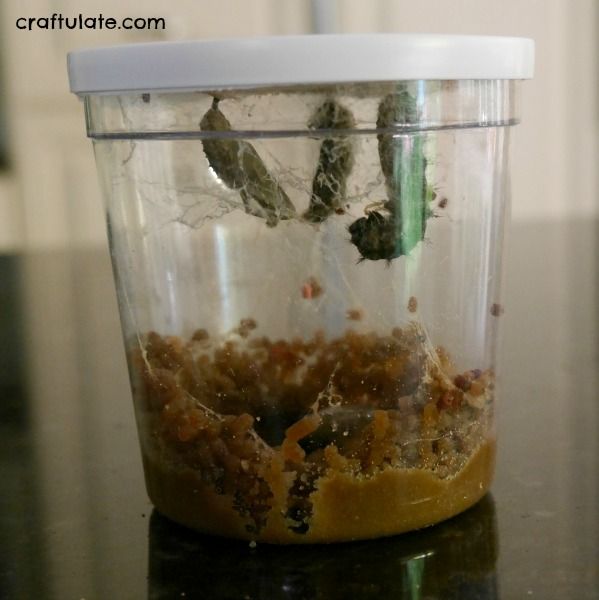
By day 6, one caterpillar had formed its chrysalis and two more were hanging in a “J” shape. One was still quite active and the last one seemed to have formed into a chrysalis but on the ground. And by the end of day 8 they were all in chrysalids.
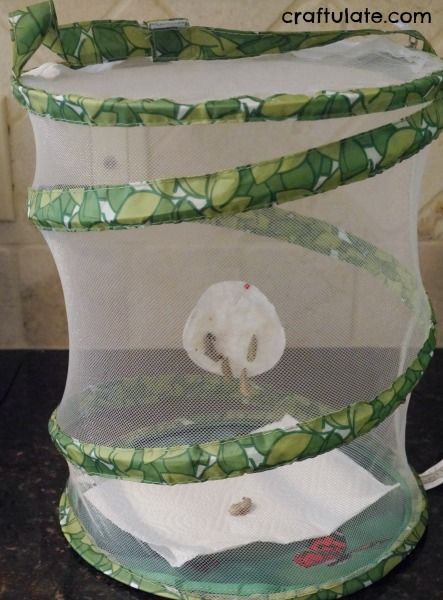
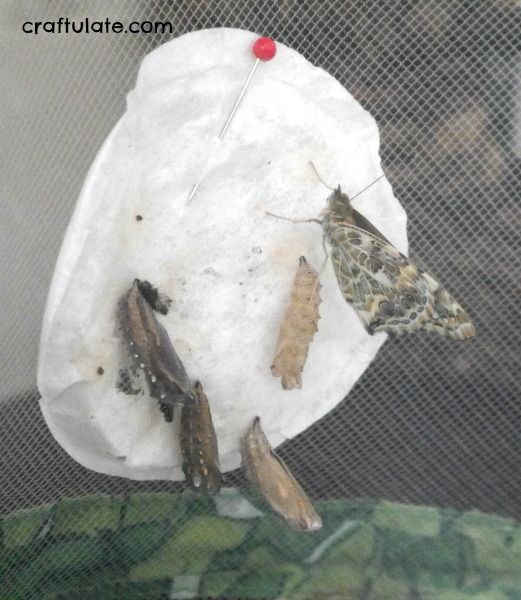
They moved house on day 10! My son really wanted to help with this stage but it was quite fiddly so he just watched. All the silk strands needed to be removed gently with a Q-Tip, because otherwise the butterflies could get entangled when they emerged. Then the paper disc that was inside the lid had to be pinned to the side of their new home – a collapsible mesh tent that came with the original kit. I moved the chrysalis that was on the ground over to the tent too, placing it gently onto a piece of kitchen paper.
The first butterfly emerged on day 14. I didn’t manage to capture it on camera because it was so quick! The wings were all wet and it came out looking quite bedraggled, then slowly dried out and the wings opened.
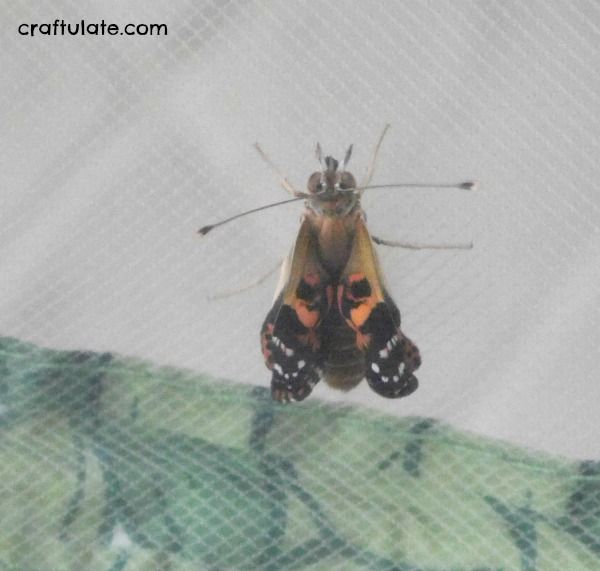
The next day three more butterflies emerged – including that chrysalis that was on the floor! The fully formed Painted Lady butterflies looked so beautiful!
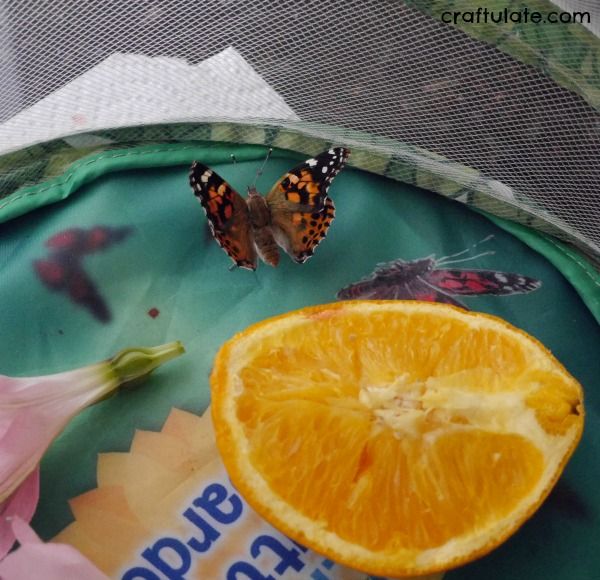
We fed them orange slices, strawberry hulls, and flowers sprinkled with “nectar” – a sugar syrup solution. Two days later, the last butterfly had yet to emerge but we thought it was time to let the others go. We took the habitat outside, and opened up the zipper at the top. One took flight almost immediately, with two others following soon after. If I said that I didn’t feel a quick pang of maternal pride then I’d be lying!
One butterfly preferred to remain on the orange slice, so we decided it wasn’t ready and brought it back in. Finally, on day 18 the last butterfly emerged. Our family were so happy to be part of this experience, and I am sure we will repeat it many times – as extra caterpillars can always be purchased from InsectLore.
So here’s a summary of this kit:
- Actual caterpillars are not included and need to be ordered separately after receiving the kit
- Timing should be planned carefully so the caterpillars can be observed on a daily basis for 3-4 weeks after receiving them.
- This kit can be used at any time of year as long as the temperature is above 55F at the time of releasing the butterflies
My friends over at Preschool Powol Packets have also tried this out!