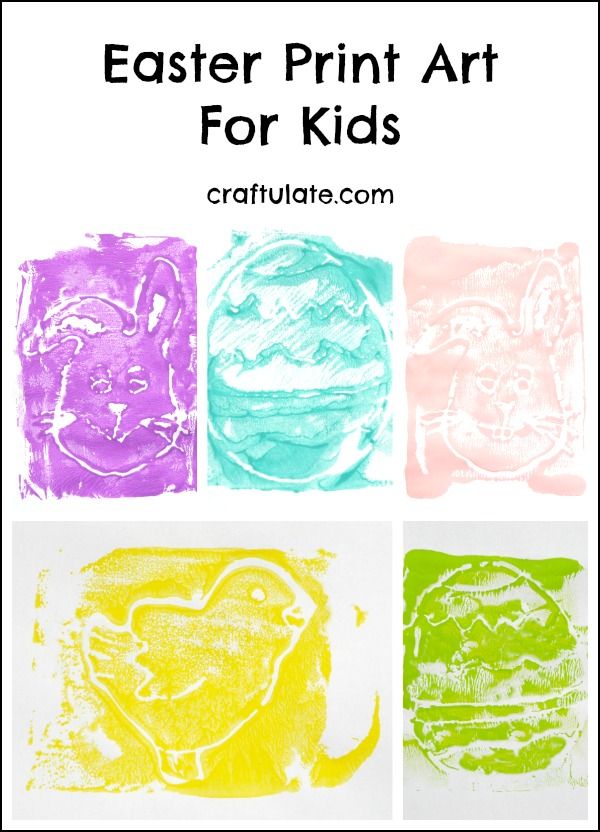
Kids will love making this Easter print art – from recycled Styrofoam! They can choose their own designs and colors, and make as many prints as they like!
Disclosure: I was provided with this paint and tool from PLAID free of charge in exchange for my fair and honest review. Please see my disclosure policy. This post also contains affiliate links, which means that at no extra cost to you I can make a tiny bit of money to help support this blog. Thank you!
This art activity is one that I remember doing at high school! We also made lino prints at school, but as that activity uses a sharp scalpel it wasn’t suitable for my son to try! Here are the craft materials that you’ll need:
- Smooth Styrofoam sheets*
- Wooden toothpick or similar
- Paint
- Brayer or roller
- Paper
*I have been diligently ordering in takeouts recently so that I could get some “clean” Styrofoam boxes for this project (clean as in only had a salad or something in). It’s a tough job sometimes!
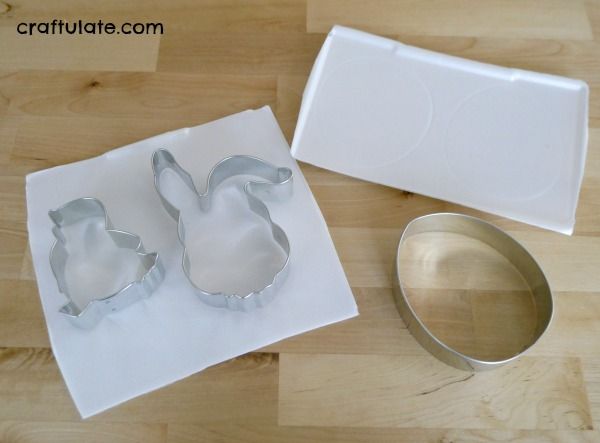
I cut the Styrofoam boxes down into small squares, then used Easter-themed cookie cutters to create an outline for our designs. I had to press down quite hard but it was a super quick way of getting the right shape!
Then I showed my son the different outlines, gave him a toothpick, and invited him to draw a design on them. He chose the egg, so I suggested stripes, zig zags, spirals – anything apart from letters.
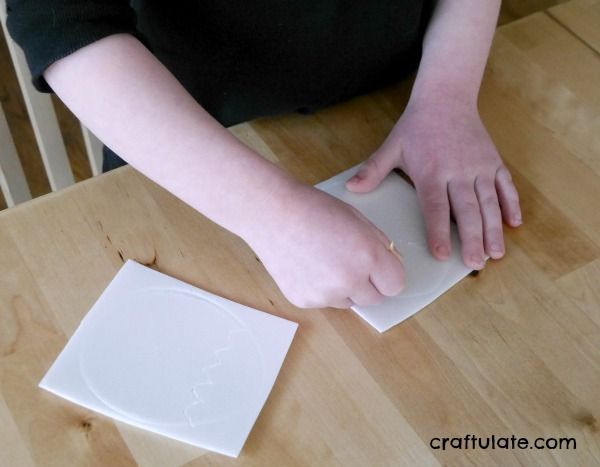
He was very secretive about it, and of course, had started to write out his name. SIGH. I tried to explain that it would come out backwards when we printed it, but it was hard for me demonstrate the end result until we had some other designs finished. So he completed another egg while I did the rabbit and chick.
We chose some lovely Easter-y colors of Apple Barrel paint: Grape Jam, Laguna, Light Pink, Banana, and Lime Tree. I poured some onto a paper plate and provided my son with a brayer – if you don’t have a brayer you could use a small rolling pin instead!
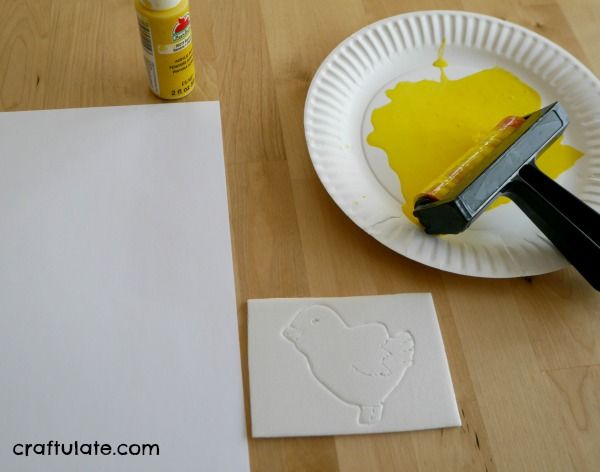
We got an even coating of paint onto the brayer, then rolled it over the Styrofoam design. Then we placed a piece of paper firmly on top, then lifted it off. Although the designs could be seen, they weren’t perfect. We experimented with different amounts of paint, and how the designs looked in different colors (the brayer and Styrofoam can be easily washed and dried between colors!).
No photos of the process I’m afraid, as the activity was hands-on for both of us. I’ll be the first to admit that this isn’t the most fantastic artwork we have ever made – but it wasn’t just random art either! There was still satisfaction in seeing our designs on the paper.
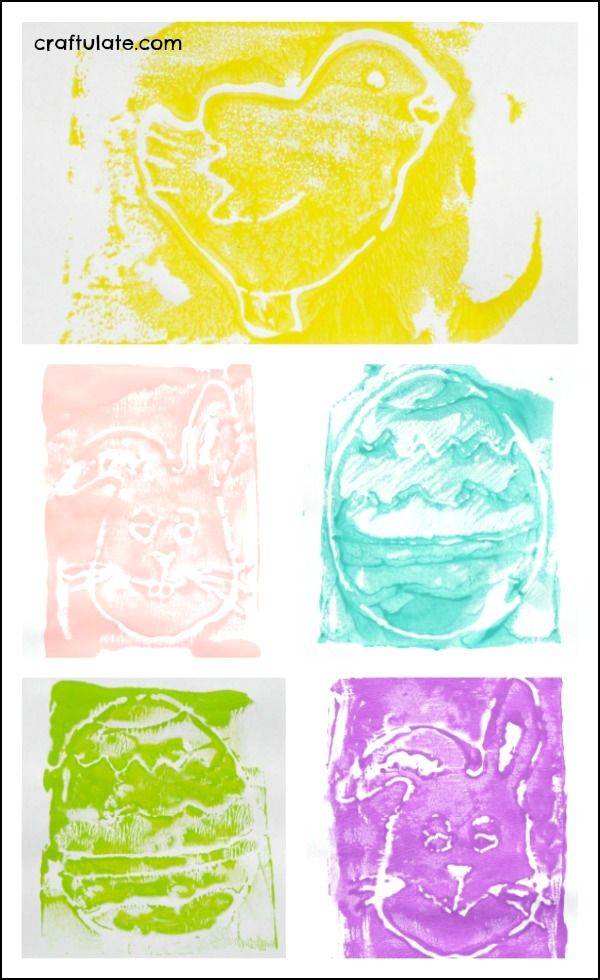
I suspect there are several things we could do differently – but the main one would be to use thicker foam sheets and a wider tool for making the marks (maybe a chopstick or similar) – the main issue was that the small indentations just got saturated with paint too quickly. HowEVER, we were happy with the prints that we made – especially that we made the printing plates from scratch (pun intended!).
[bctt tweet=”Easter Print Art for kids to make #kidsart #easterforkids #easterart” username=”craftulate”]

