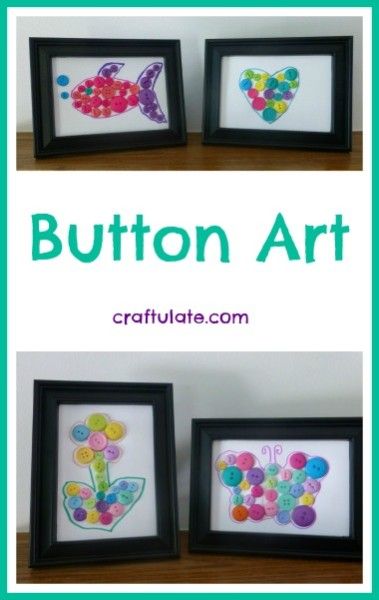
This button art uses a very simple technique that looks really effective!
The following post contains affiliate links, which means that at no extra cost to you I can make a tiny bit of money to help support this blog. Thank you!I had planned to try out this button art activity at a regular crafty playdate, but I’ve noticed that F doesn’t always participate when the others are here – I think he prefers to have all my attention. So he and I tried this out first. We had loads of craft buttons sent to us by the splendid people at craftprojectideas.com, so I put those out in a bowl for him. I also had some white card, a dollar store 5×7″ frame and some white glue.
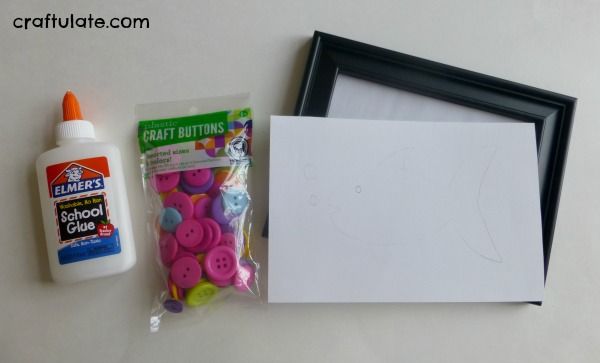
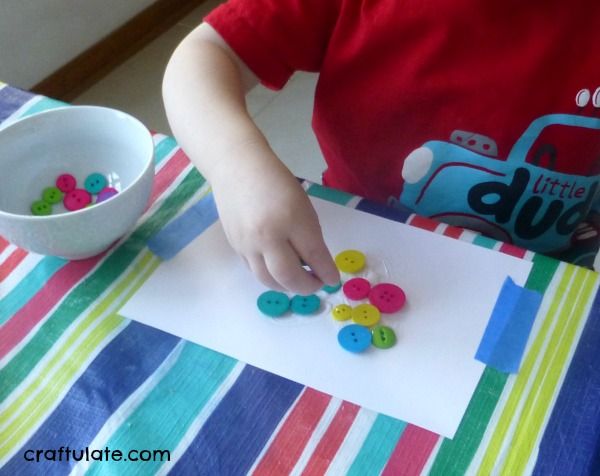
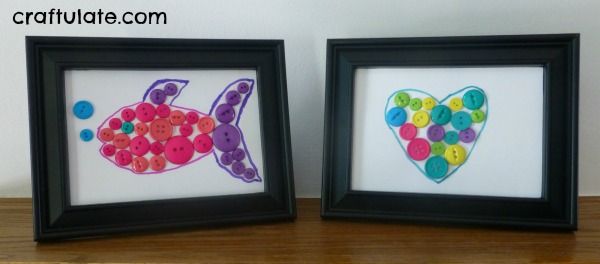
Using a pencil I lightly drew a simple heart shape onto the card and then filled it in with glue. He then added the buttons.
Once the glue had dried I outlined the buttons with a coloured pen. Meanwhile, I made a fish picture!
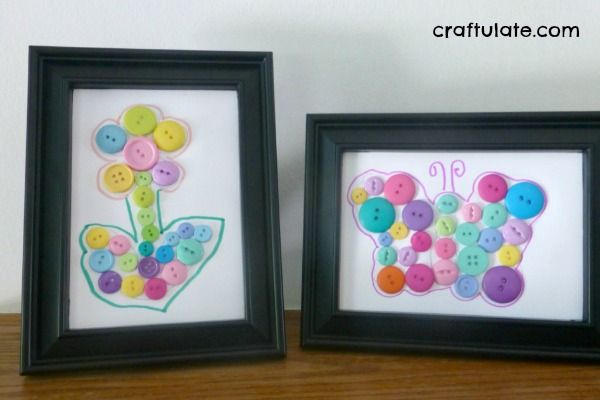
When our friends came over, I offered them several design options: fish, heart, flower, butterfly and some blank pieces for their own ideas. This project was a huge success with Miss L (4.5yrs) and Miss E (6yrs).
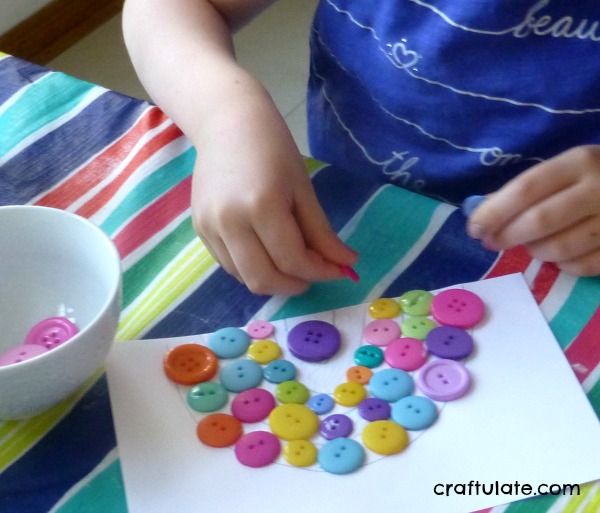
They used a small paintbrush to spread the glue around evenly and spent quite some time trying to decide on the exact placement of some of the buttons!
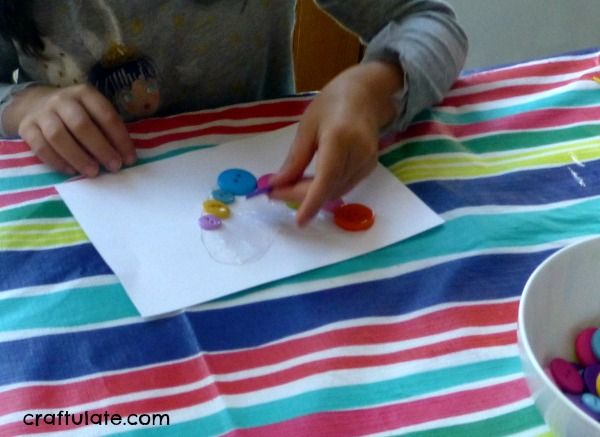
Miss E ended up making five pictures; Miss L made three pictures. Luckily I had a lot of buttons! The large semi-circle ones are rainbows which I don’t think worked so well, but I really love the pretty flower pictures.
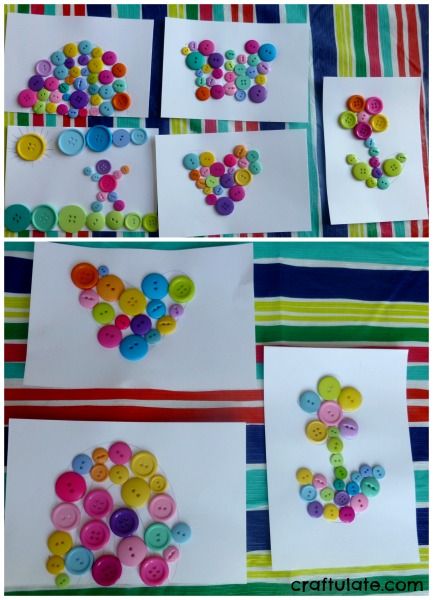
When the glue had dried they used coloured pens to add an outline and detail, then chose their favourite picture to put in a frame. I advised them to keep their other pictures as flat as possible, since the buttons have a habit of pinging off!
I love how adaptable this activity is for different ages in terms of the complexity of the design and whether they do their own gluing. Even simple shapes like the heart looks very effective.
