Magic Milk is a true science-meets-art project that can be done with simple kitchen ingredients!
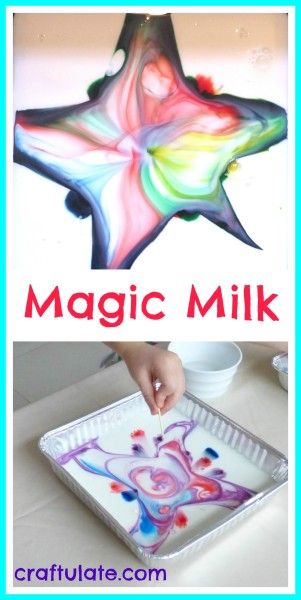
I covered the base of a shallow container with milk (I have tried whole milk and 2% (skimmed) and both work) and added a few drops of food dye. Then we dipped a wooden toothpick into some dish soap (dishwashing liquid) and gently touched it to the surface of the milk. WOW – the colour exploded across the surface of the milk. We kept watching because sometimes it happened several times.
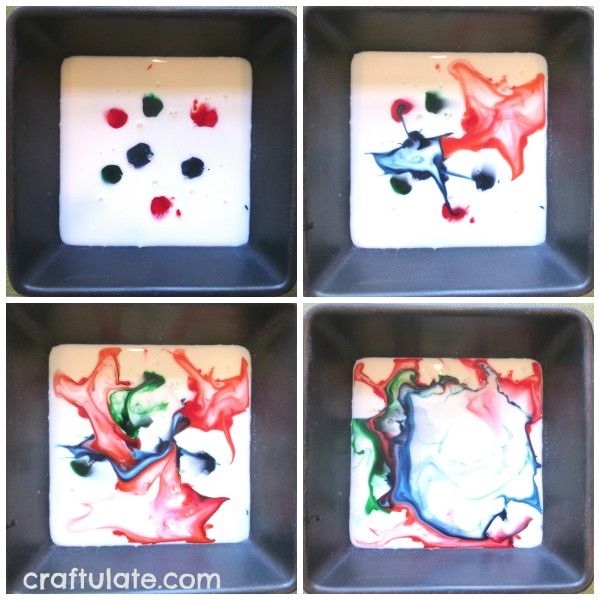
We also tried dropping the food colouring only into the centre of the milk.
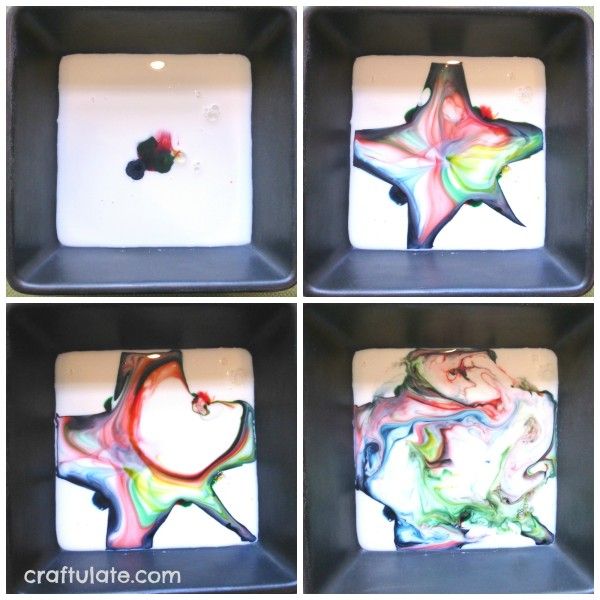
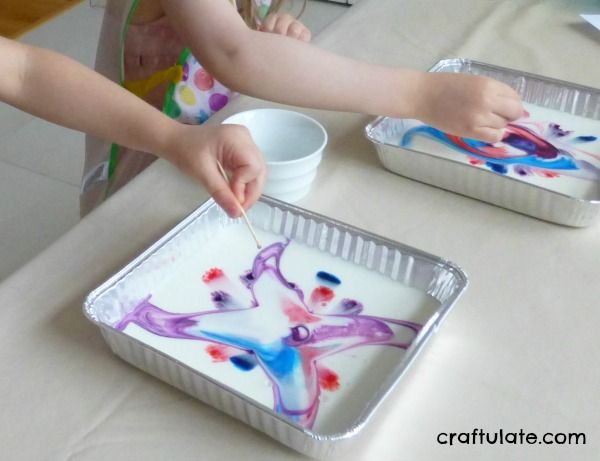
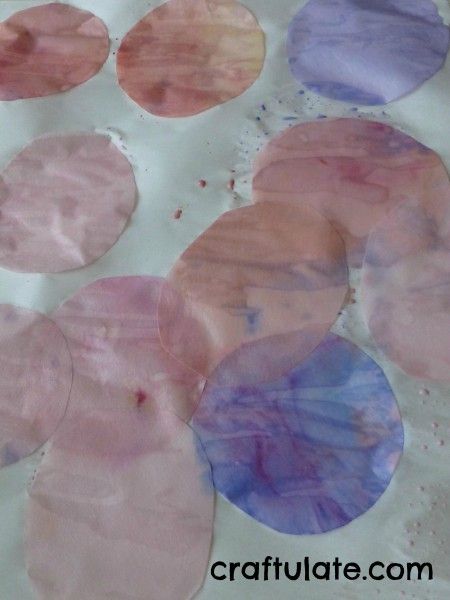
Once the soap had finished reacting, the girls swirled the colours around to create some wonderful patterns. The colours looked so beautiful that we tried to get some prints by gently placing pieces of coffee filter paper onto the surface of the milk, then lifting off and leaving them to dry on something non-absorbent. The prints didn’t quite do the colours justice – but it was fun to try!
Once the milk had turned to one colour, we started again: set up is super quick – just empty the container, wipe dry, add more milk and colouring, and go! The real fun in this magic milk activity is the magic part – getting finished artwork is definitely secondary!


