I’ve been learning fast about arts and crafts for toddlers and young children, but when it comes to science experiments I haven’t a clue! Luckily I managed to get a bit of hand-holding from the fabulous Mary Catherine, author of Fun-a-Day.
The following post contains affiliate links, which means that at no extra cost to you I can make a tiny bit of money to help support this blog. Thank you!
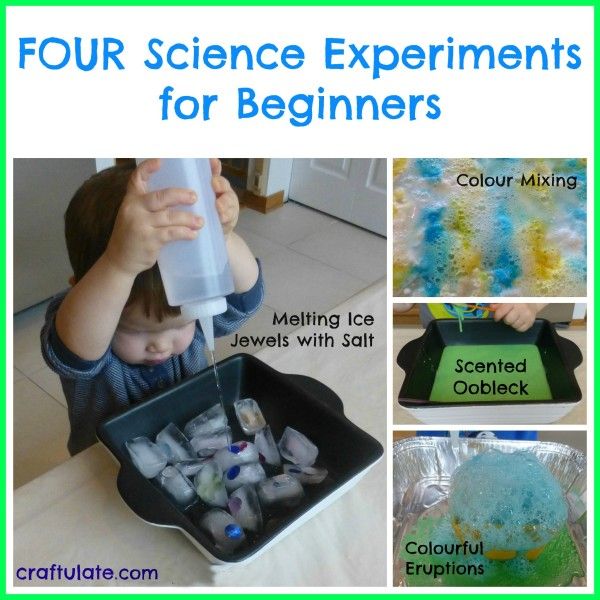
Mary Catherine guided me towards some of her science experiments that she thought might be suitable for F (ages 2.5yrs).
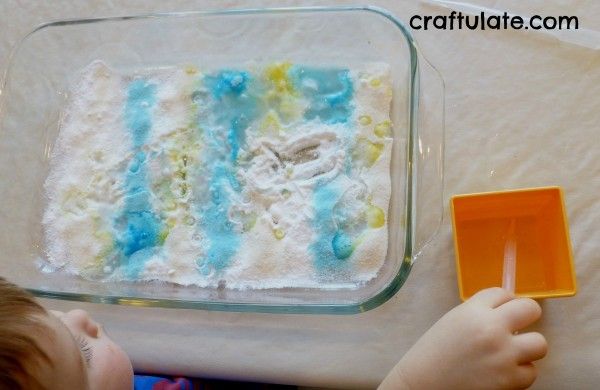
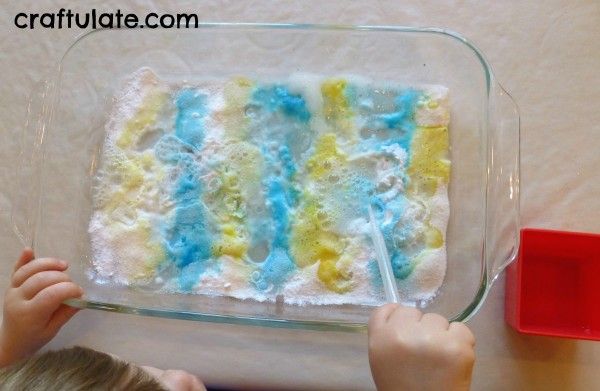
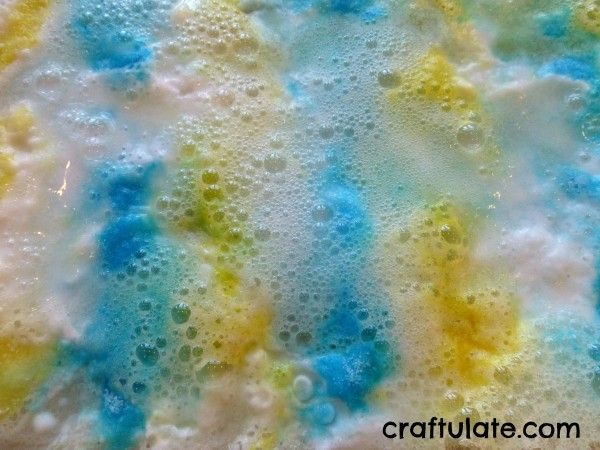
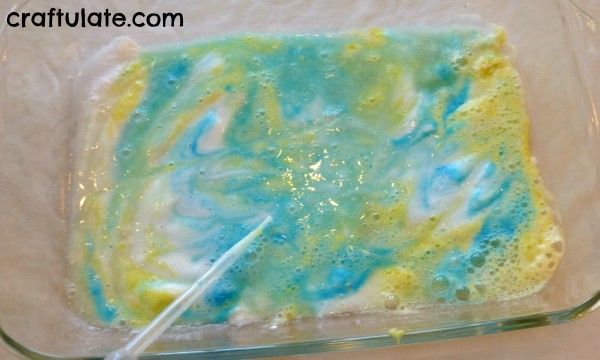
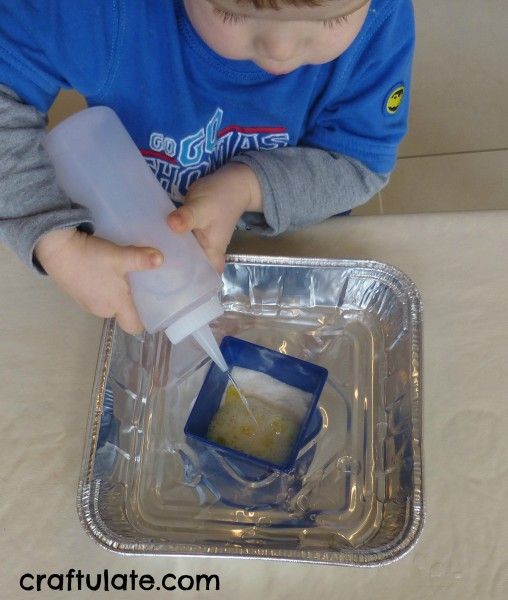
Scented Colour Mixing This experiment seemed like a good place to start. Fun-A-Day lined a tray with some baking soda, then sprinkled on rows of two different flavours of Jello. Using eyedroppers the children added water to the tray. I recreated the same set-up, using lemon and berry blue Jello powders.
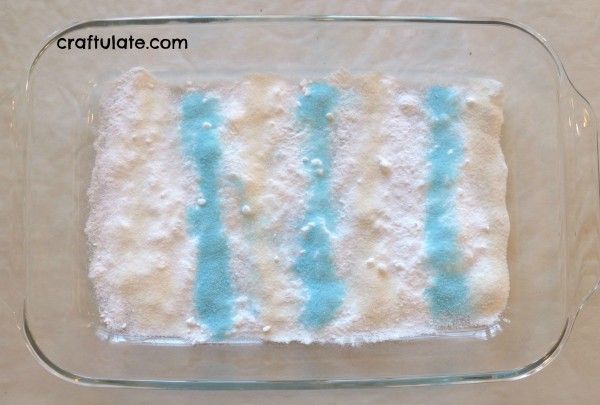
F was very intrigued to get a reaction when he dropped some water into the tray. He also wanted to refill the eyedropper by himself too.
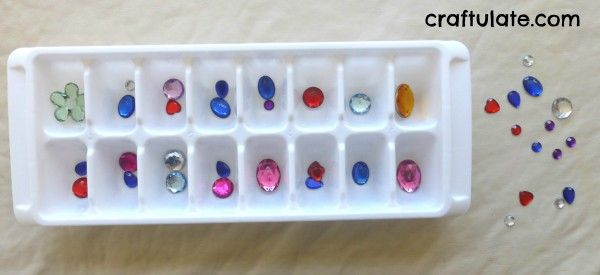
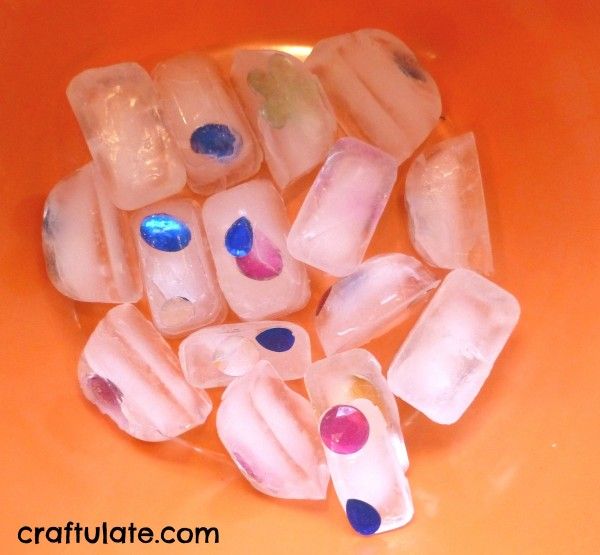
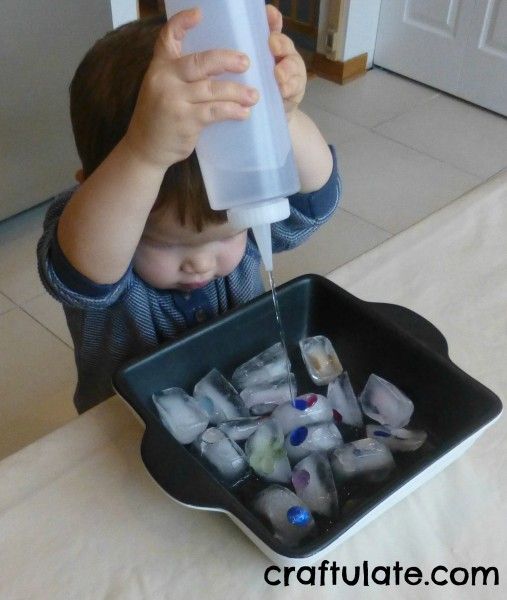
First of all I gave F a condiment bottle full of water to pour on the ice cubes.
I then realised that the orange bowl was too deep for F to easily reach into, so I quickly changed containers. That’s better!
Then I gave him some salt to spoon onto the ice cubes. Slowly the jewels started to emerge. “Treasure!” he exclaimed!
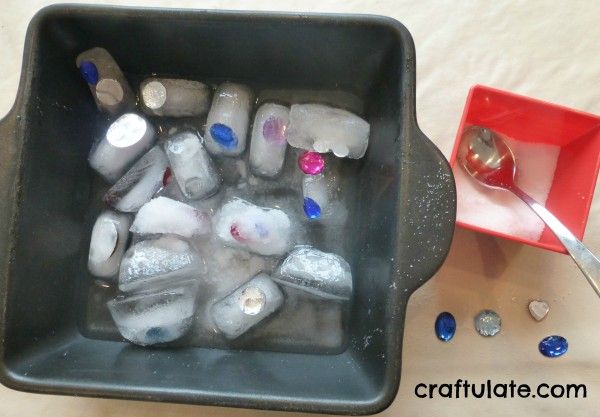
After he’d rescued a few of the jewels his attentions moved elsewhere, but he came back to it later and fished out the remaining treasure.
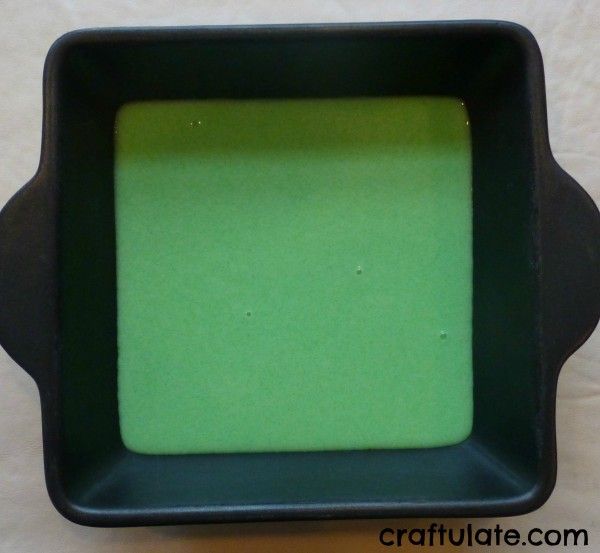
I provided F with straws, craft sticks and a spoon. He immediately dug into the mixture with a straw but I think he was rather uncertain about it!
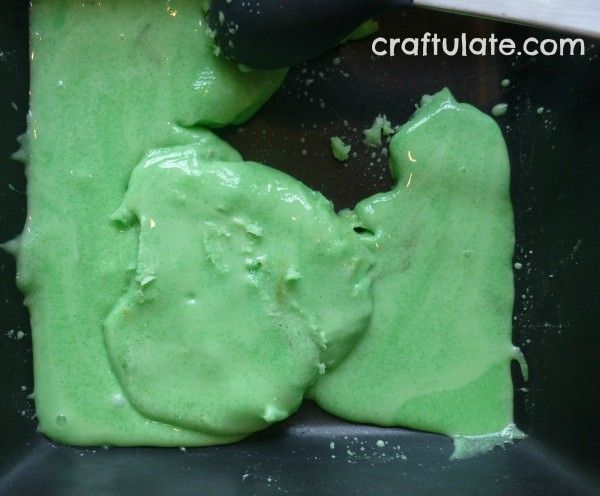
But he kept on playing with it! The texture of this oobleck is SO hard to describe. You can see in this picture that F has just scraped some away from the dish leaving a space – at this point it feels solid.
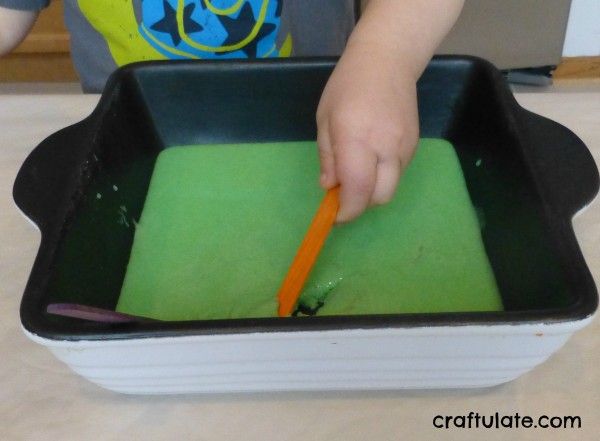
Then he holds up the craft stick and it gloops back down into the dish like a thick liquid. It’s fascinating!
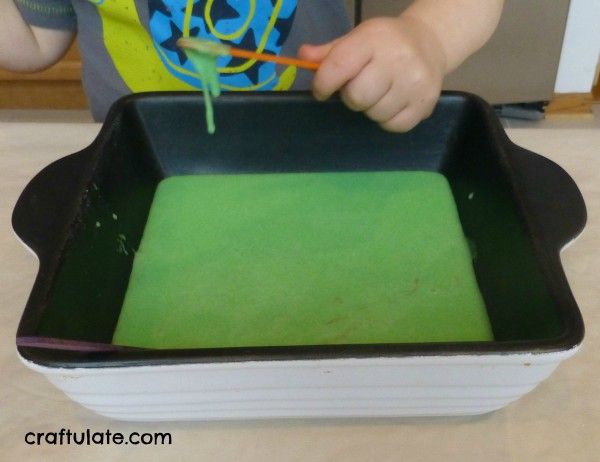
He played with this for some time, and had to stop as a friend turned up to play. When we went back to it a few hours later, it seemed completely solid. When I turned it over with a spoon, it slowly oozed into a liquid. This is WEIRD stuff! In the end this wasn’t a messy activity at all – however this was mainly because F wouldn’t actually touch it!
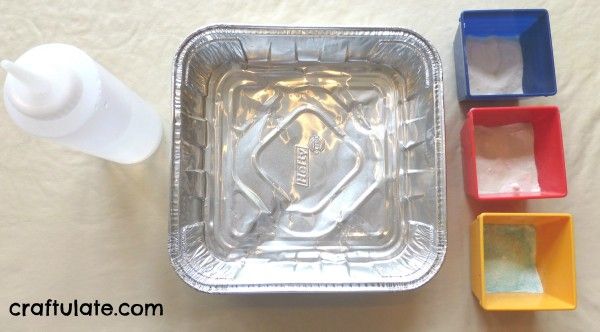
We started with the lemon mixture and got some nice yellow citrusy bubbles.
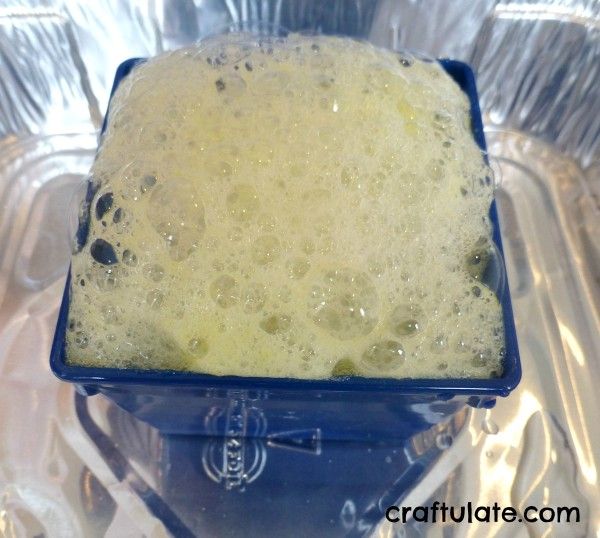
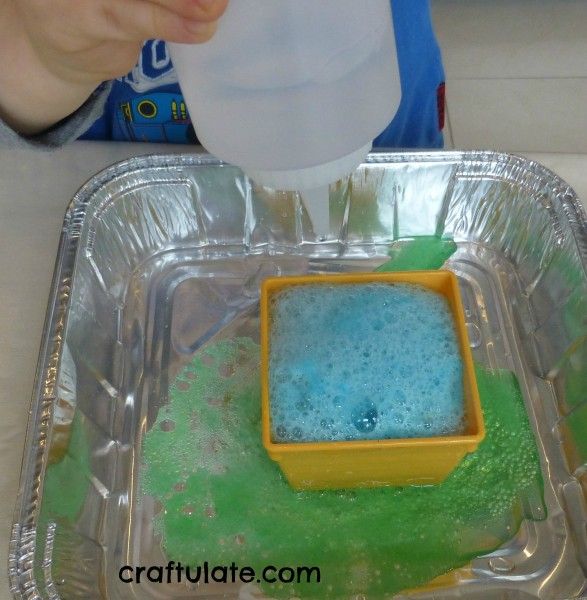
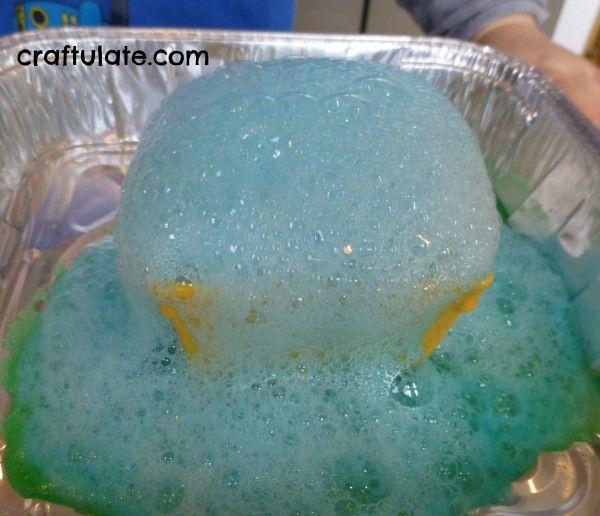
Then onto the lime mixture. F added more vinegar this time and said “wow” when it bubbled over the top of the bowl!
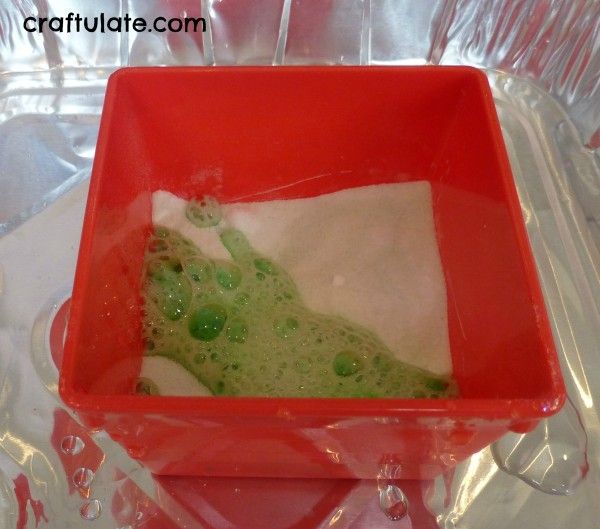
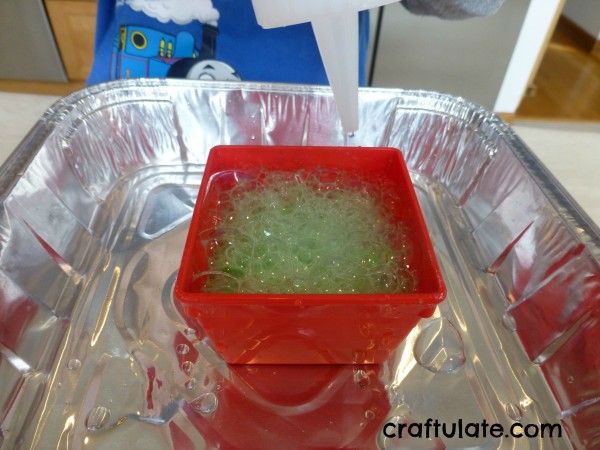
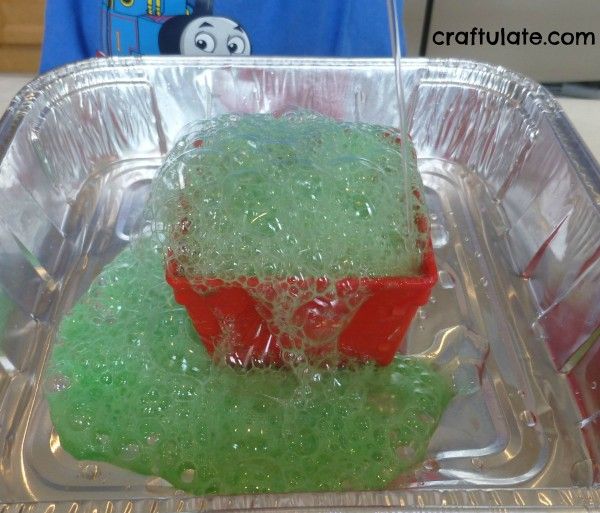
Then we tried the berry blue which was my favourite as it had the strongest scent. And F used up all the vinegar so we got LOADS of bubbles!
