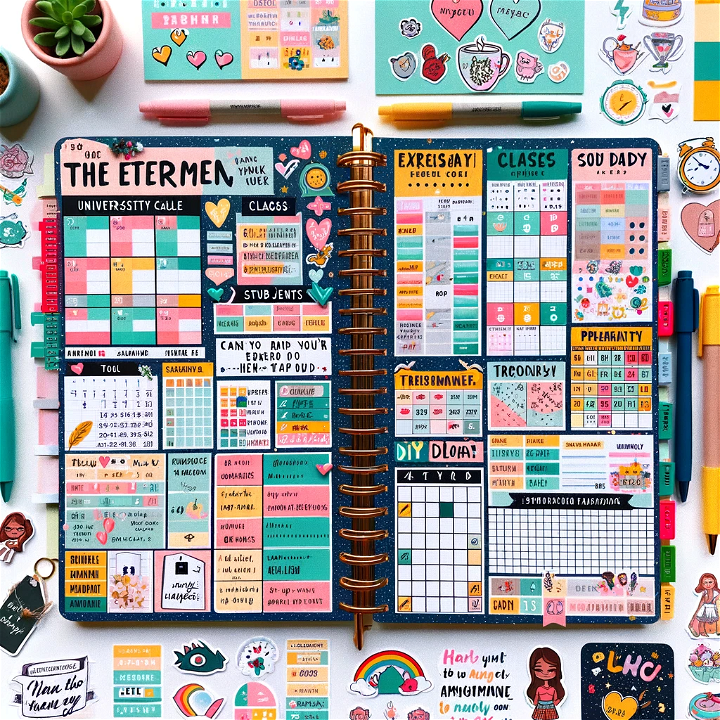
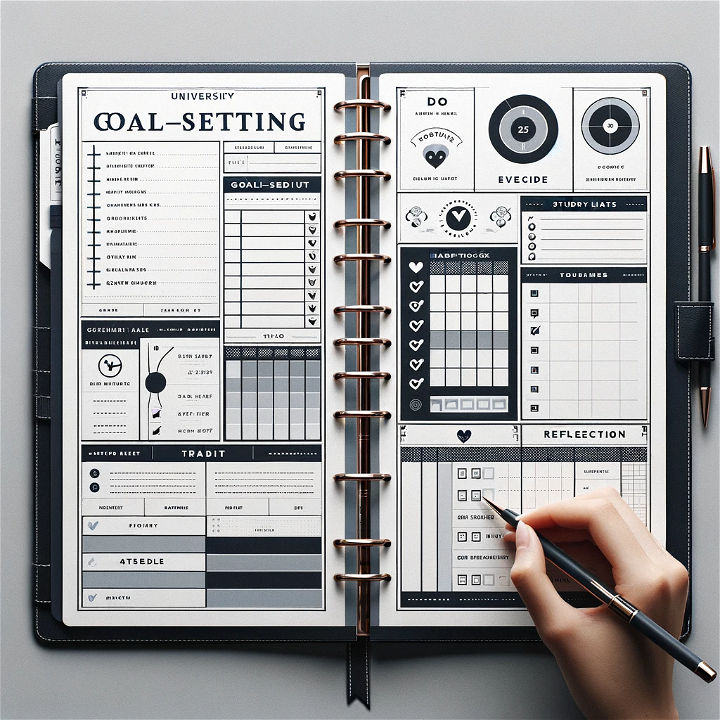
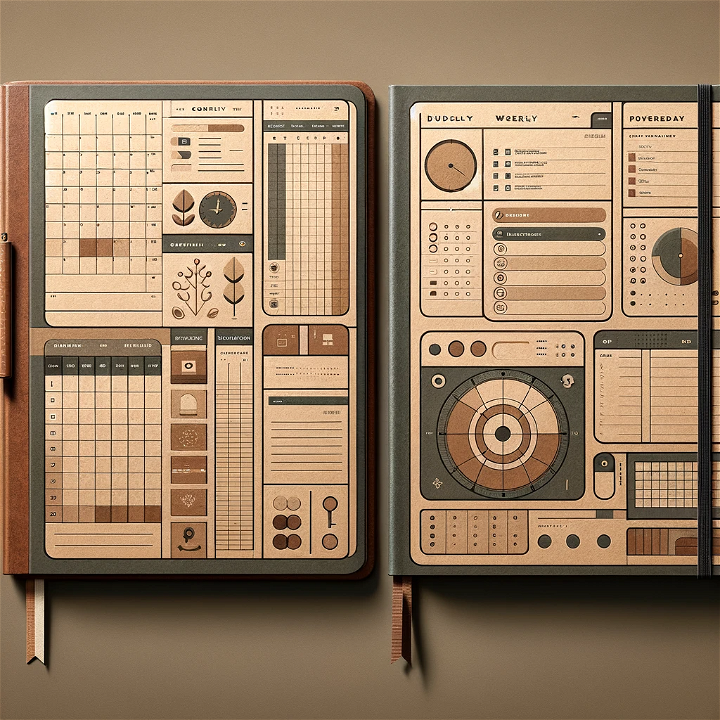
A planner helps you plan your day, focus on important tasks, and develop discipline. Let’s figure out who needs this tool and how to make it using DIY ideas.
Why is a planner useful?
With planner help, you can structure the chaos of processes in your study and private life. It helps to:
- plan tasks
- set priorities
- write down ideas so you don’t forget
- take notes on everything that is required
- structure thoughts, schematize
- reflect on the past days or weeks, recording your emotions in writing
- monitor task completion, which reduces frustration from overload and returns free time.
By the way, not only a planner will help you to have more free time and get rid of homework overload. You also can get help from writing services that offer college papers for sale from qualified writers. In this way, you will have more time and be sure that all of your assignments are submitted on time.
DIY planner ideas for college or university
Homemade Moleskine in a few hours
Production time: 3-4 hours. Difficulty level: requires some effort.
Let’s start with a tutorial on how to make your own stylish Italian Moleskine – one of the most popular notebooks among journalists, screenwriters, and other creative people. What sets it apart from its competitors is its elastic band, a pocket for small items at the end of the notebook, and rounded corners.

Tools
You will need scissors, a brush, a utility knife, a pencil and an eraser, binder clips, a thick needle, strong thread, a paper knife, a nail file or sandpaper, a ruler, a wide ribbon for bookmarks, ribbons for decorating, a hot glue gun, glue, tape, and folding bone.
You will also need 24 sheets of the required size and color, black paper for the pocket and back of the cover, decorative paper for the endpaper, cardboard, a thick cardboard sheet, and a work mat.
The original classic Moleskine is presented in three formats: Pocket – notebooks measuring for a pocket, Large – despite the name, they are medium in size, and Extra Large (XLarge). Pages can be squared, ruled, or unlined. Therefore, for your planner, you can also choose one of these formats and paper.
Steps
You should fold the sheets of paper in half. Put four sheets of them inside each other to get six notebooks. You need to pierce the paper in the right places using an awl. Measure the thread – its length should be equal to 7 times the height of one notebook. Sew notebooks. The binding technique is not the simplest, but it will allow you to open the finished notebook 180 degrees without fear of the pages falling out. It is very convenient for writing your plans.
Glue the spine with threads using a paper clip. Make a pocket from black cardboard and cut off the corners. Glue its two parts together. Glue the endpaper and pocket to the notebook block. Using a utility knife, trim off any excess pages to fit the pocket size. The important thing here is to cut the paper slowly to get even edges. If it doesn’t work out, it doesn’t matter; the unevenness can be smoothed out using a nail file or sandpaper.
The ribbon bookmark must be glued to the spine. Place a strip of thick paper on the outside of the spine and round the corners of all pages.
Custom planner
Production time: layout and printing of pages – from 1 hour or more, notebooks and cover – at least 1.5 hours. Difficulty level: you will get it right the first time. Additional skills: general familiarity with any graphics editor.

An exclusive planner will be an excellent helper in your studies in college or university. The main advantage of a handmade planner is that you can put any pages in it: with the required number of days of the week, drawings and an individual list of useful to-dos, Internet memes, and funny motivators, even your personal family holidays.
Draw a page layout in any graphics editor or download a ready-made one on the Internet. Buy paper that is pleasant to the touch, such as ivory, and let it be a little thicker than standard office paper – higher than 70 g/m2. Print 27 pages of your chosen format using a regular printer, but be sure to print on both sides.
You can fasten the planner in any suitable method. The choice of materials for the cover is also wide: designer cardboard, cardboard covered with paper, and fabric.
Convenient and budget planners in the Moleskine Cahiers style
Production time of the Moleskine cahier style planners: 1 hour. Difficulty level: beginner friendly.

The following instructions are for those who write a lot and keep a planner at hand all the time. You can make three Moleskine Cahiers planners in one hour using plain paper, a sewing machine, and decorative paper for the cover. In addition, you need to take scissors, a stapler with paper clips (if you don’t have a sewing machine), office clips, a steel ruler, a work mat, a folding bone, and a paper knife.
All you have to do is cut the paper to the required size and do the same with the cover (if you want to make it stronger, stick decorative paper on cardboard or use designer cardboard). Put the sheets inside each other – unlike Moleskine-type planners, there will be only one notebook here. Stitch it together with the cover in the middle, leaving small gaps at the top and bottom of the notebook. Trim the pages, and you are ready to make as many notes as you want.
Conclusion
Gail Matthews, a psychology professor at Dominican University in California, conducted a study that found that completion of goals and objectives was 42% higher if they were written down in a handwritten planner. In addition, regularly using a planner reduces stress as it gives you a feeling of control over the situation.
It is strategically important to keep a planner for everyone who has tasks for more than 10 hours a day or who simply values sleep. This tool will also be useful for those who have a large number of meetings on duty or on personal issues. It is necessary when you need to take yourself and your life into your own hands and become a successful student.


